Into the engine…
June – August 2020.
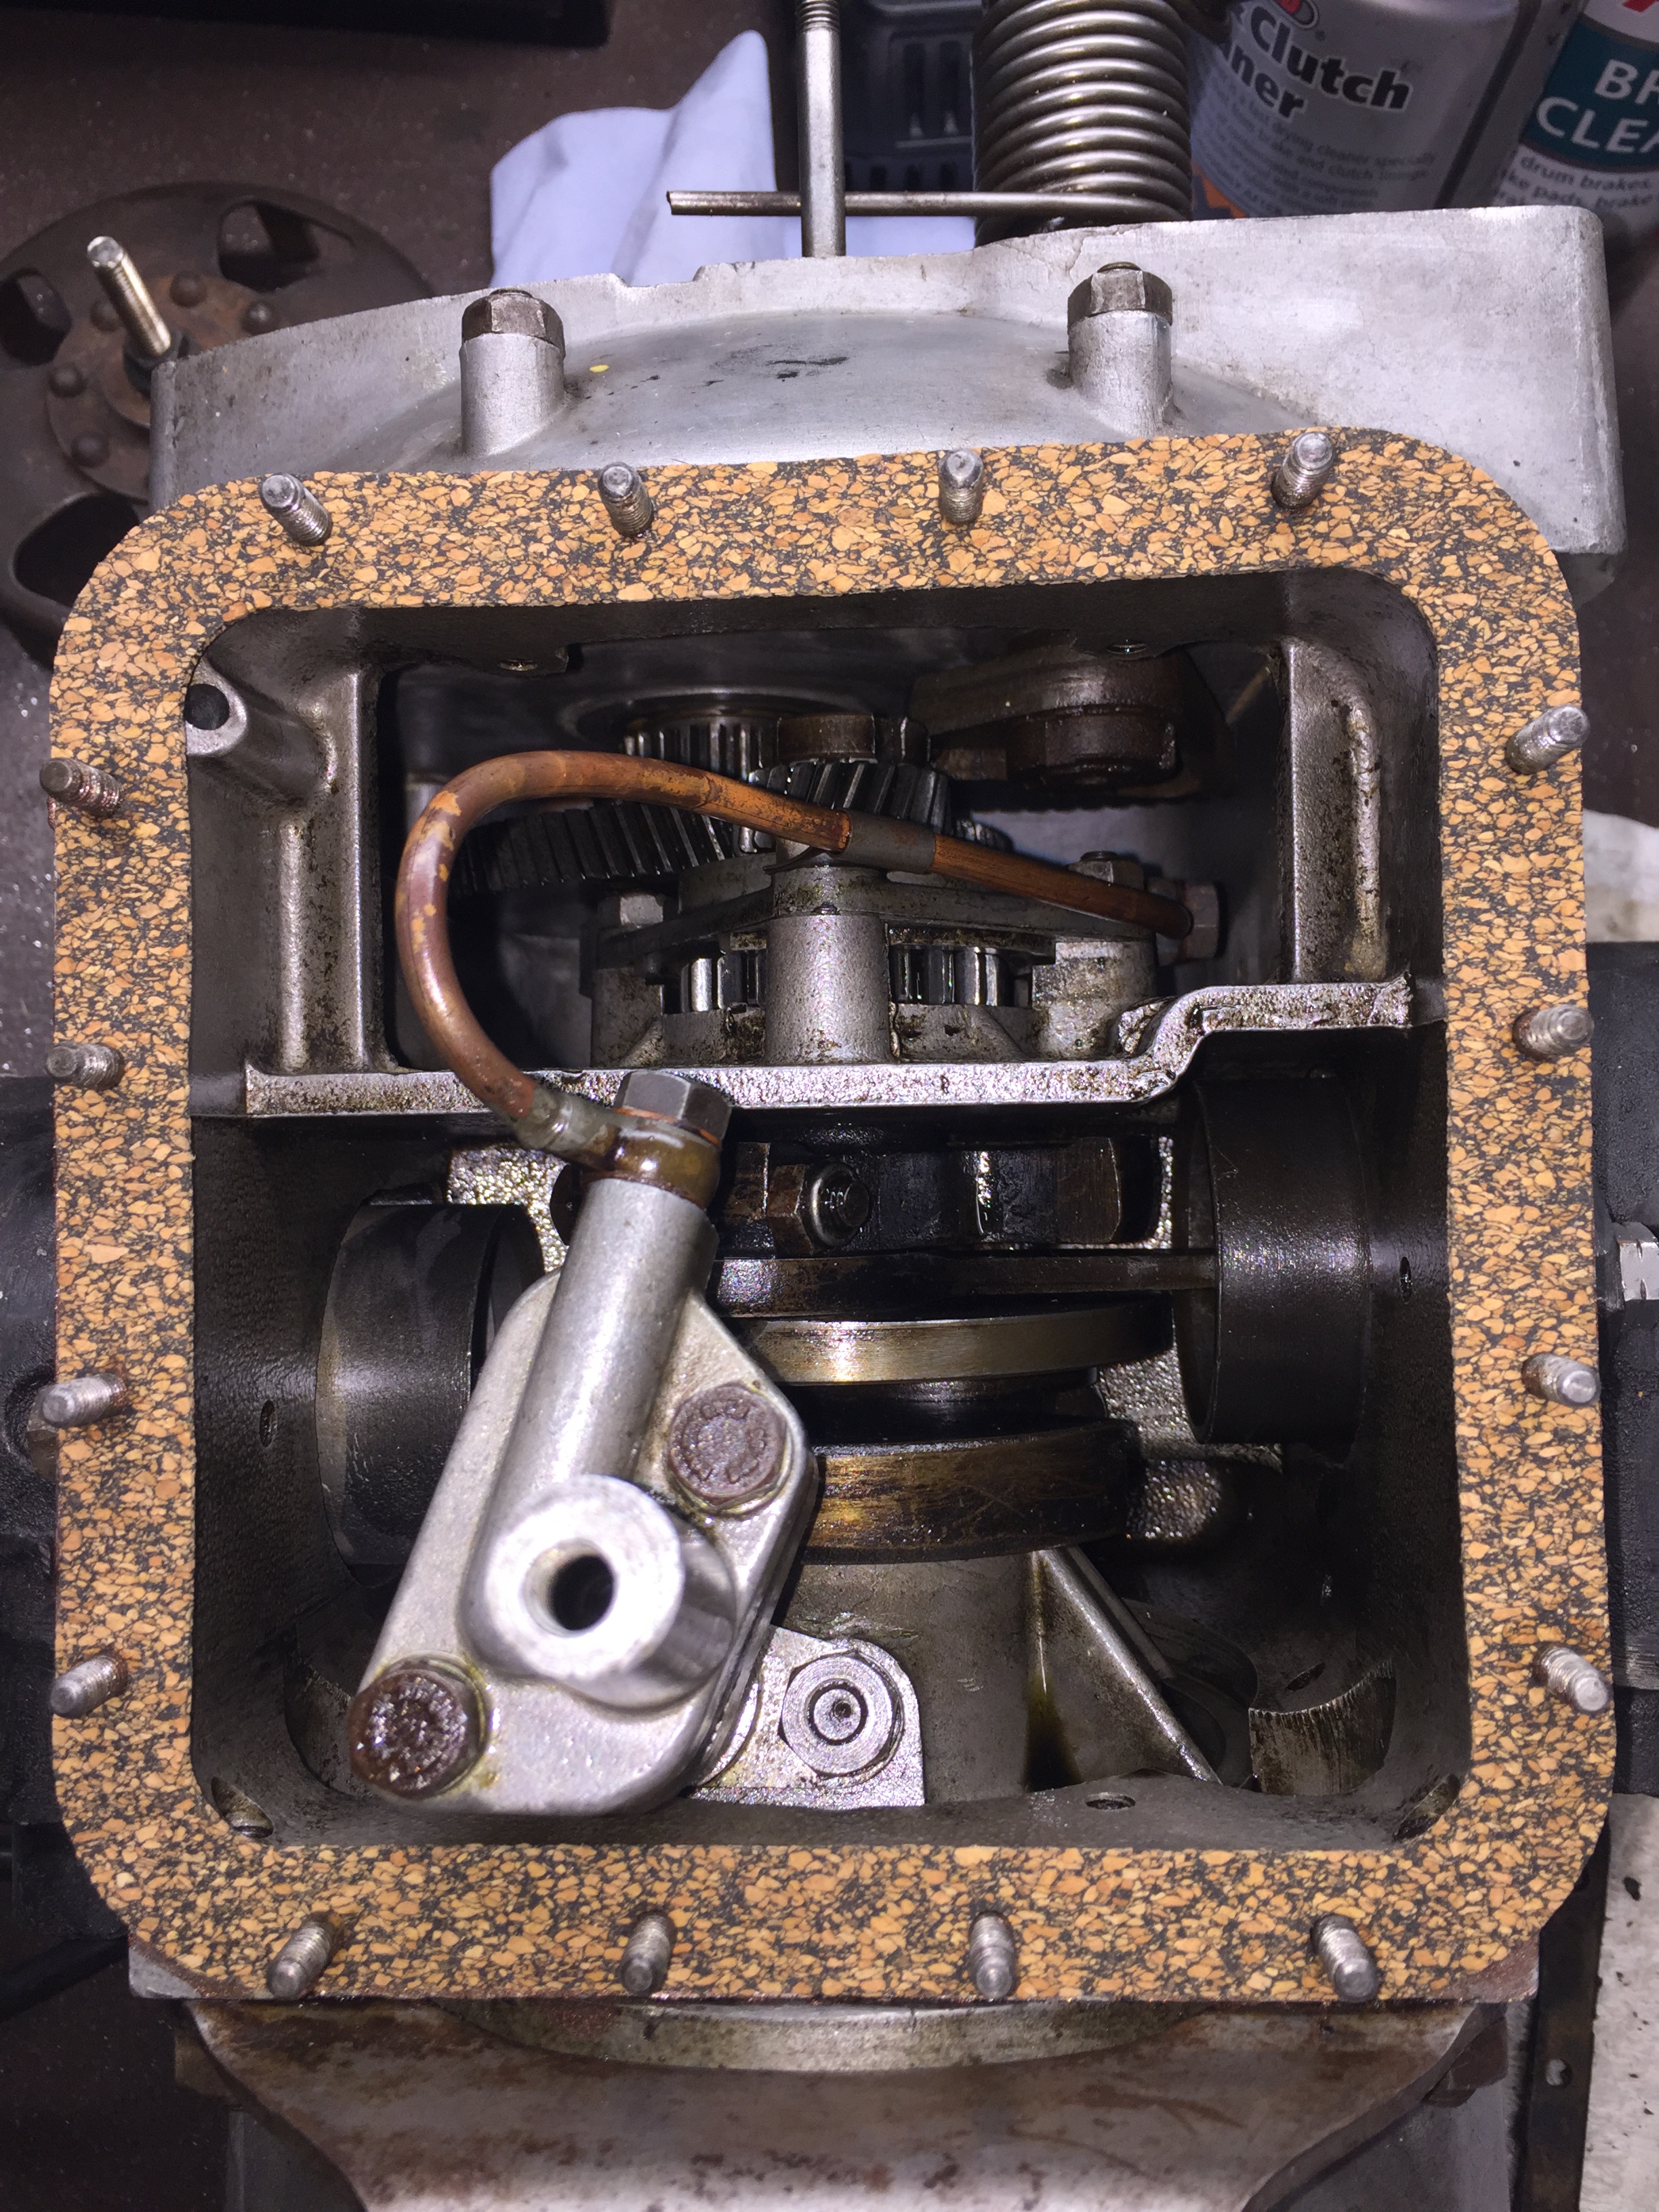
I found a couple of bolts loose on top of the engine and, to tighten them up, I had to take off the clutch housing section. No problems there as long as the (hidden) oil spray tube is accounted for. And you expect the starter spring to ping off!
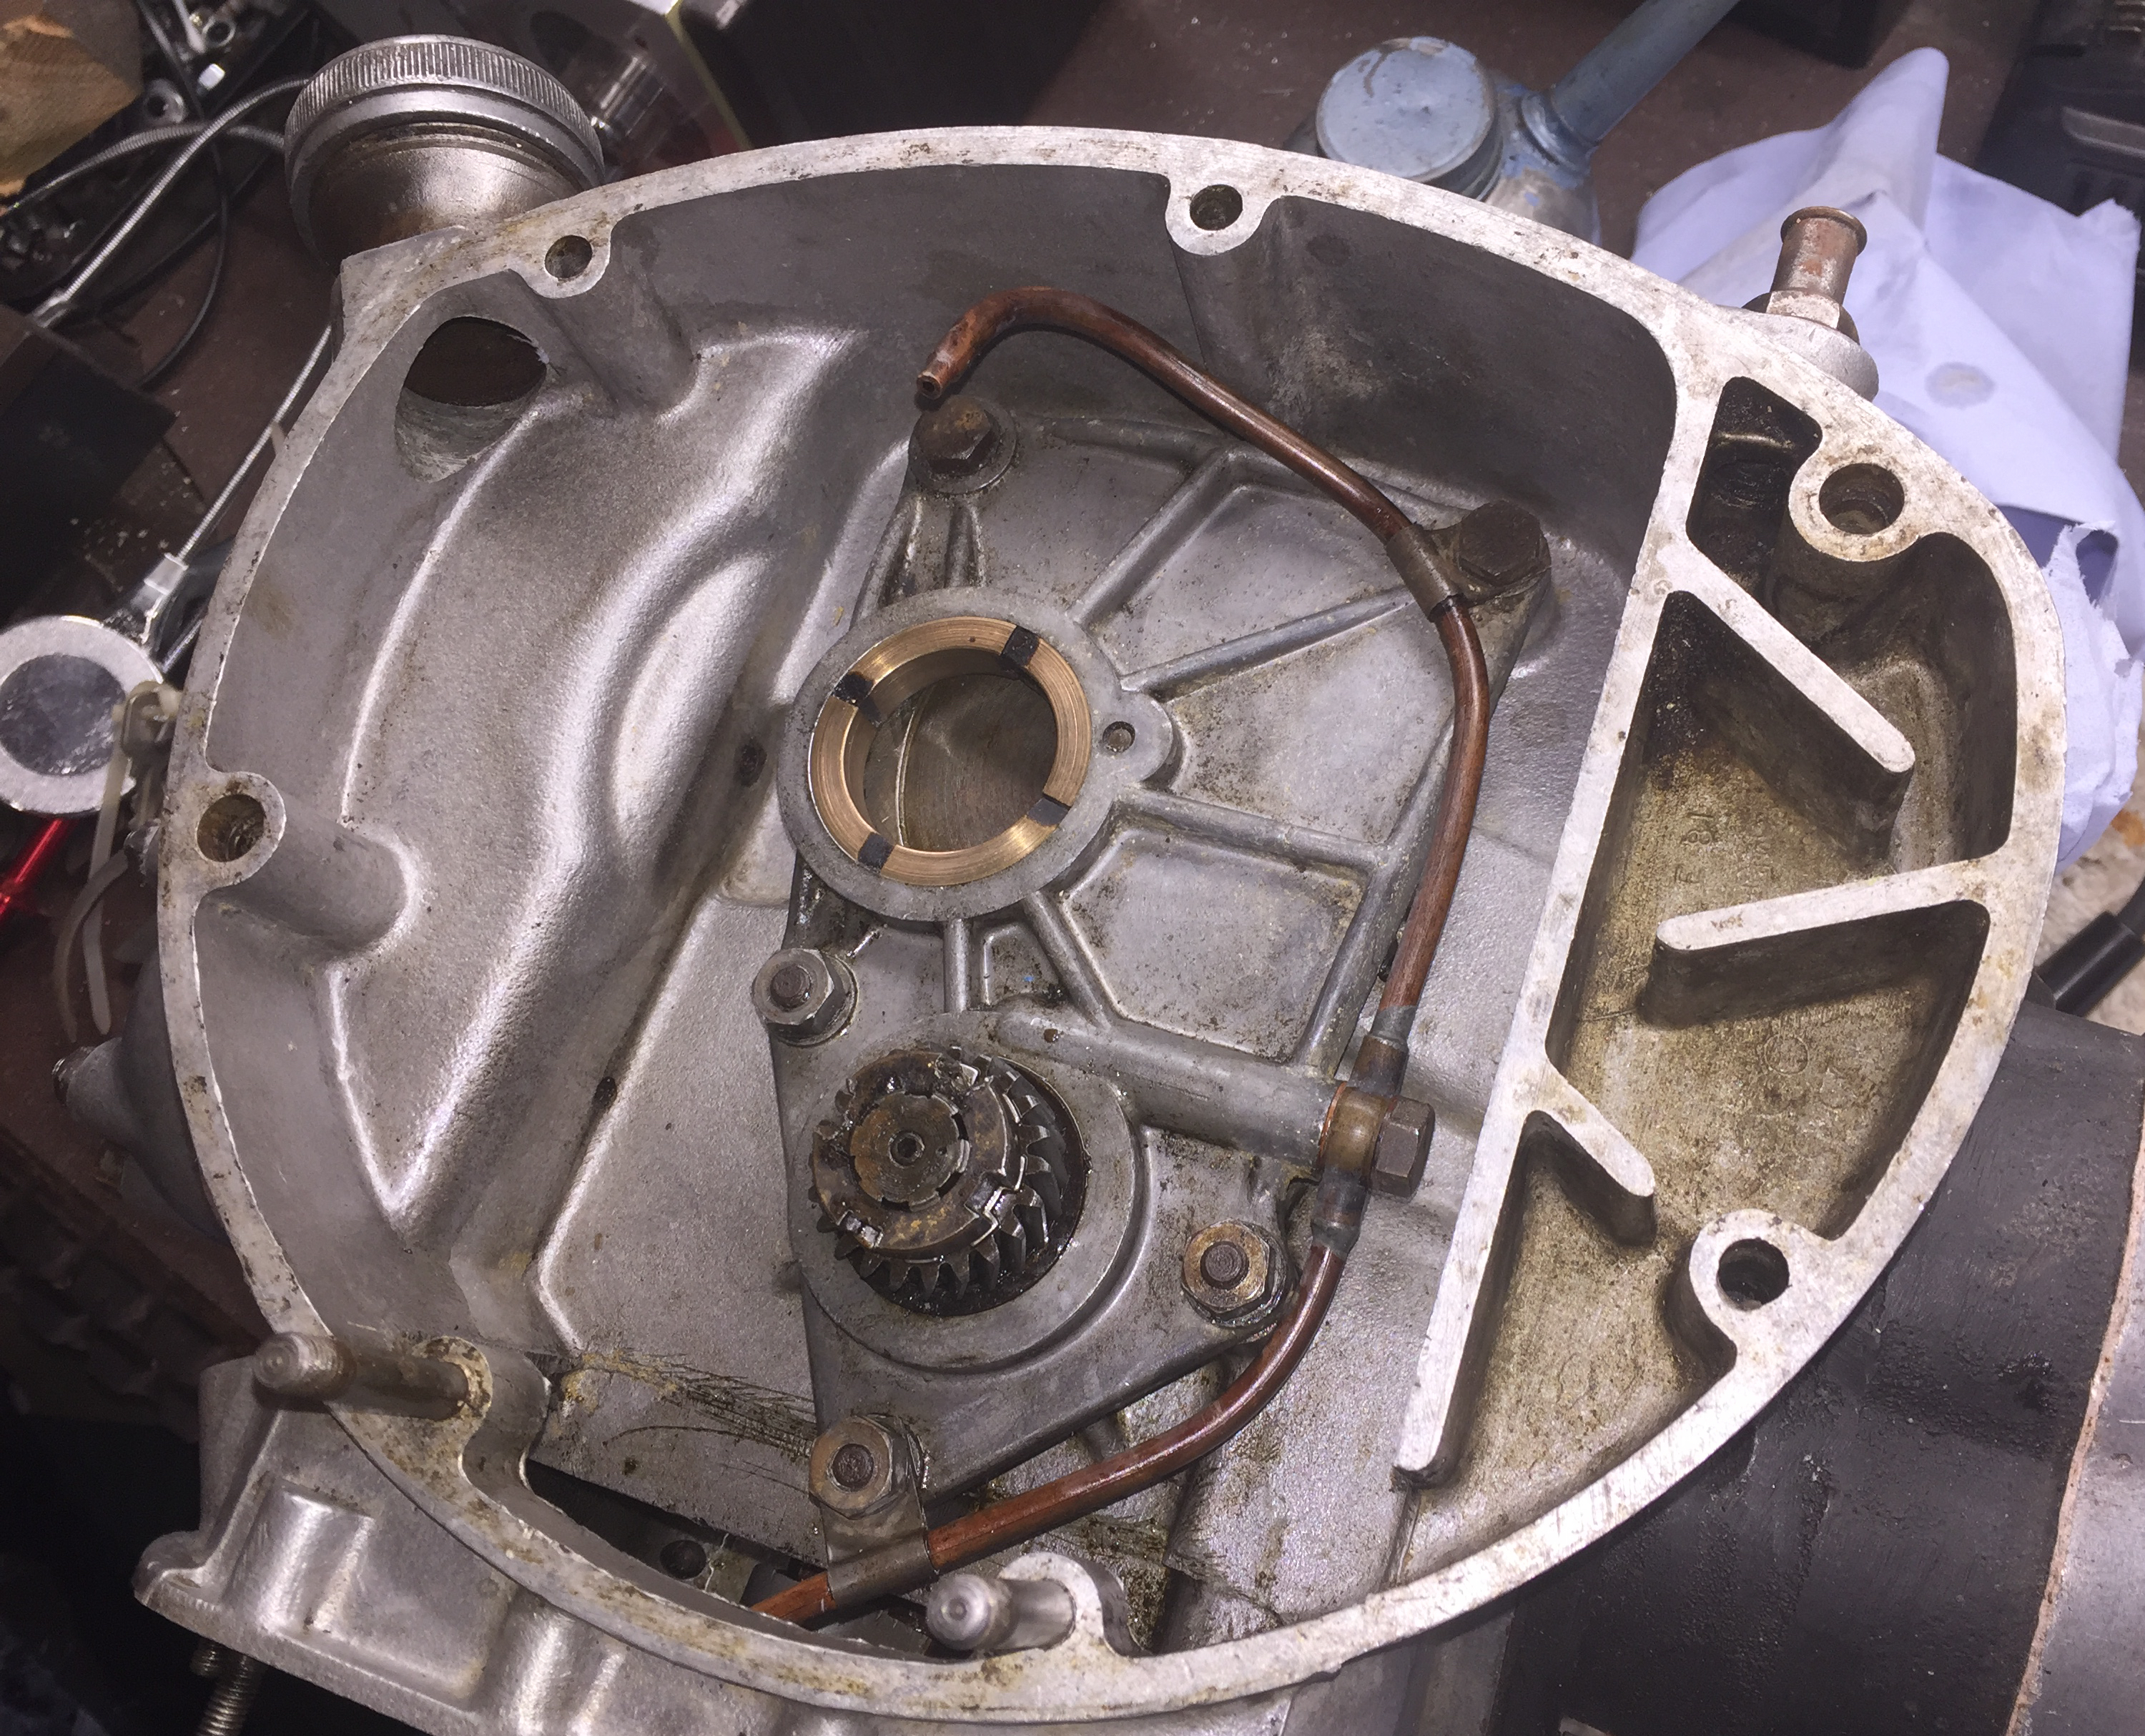
Crank end plate and oil spray jet pipe.
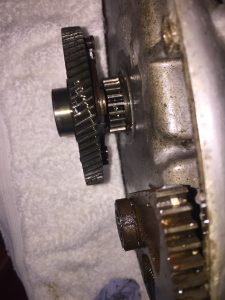
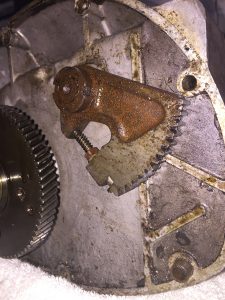
This was a good chance to check out the starter mechanism (the quadrant and its ratchet controlled gear) and test it all works ok. Plus a good clean out of old, mucky oil, too.
- Driven pinion
- Quadrant
When all was ok, tighten the bolts!

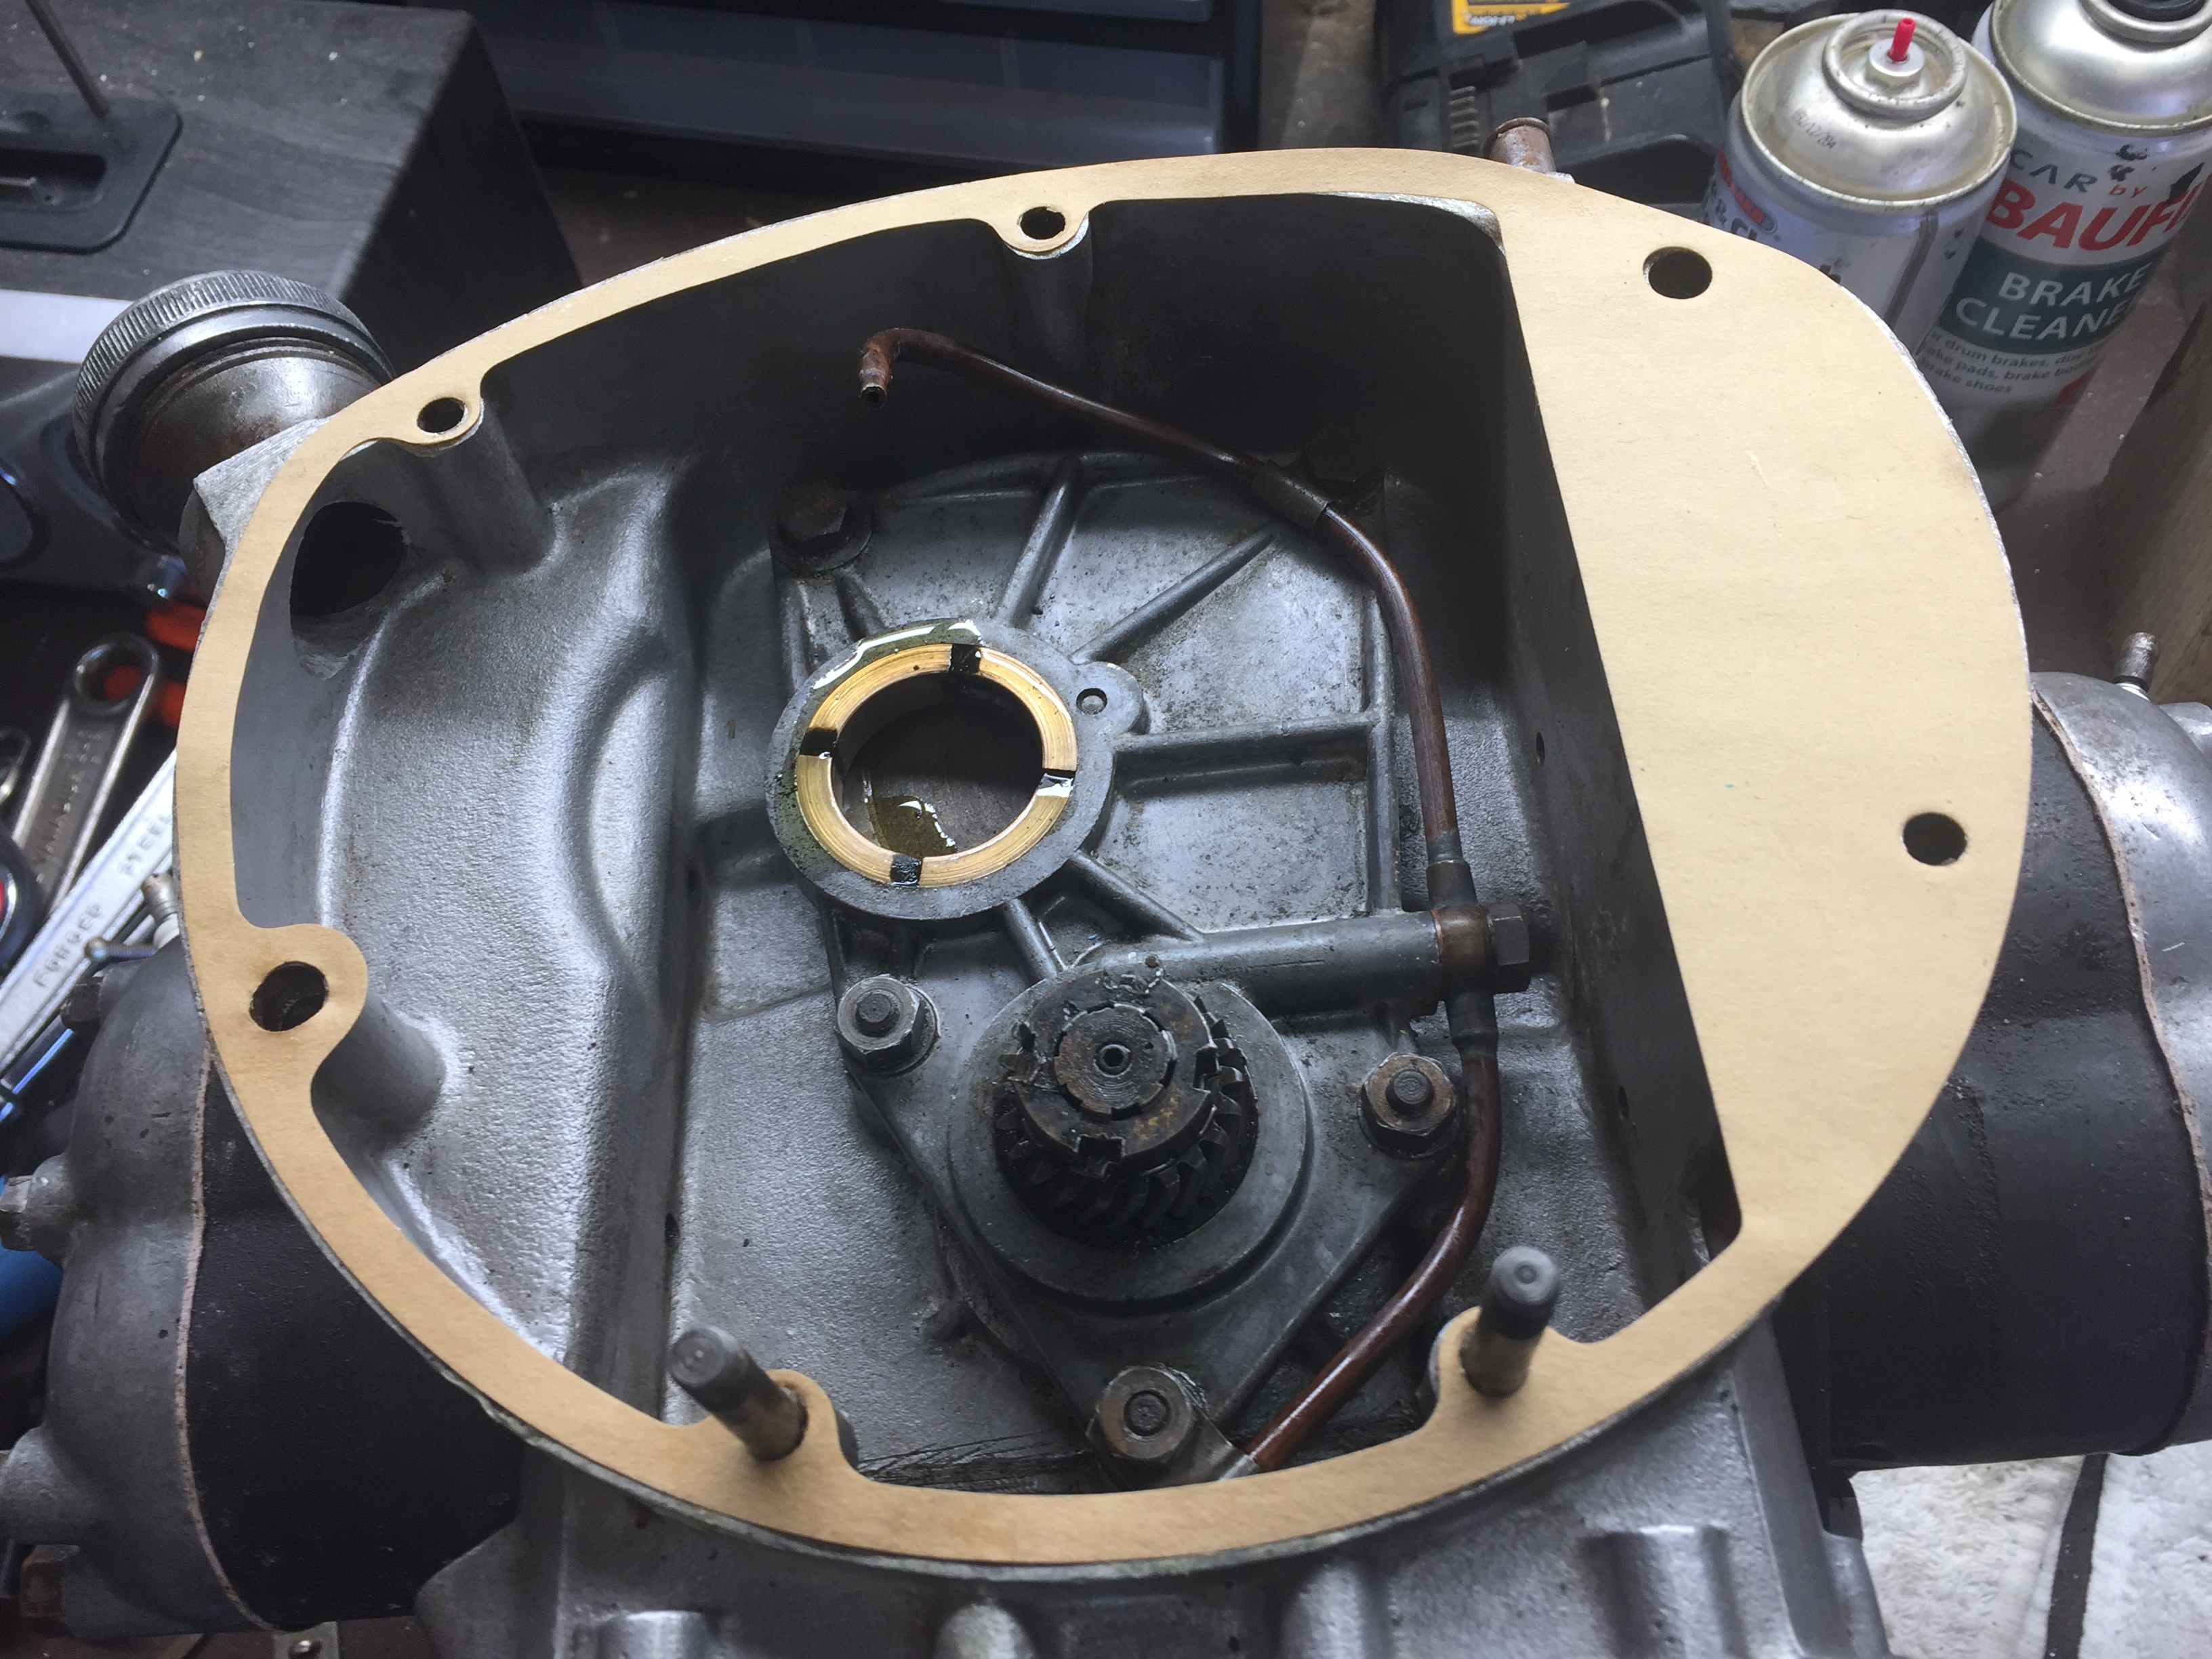
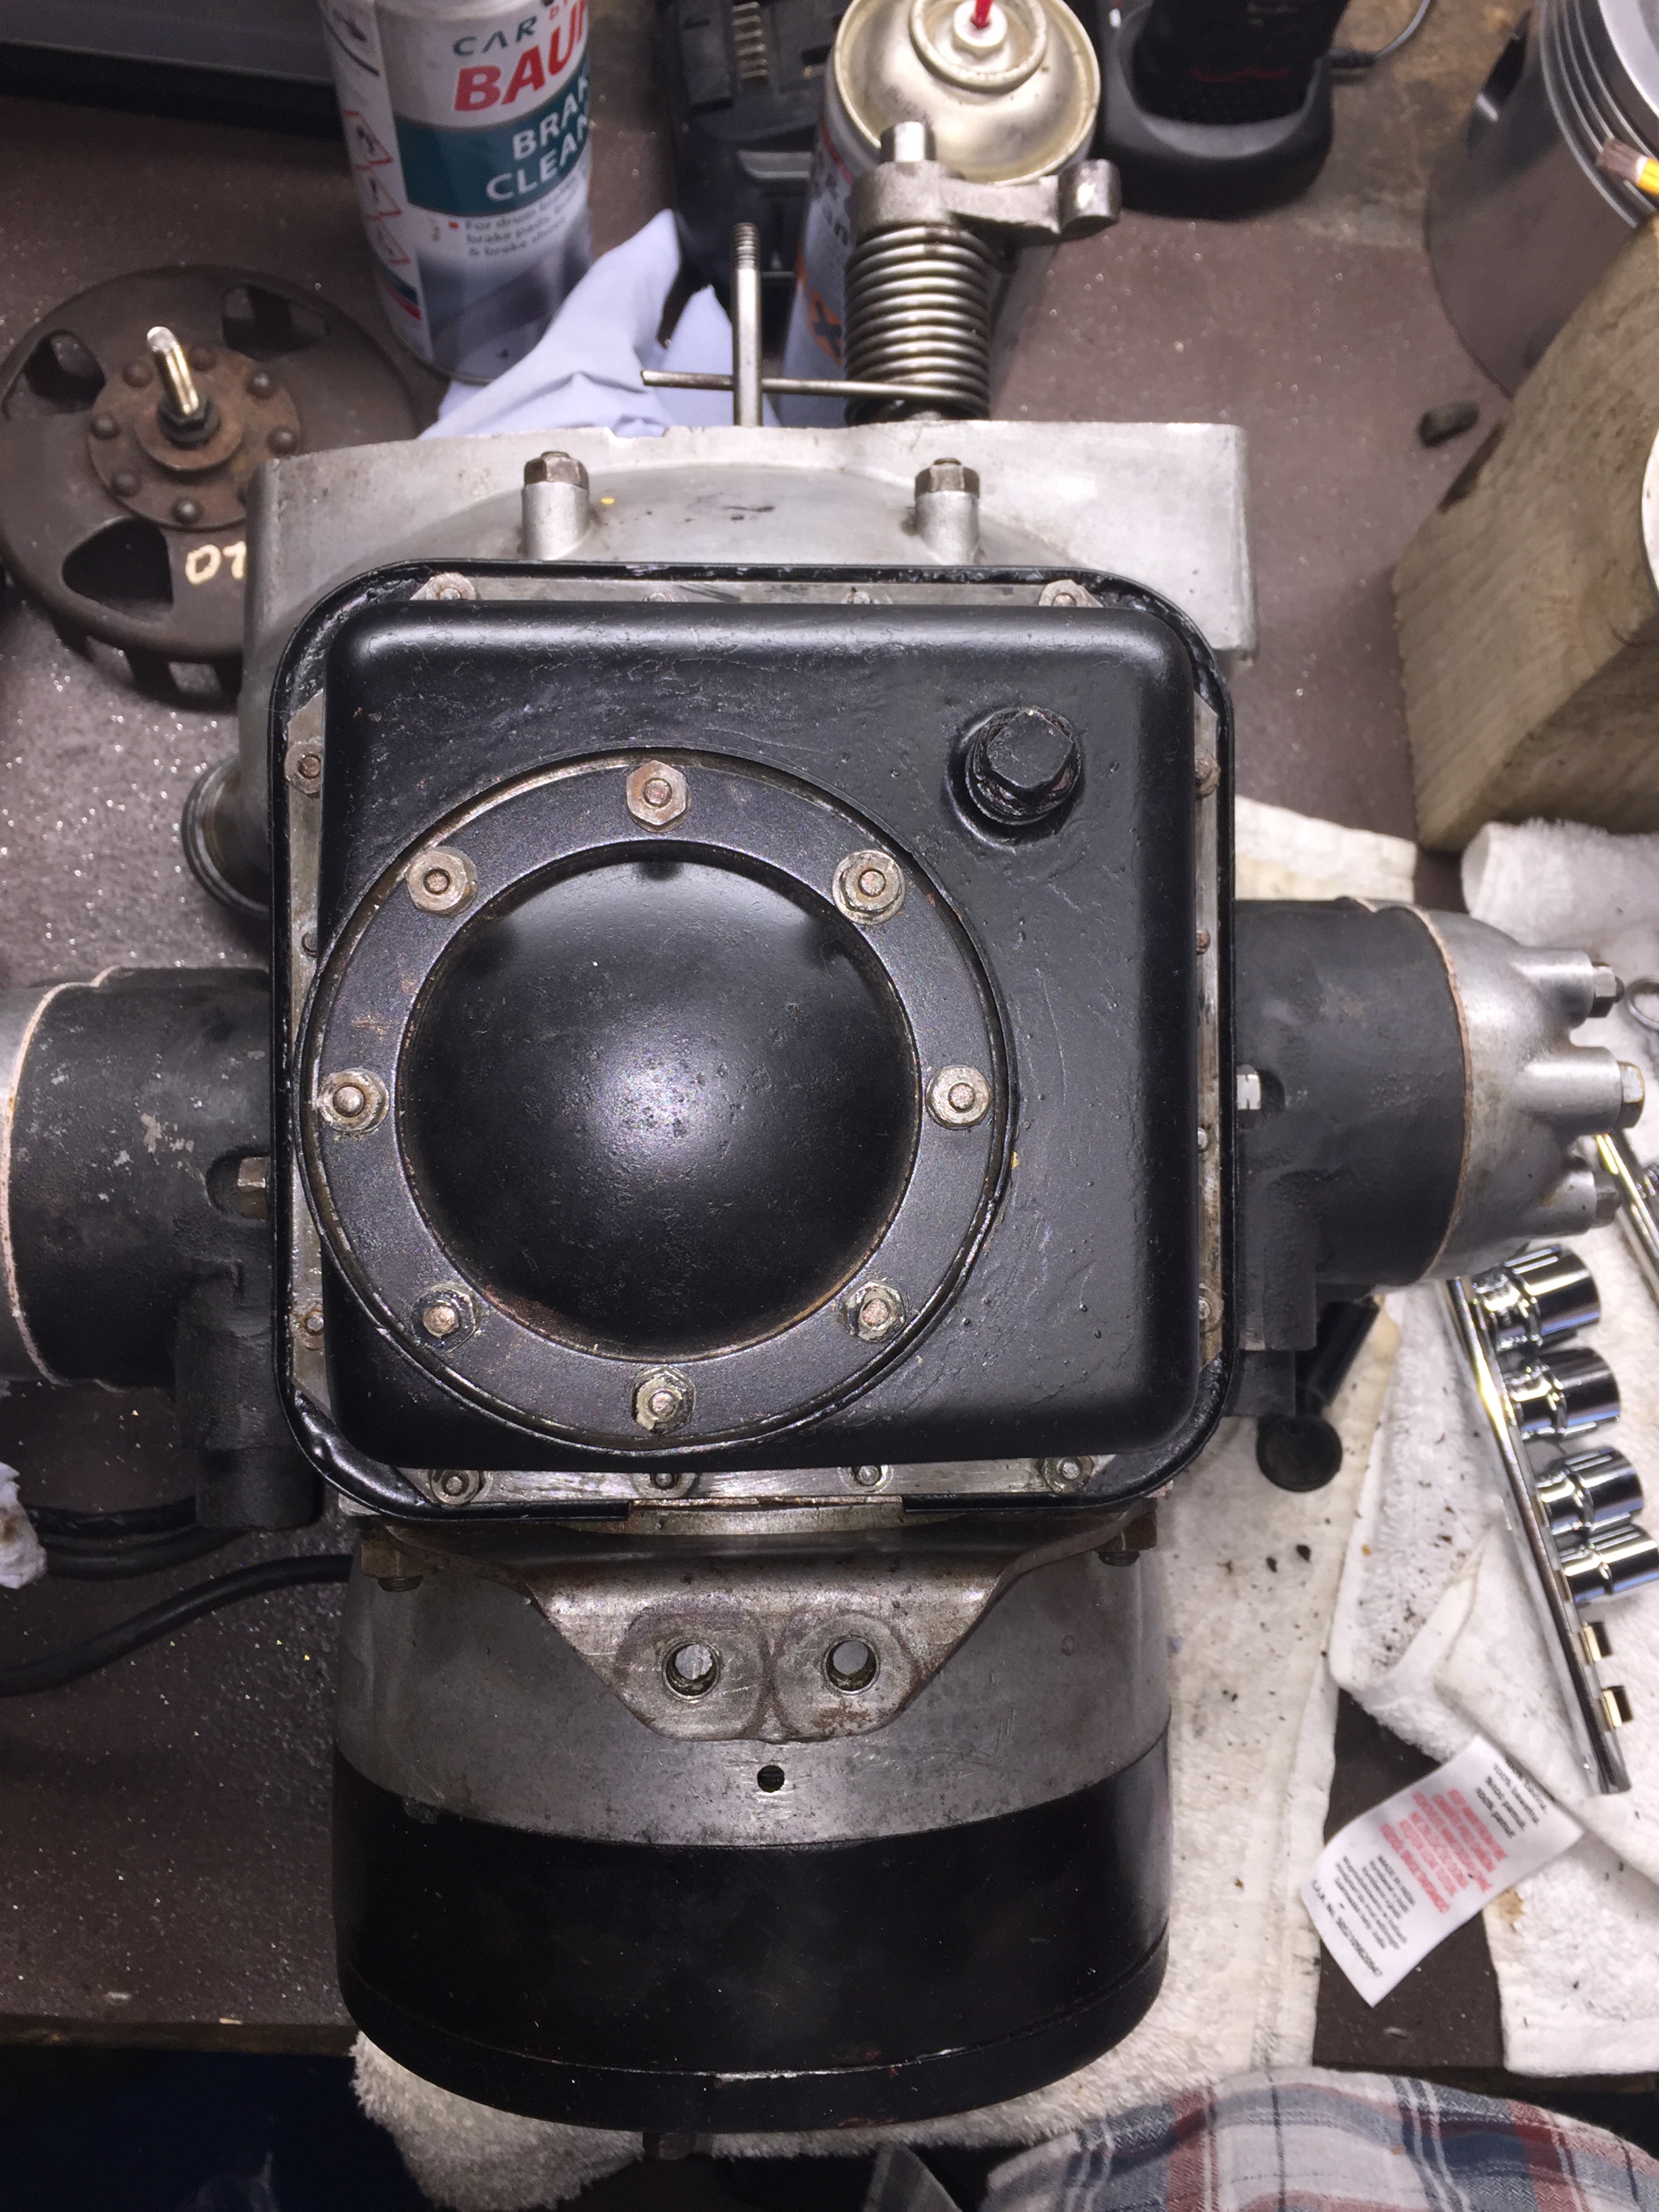
All cleaned up and a nice new gasket installed with copper grease.
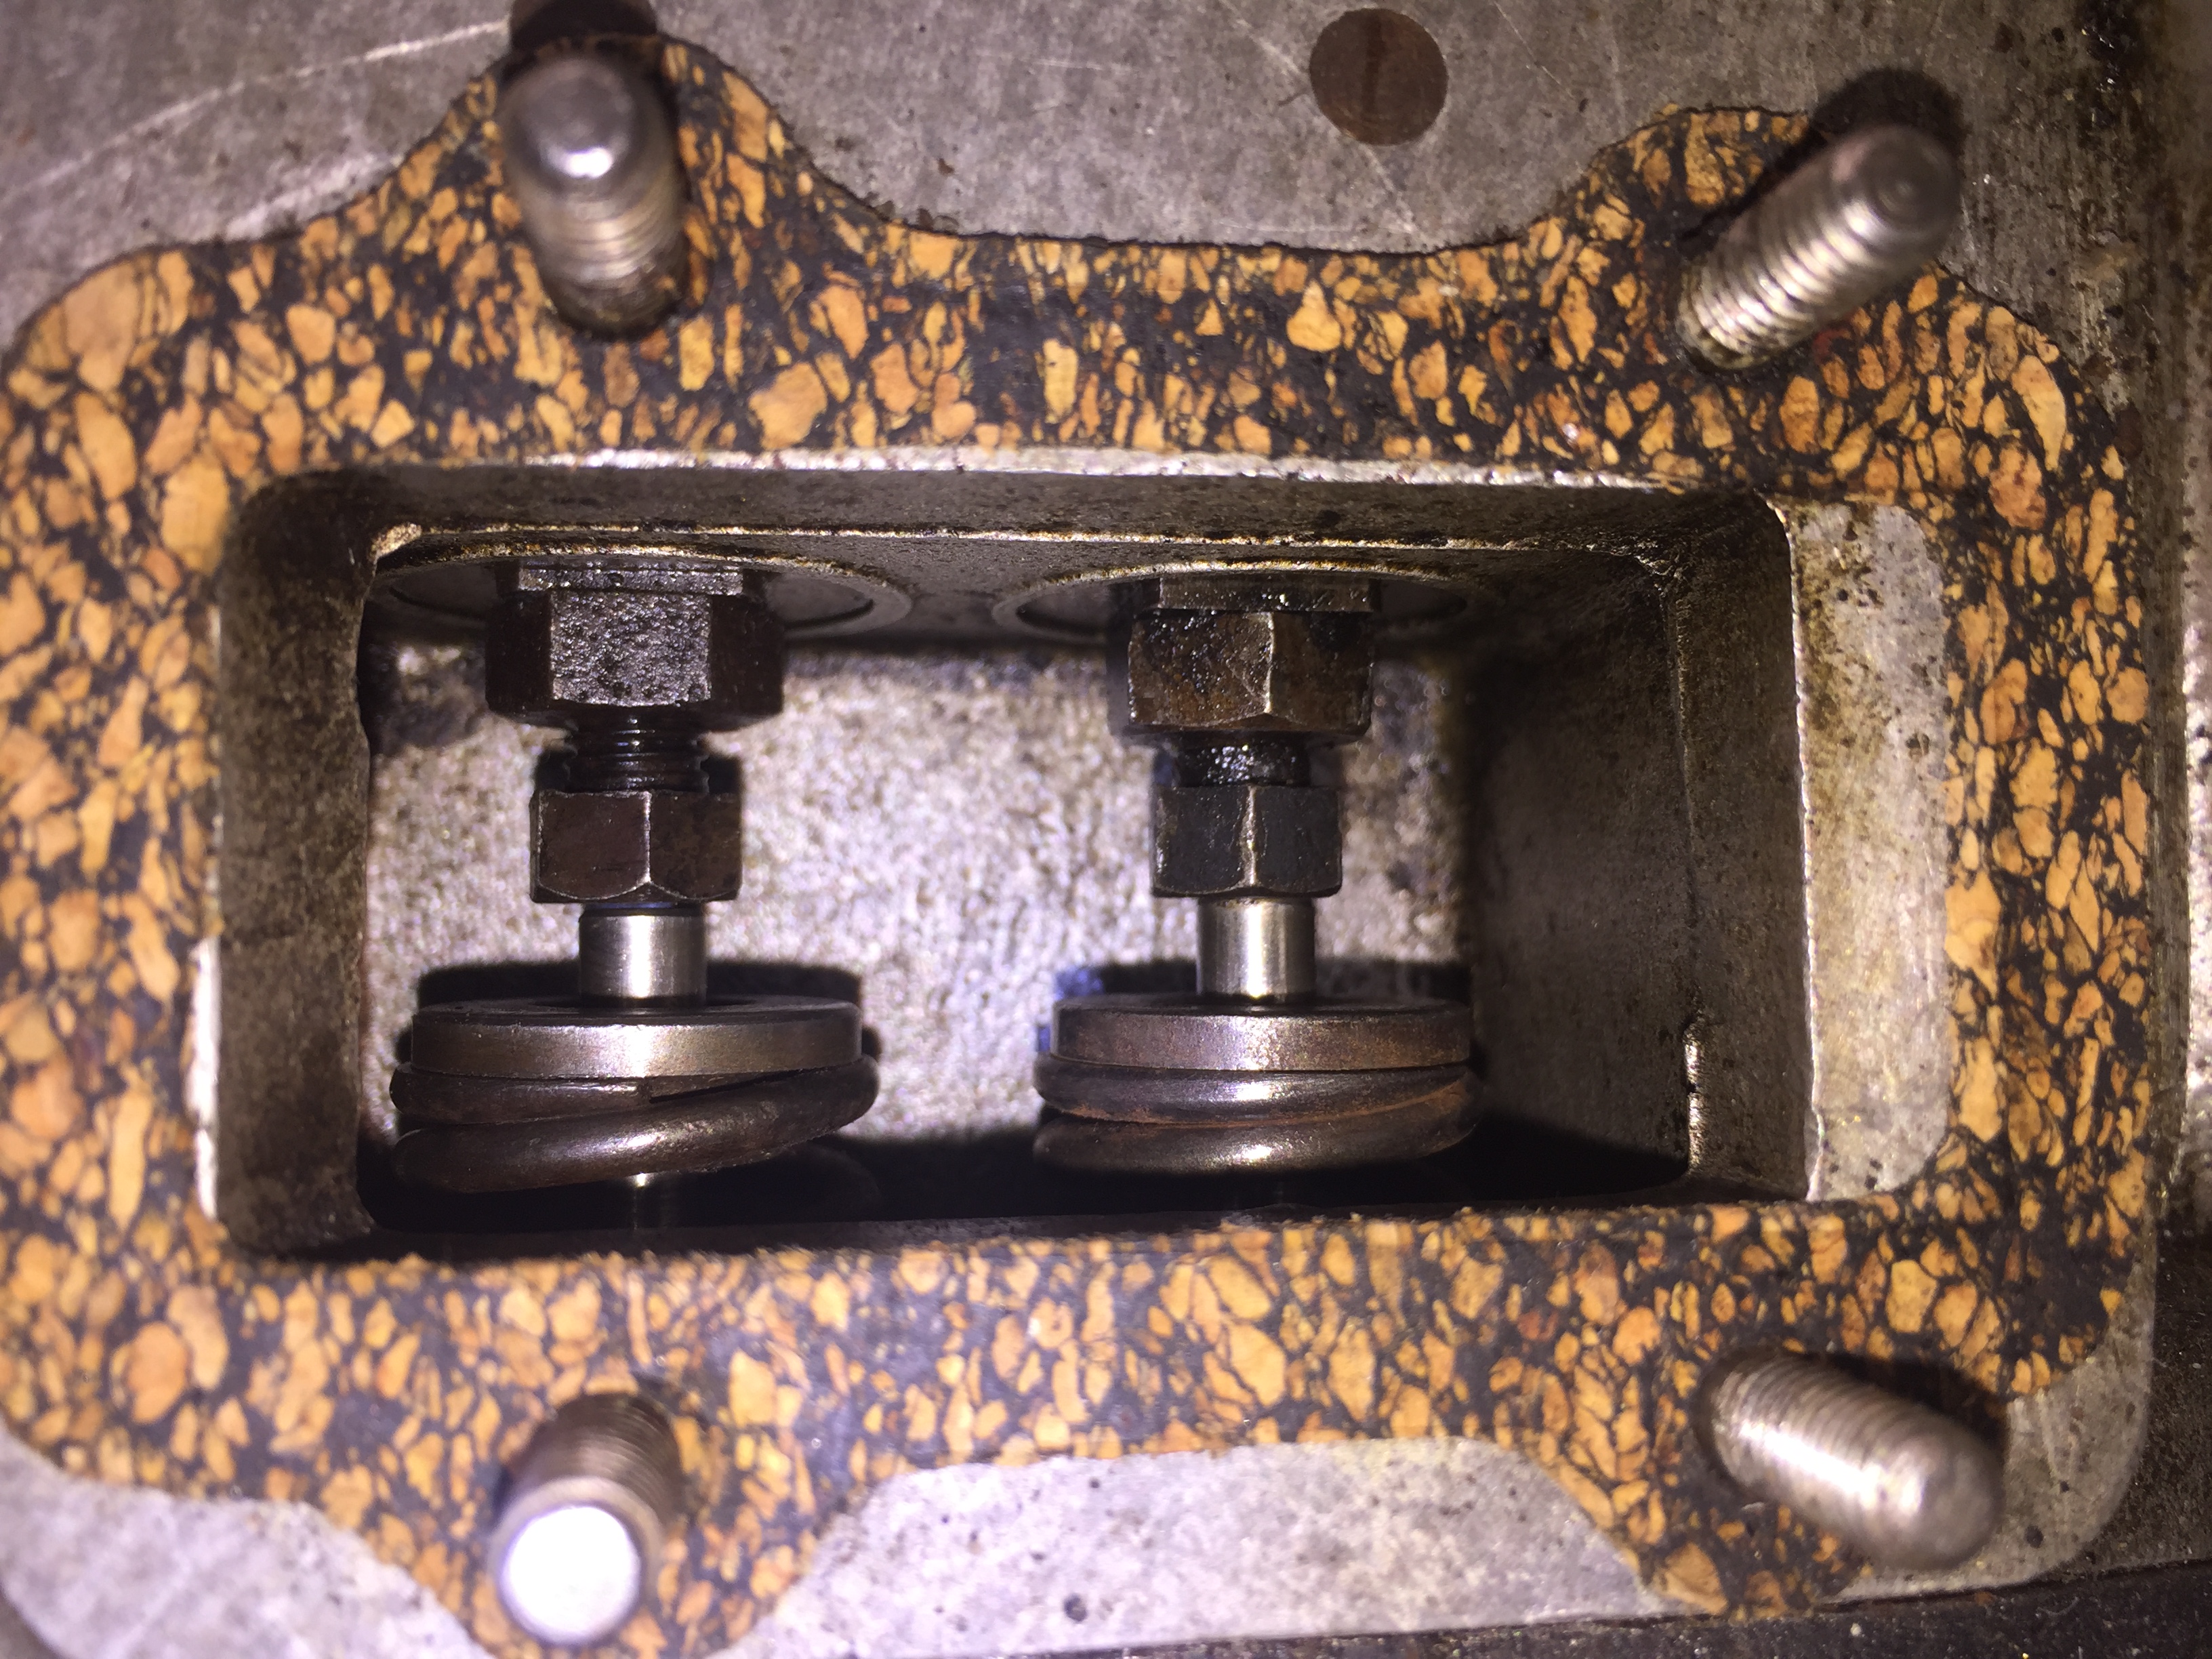
I then opened the tappet cover and checked the valve clearances. One was out by quite a lot (can’t remember exactly which one now), but it was easily adjusted. This engine has the square tappets, so, although I should have used a tappet holder, it didn’t seem quite necessary…
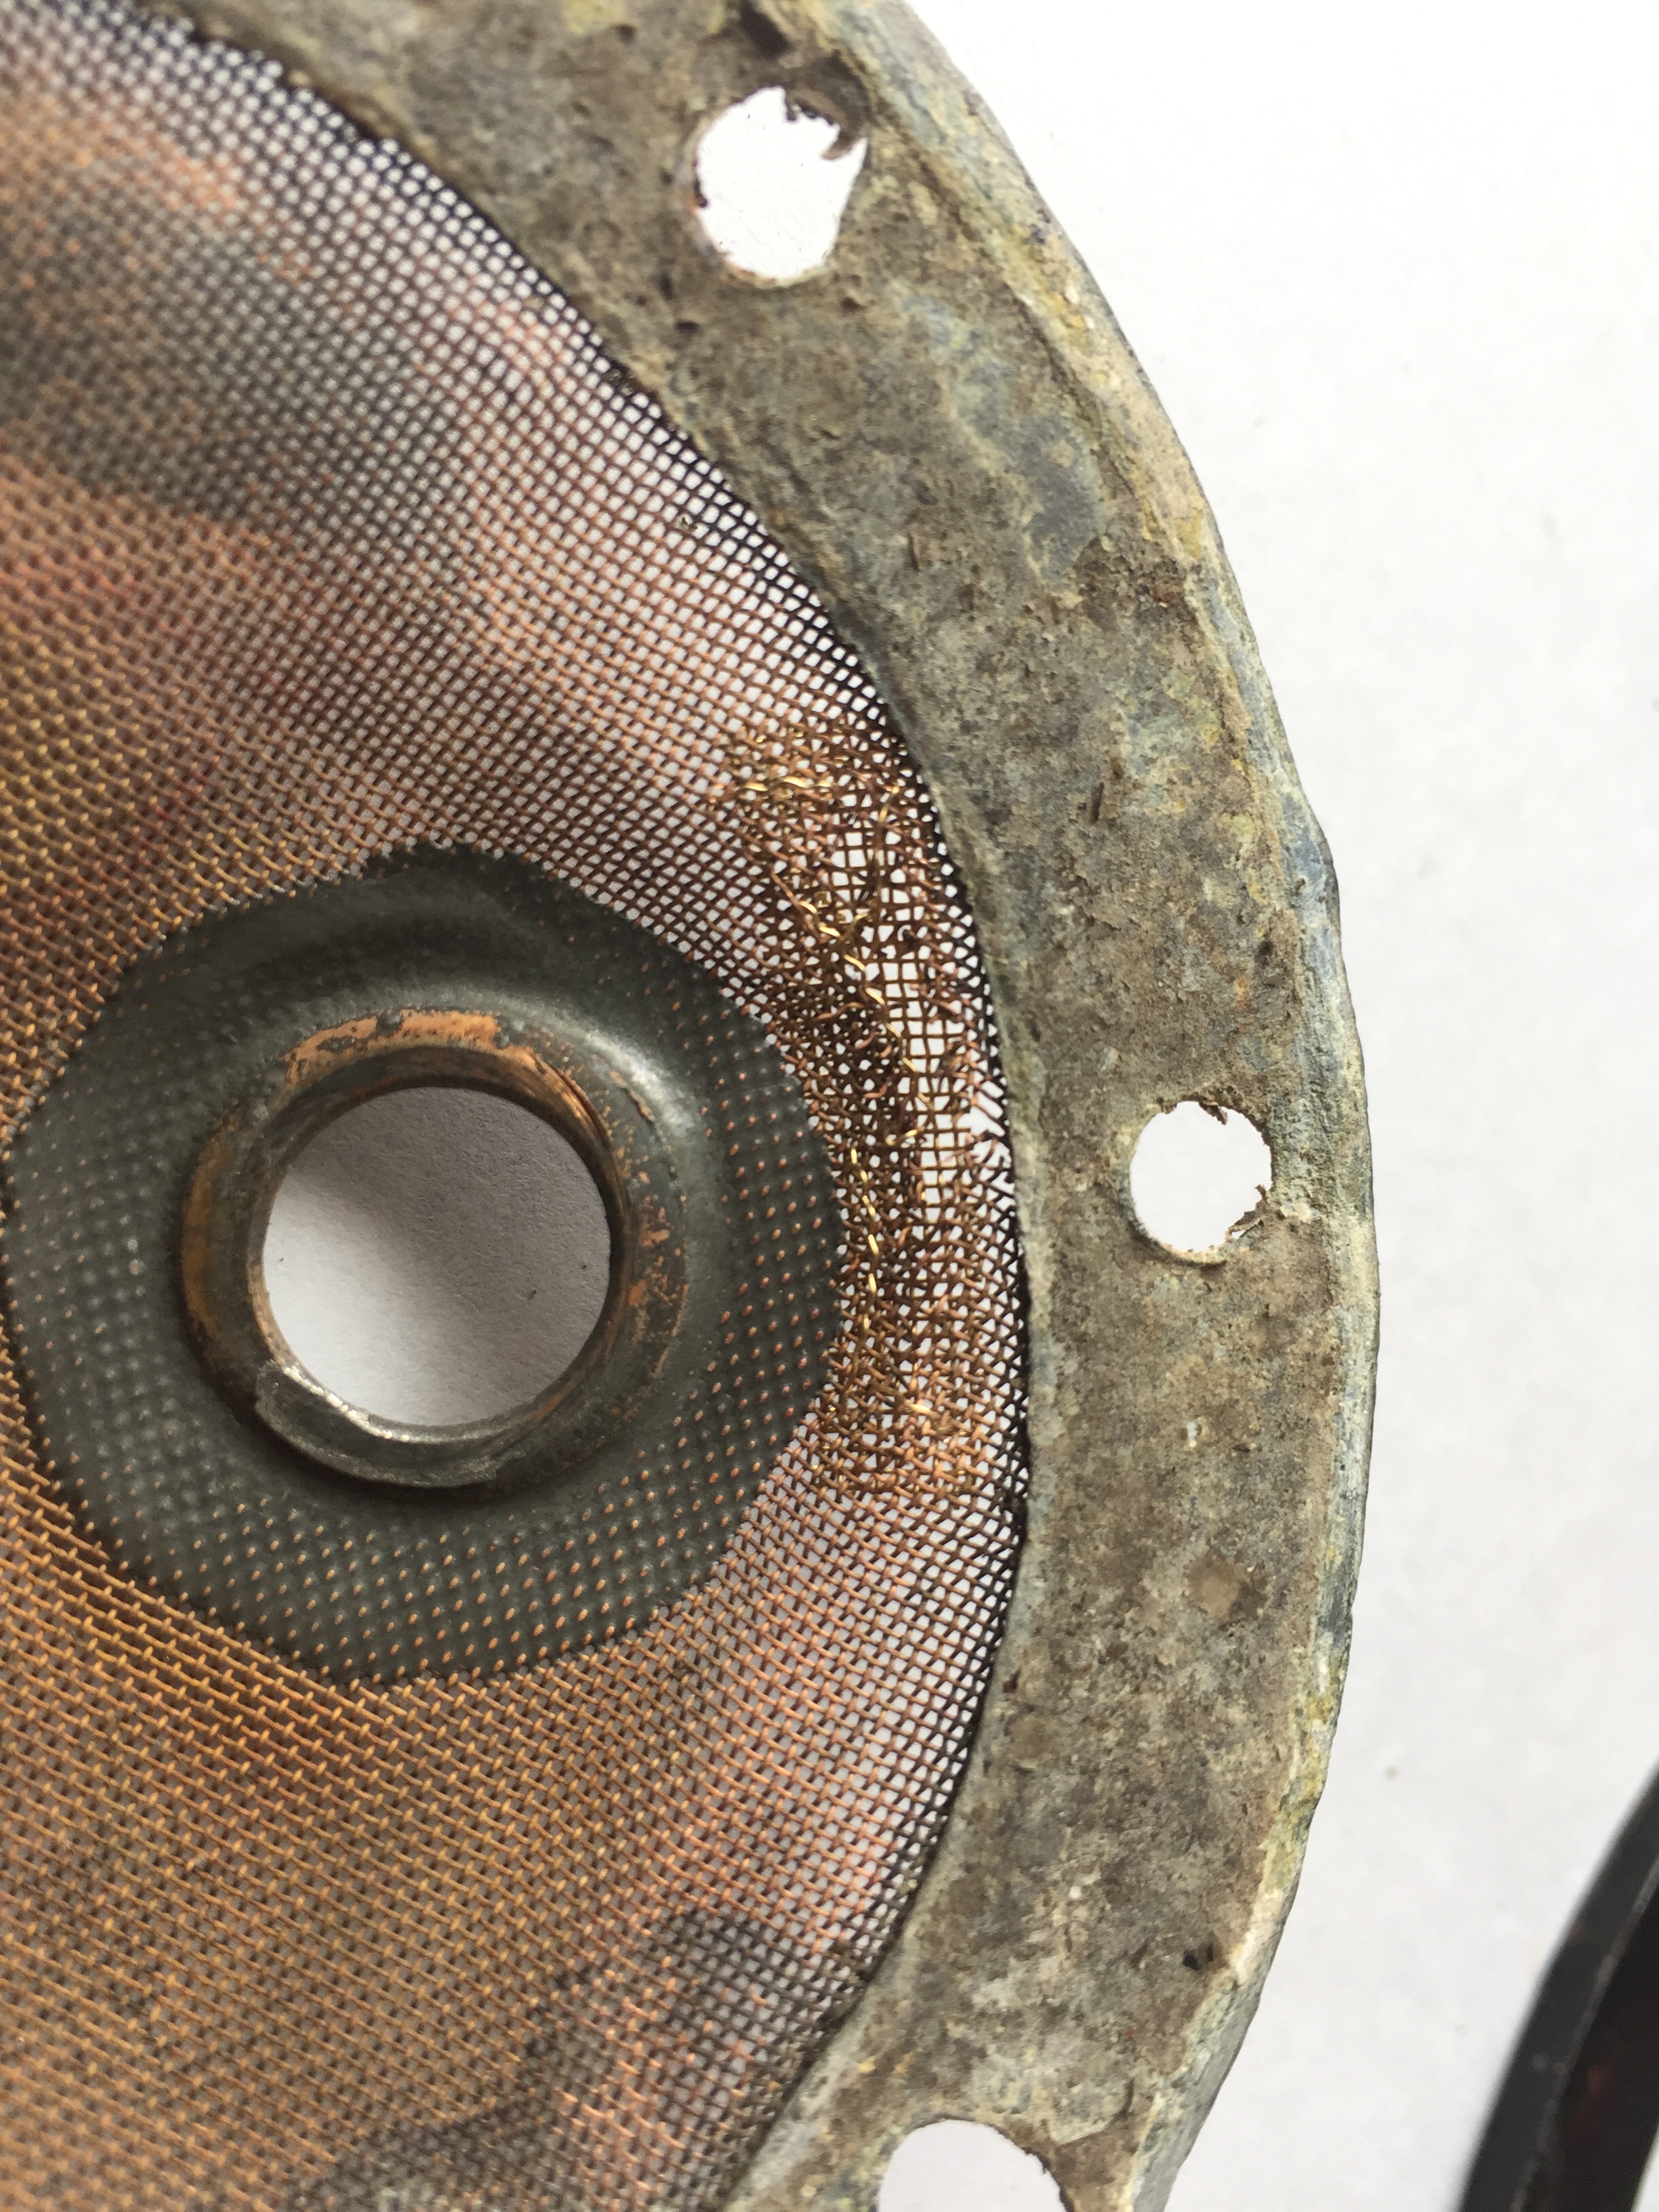
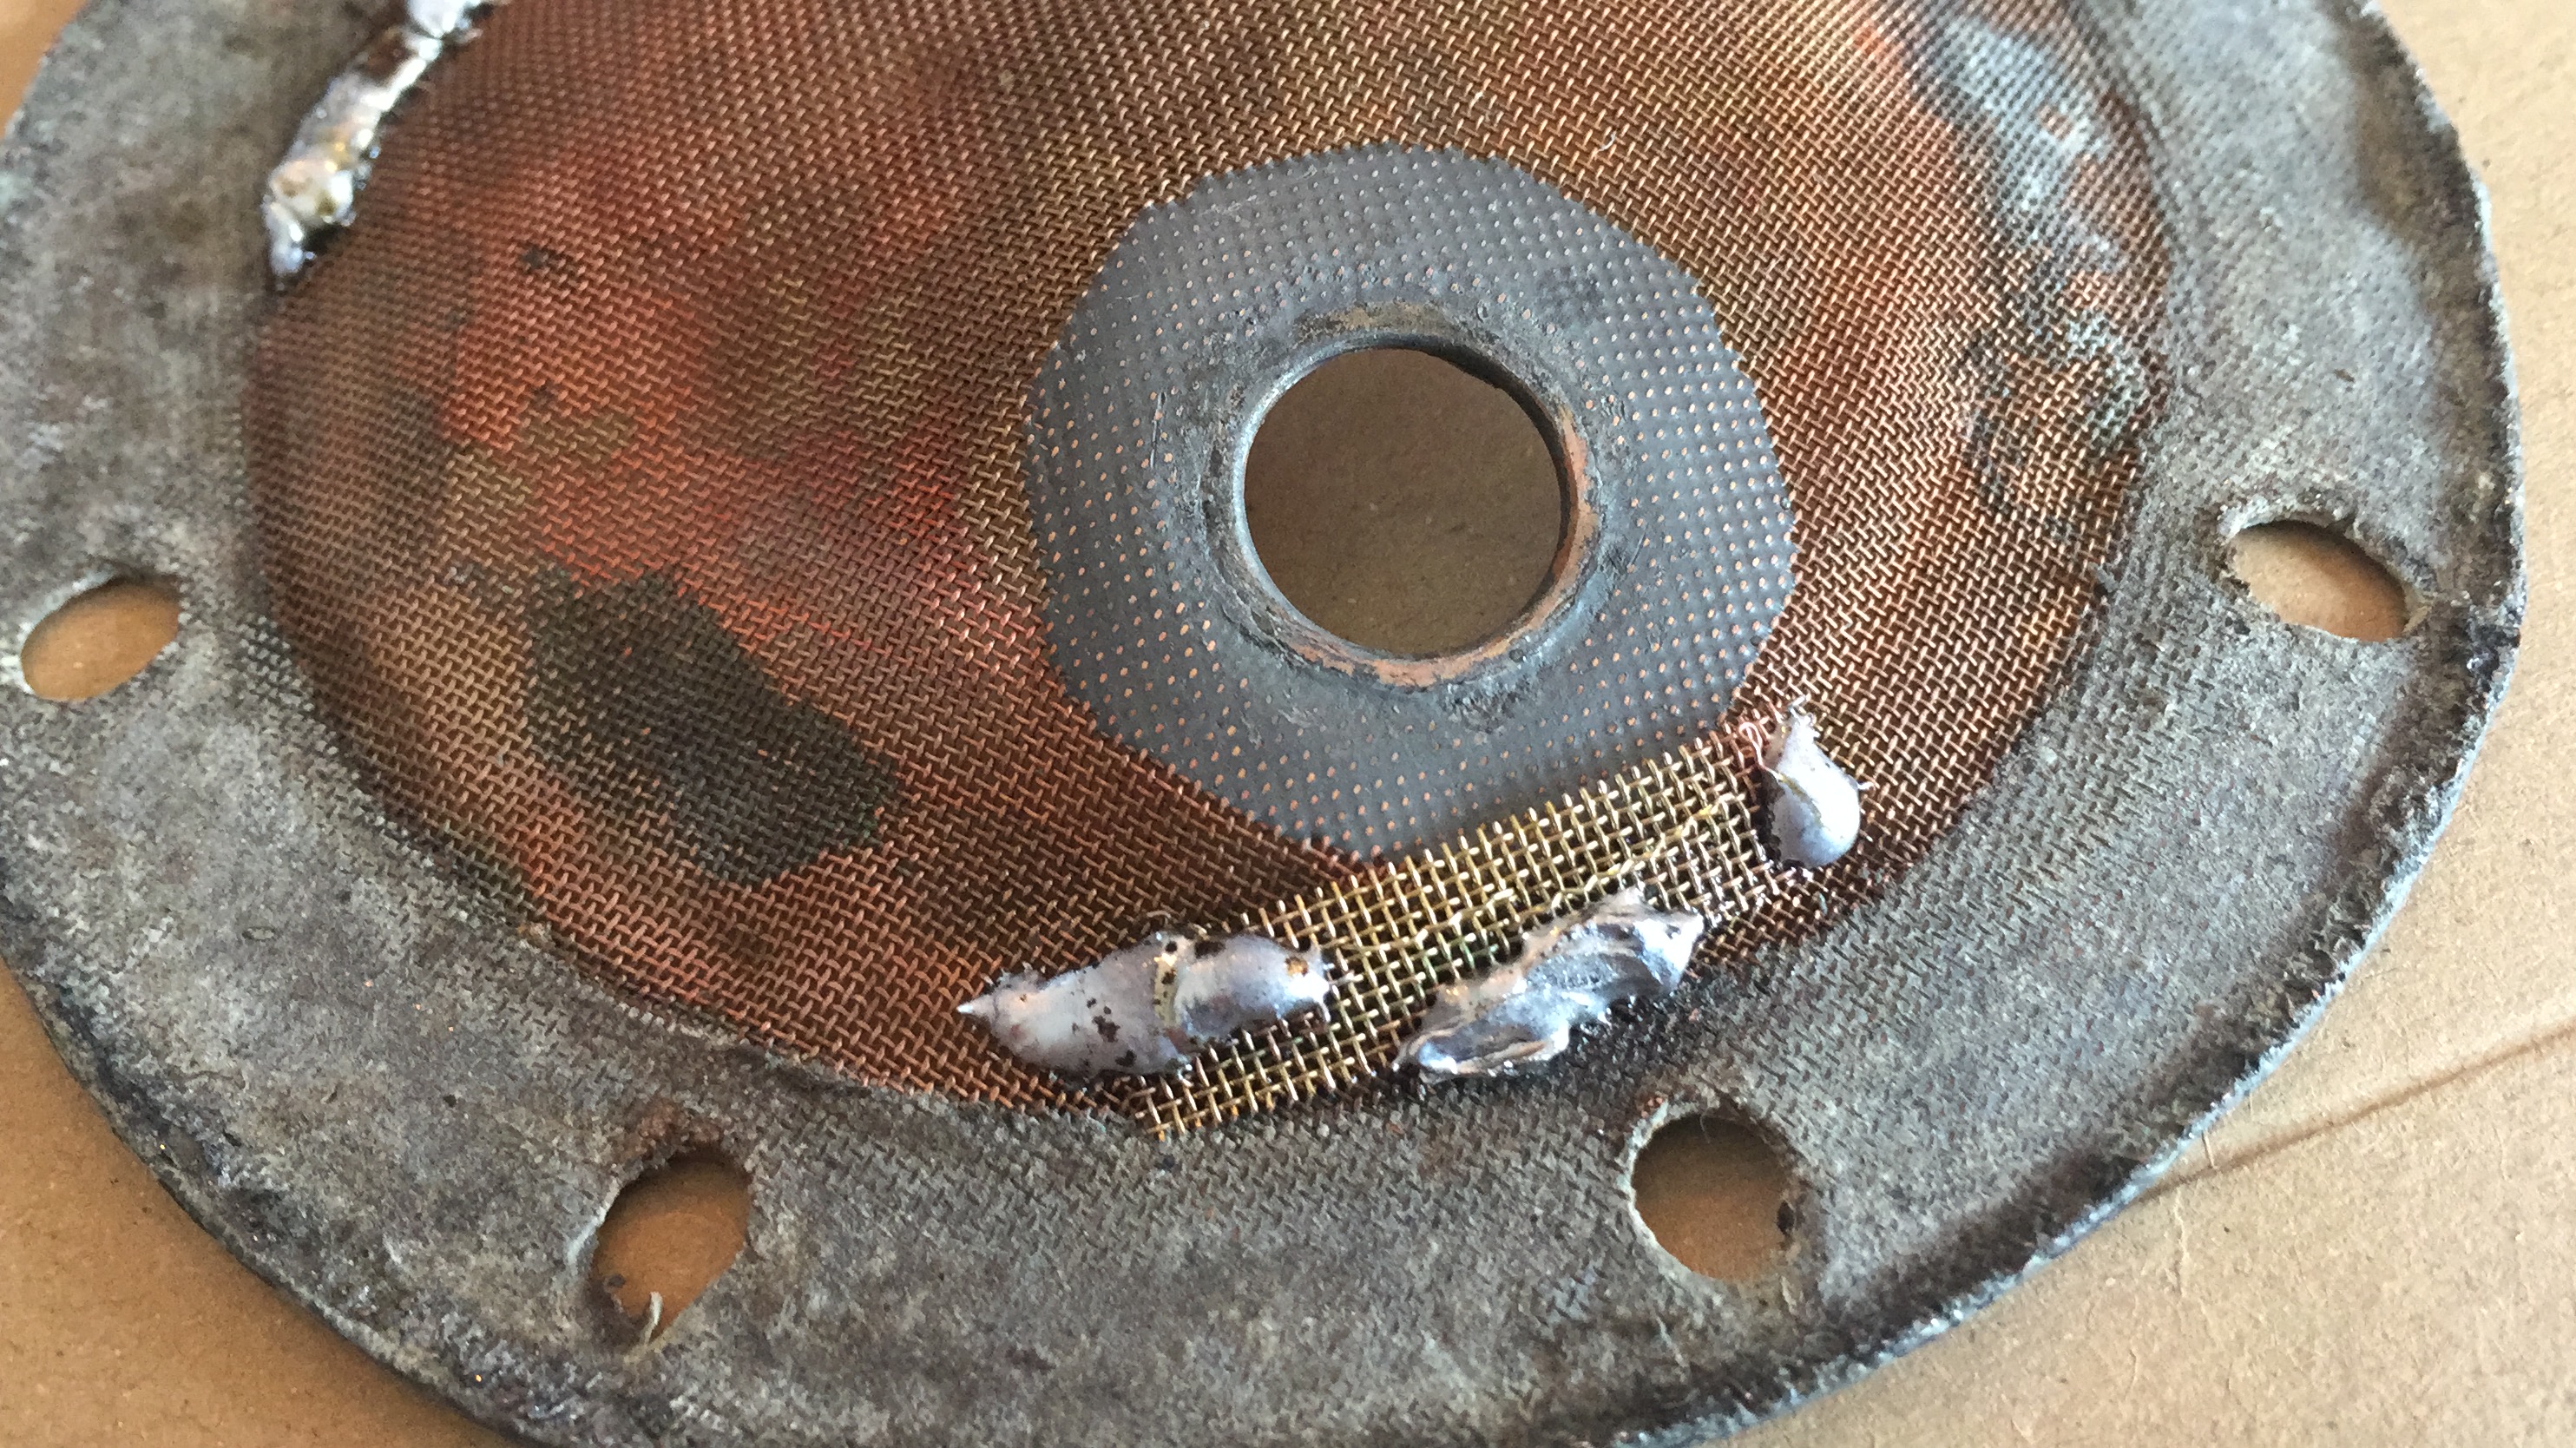
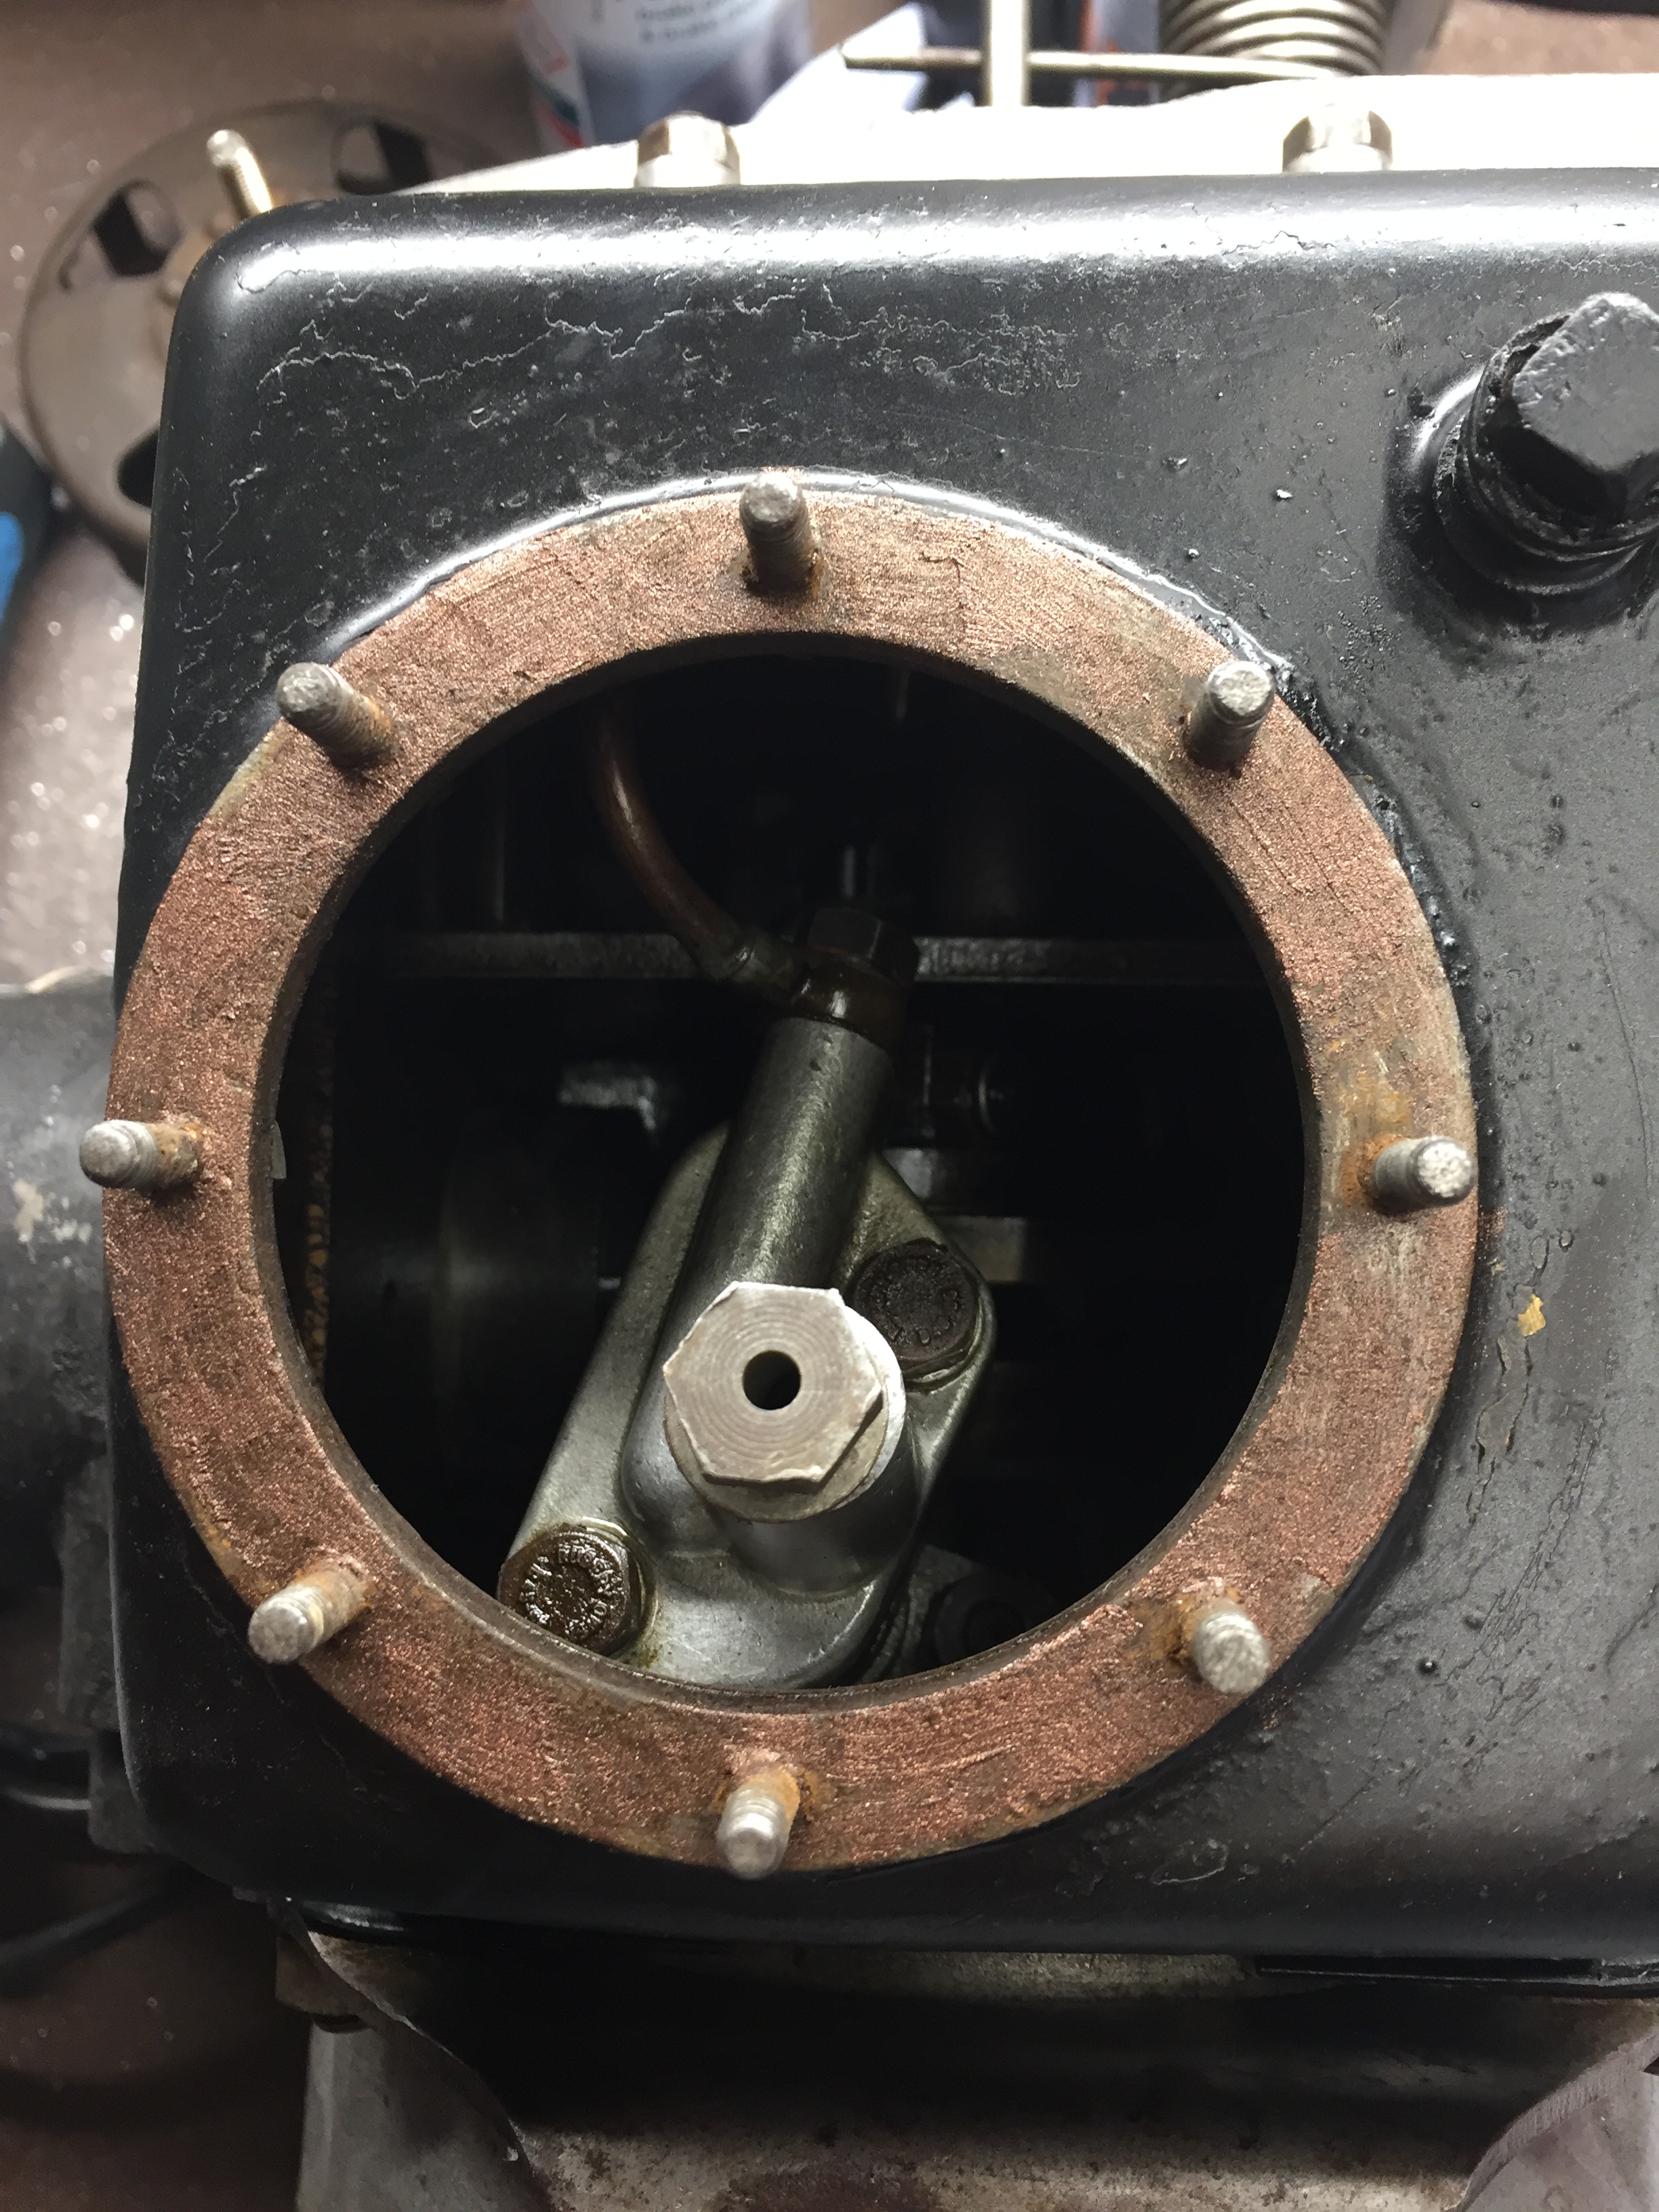
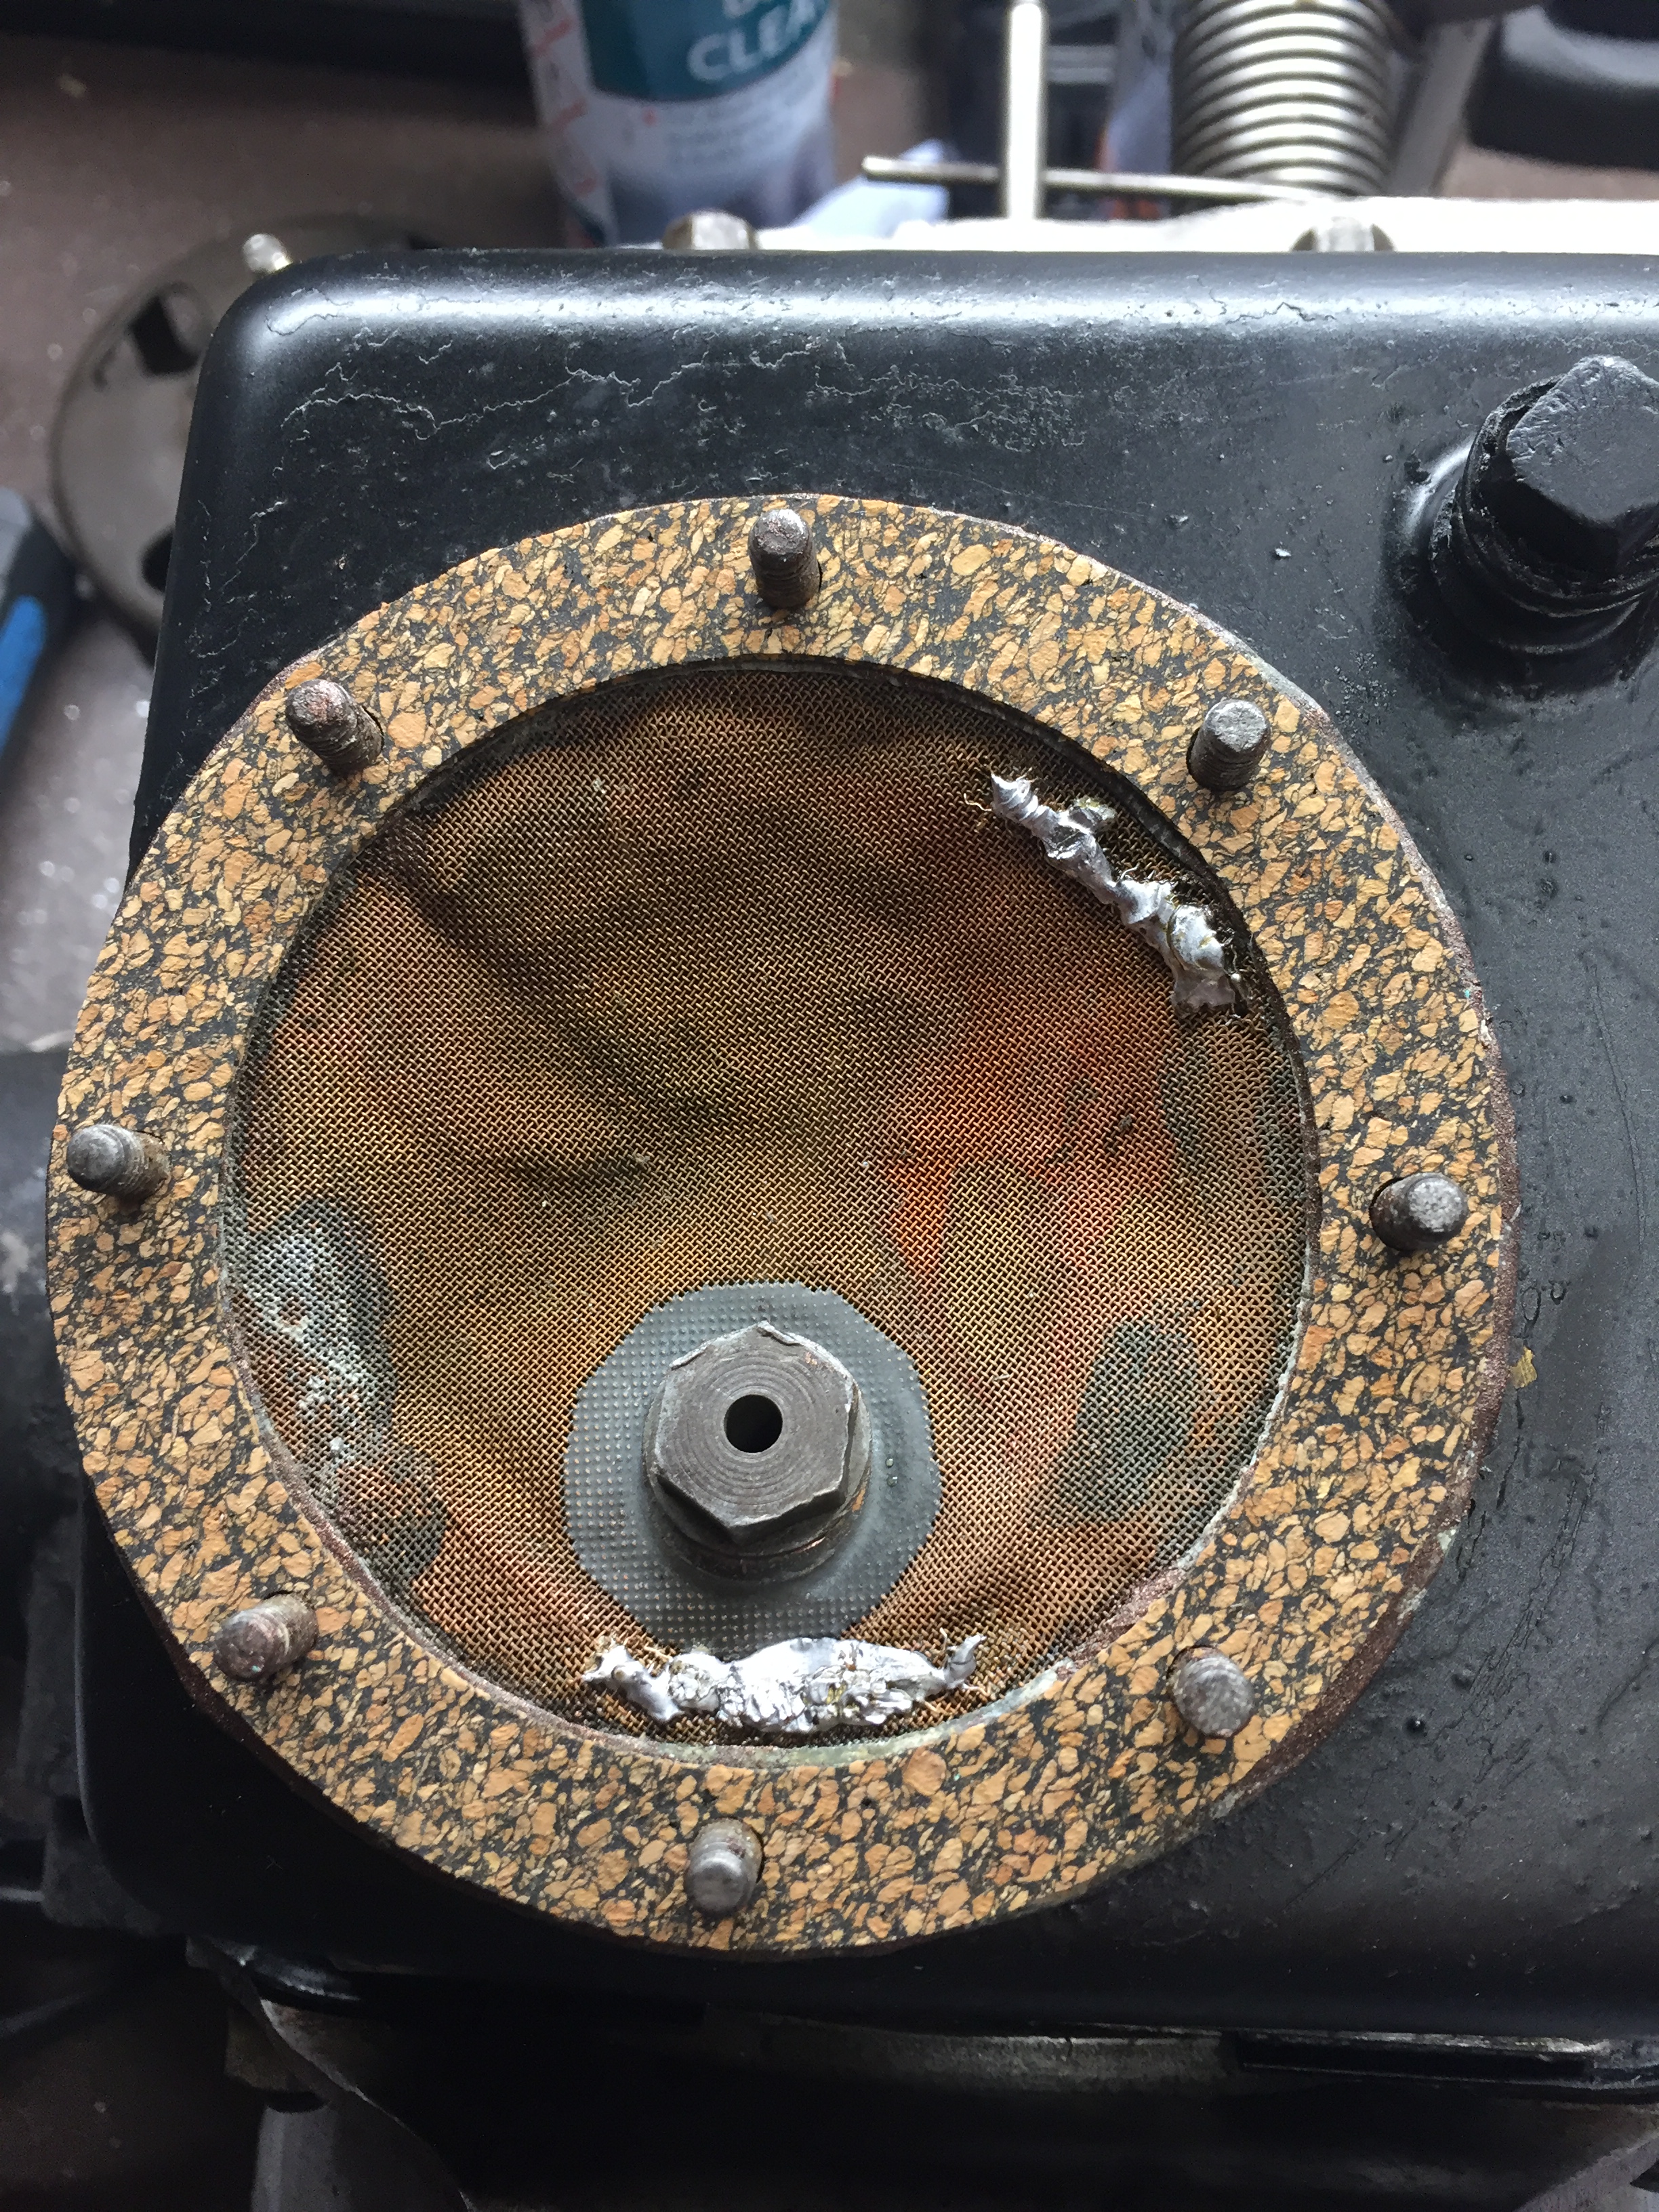
I then spent some time cleaning the sump and oil filter. I found that the filter was torn in a couple of places and, with no replacements available, I had to find a way to repair it. I bought some copper gauze intending to patch the holes, but instead I used a copper thread pulled from the new gauze and darned the holes closed, finishing off with a bit of soldering to hold it in place. The result may not be perfect, but it’s probably 10 times better than it was before!
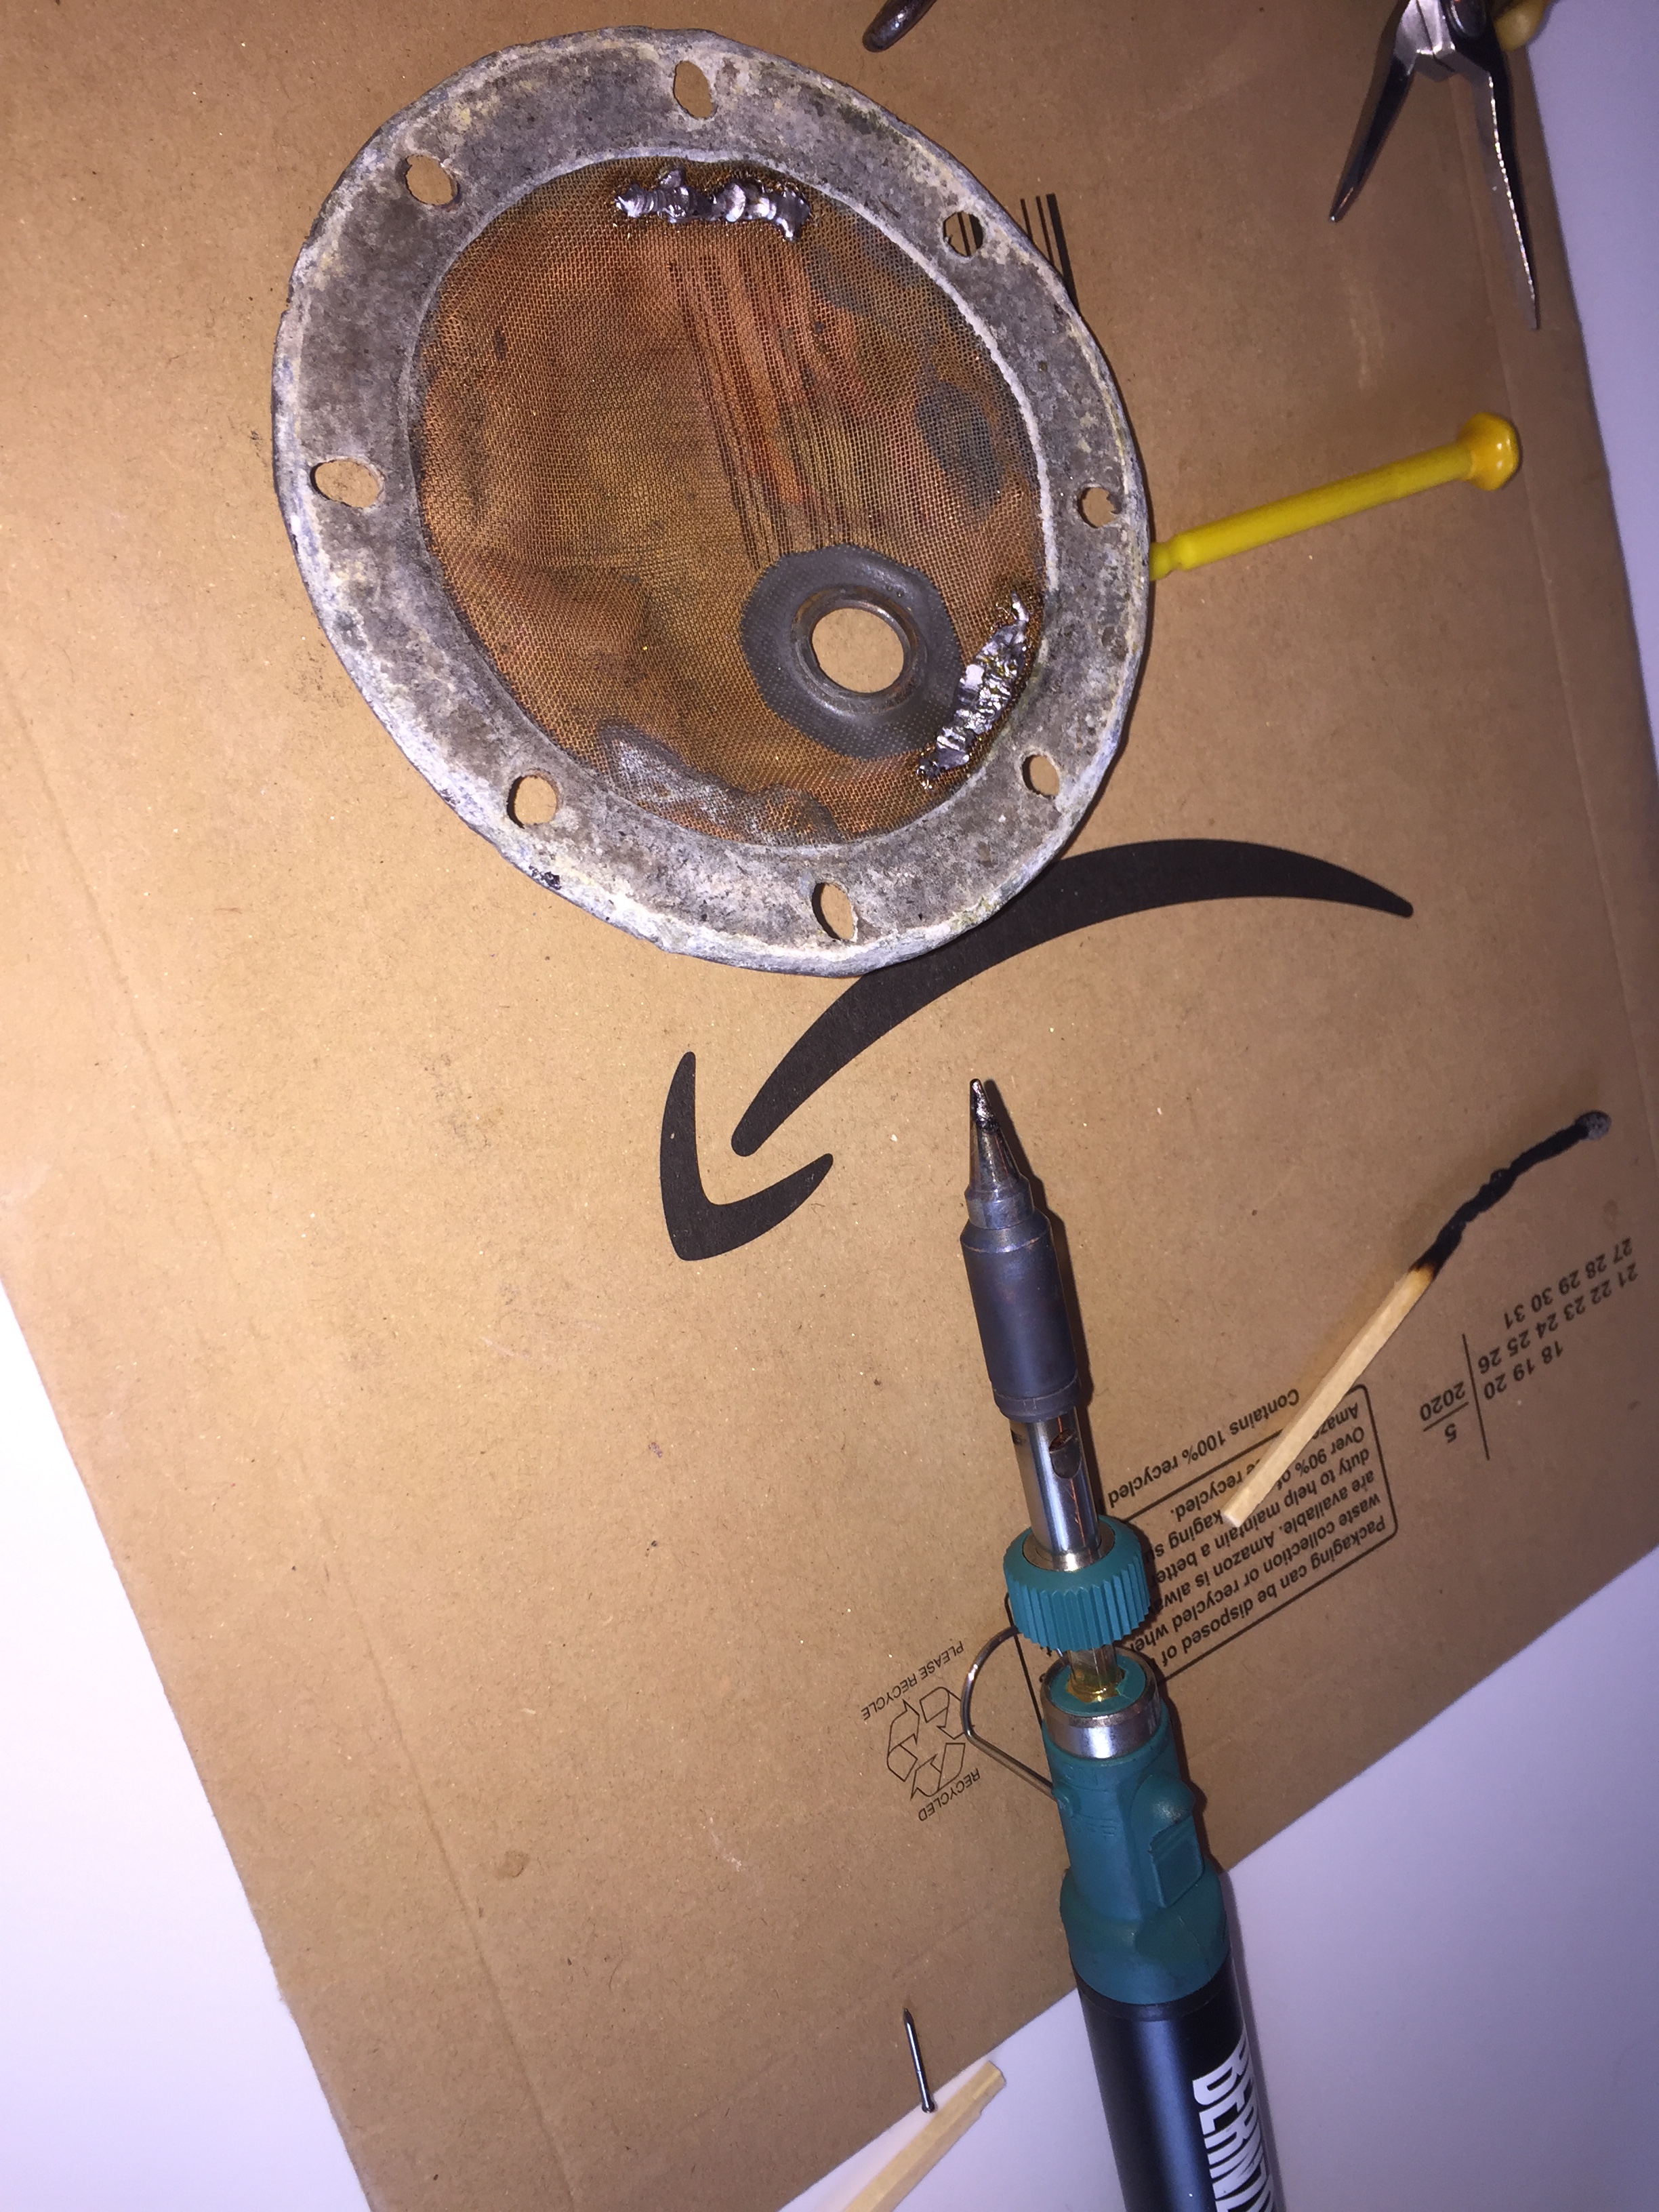
A bit of soldering (using a gas-powered soldering iron for power) has hopefully held everything in place.
Next, the ignition and generator. More on that in Part 11…

