The Tailstock
October 2021
A tailstock didn’t come with the original lathe, so I managed to acquire one through the Boxford owners group. I don’t think it’s from the same generation as the main lathe, perhaps the Mk2 (mine’s a Mk1), but the sizing has stayed the same so should be ok. The new one seemed to work ok and all parts were present, so first thing was to disassemble it and check it really was ok.
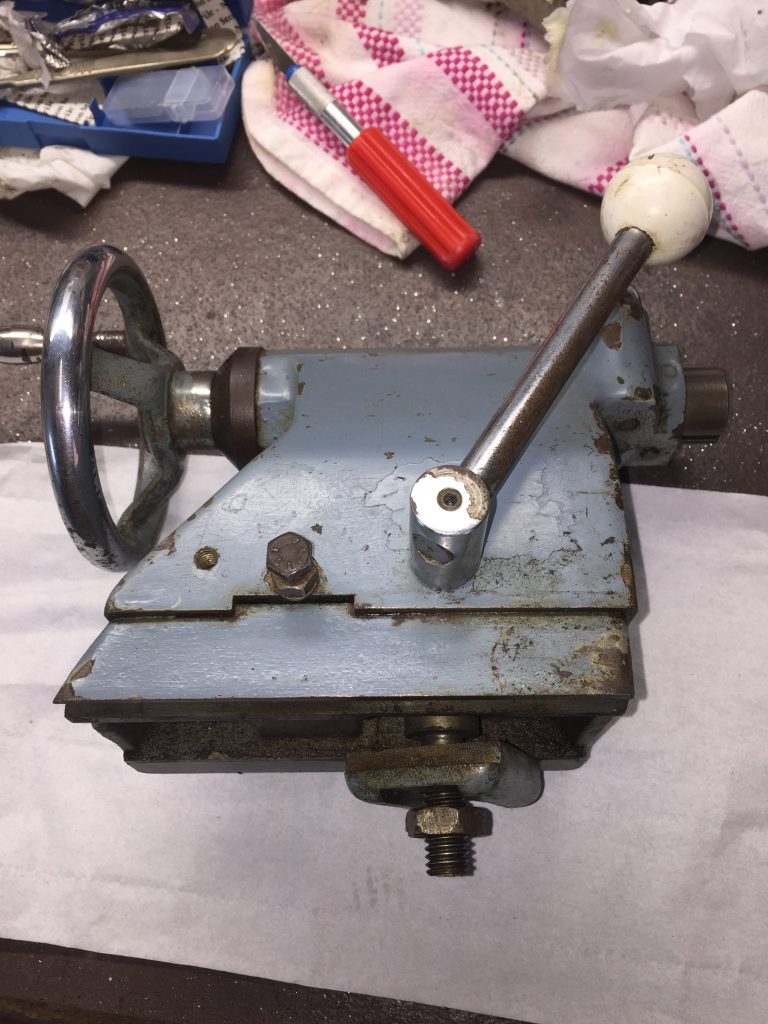
The backside 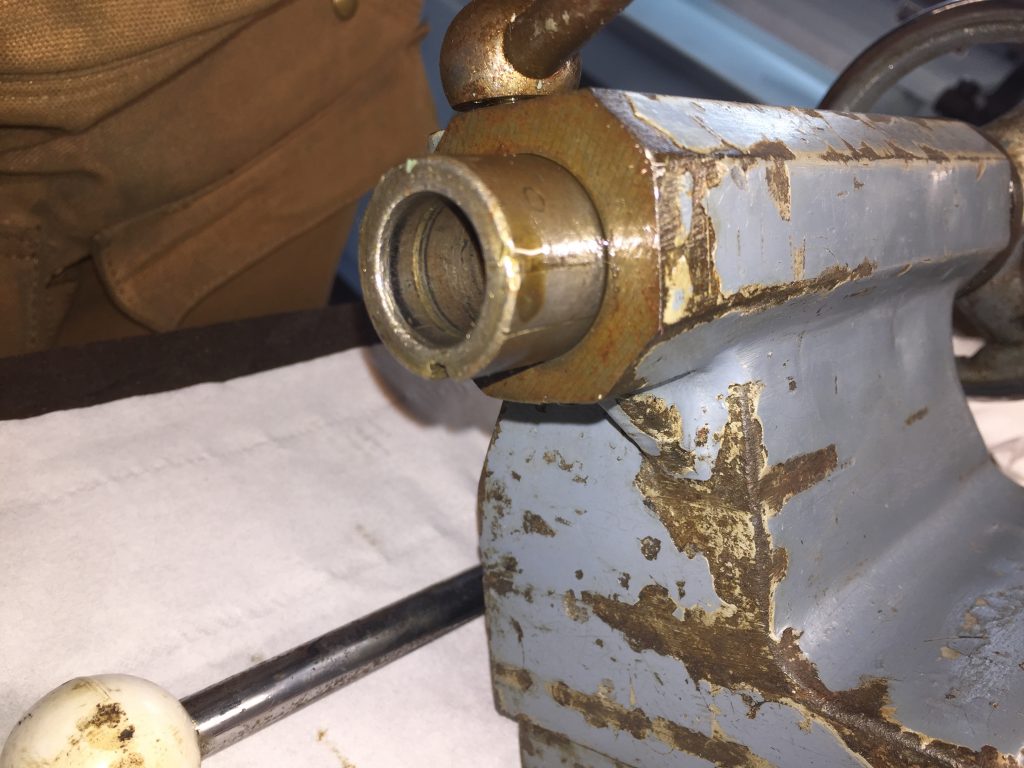
Head of the tailstock
Disassembly was straightforward, but it took some effort to remove the lower section – understandably a tight fit. The sliding shaft, wheel, lead screw. the shaft clamp and the eccentric base clamp all came apart easily. They were all washed down, cleaned up, checked and oiled.
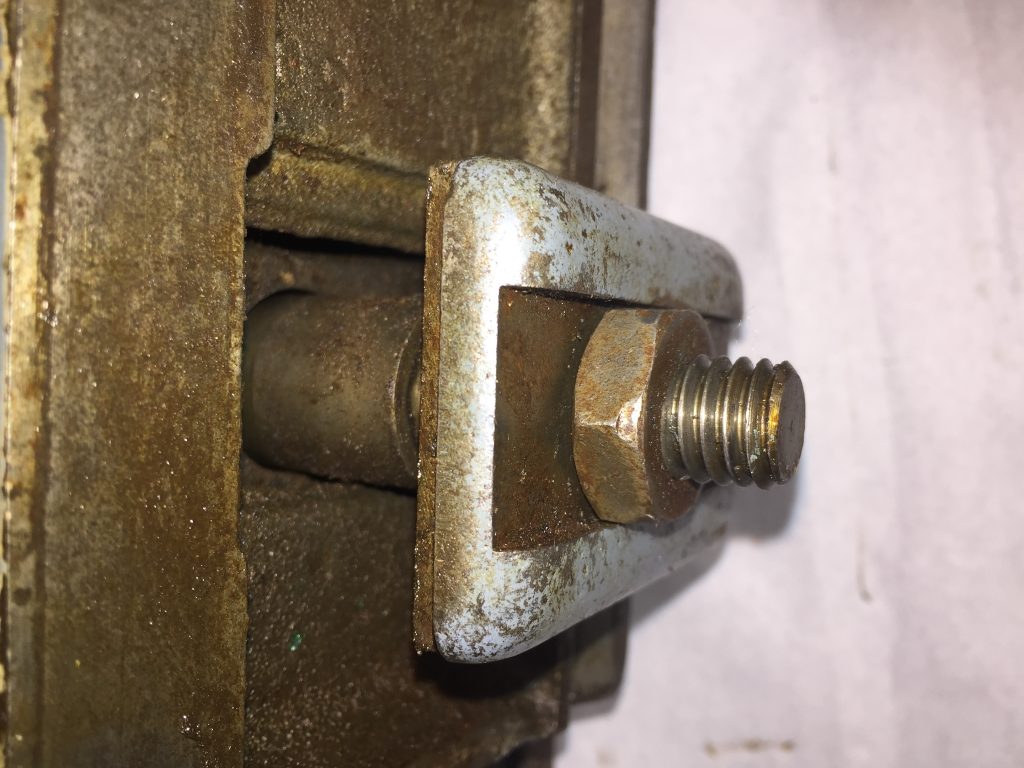
Bolt to clamp to bed 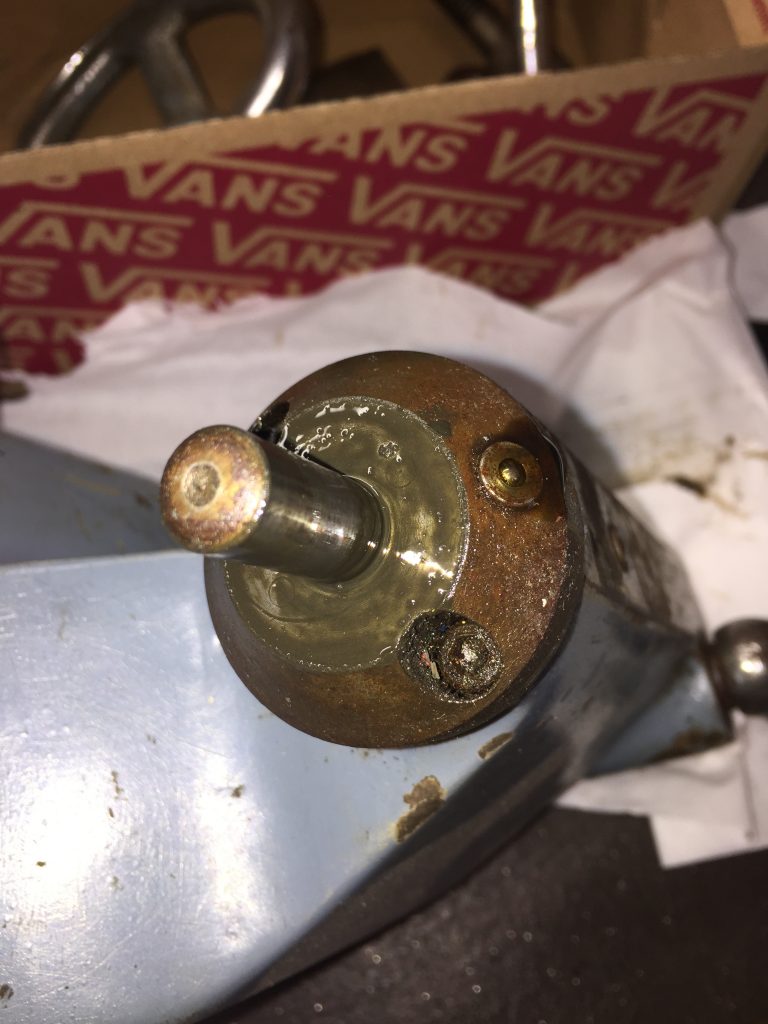
Wheel removed 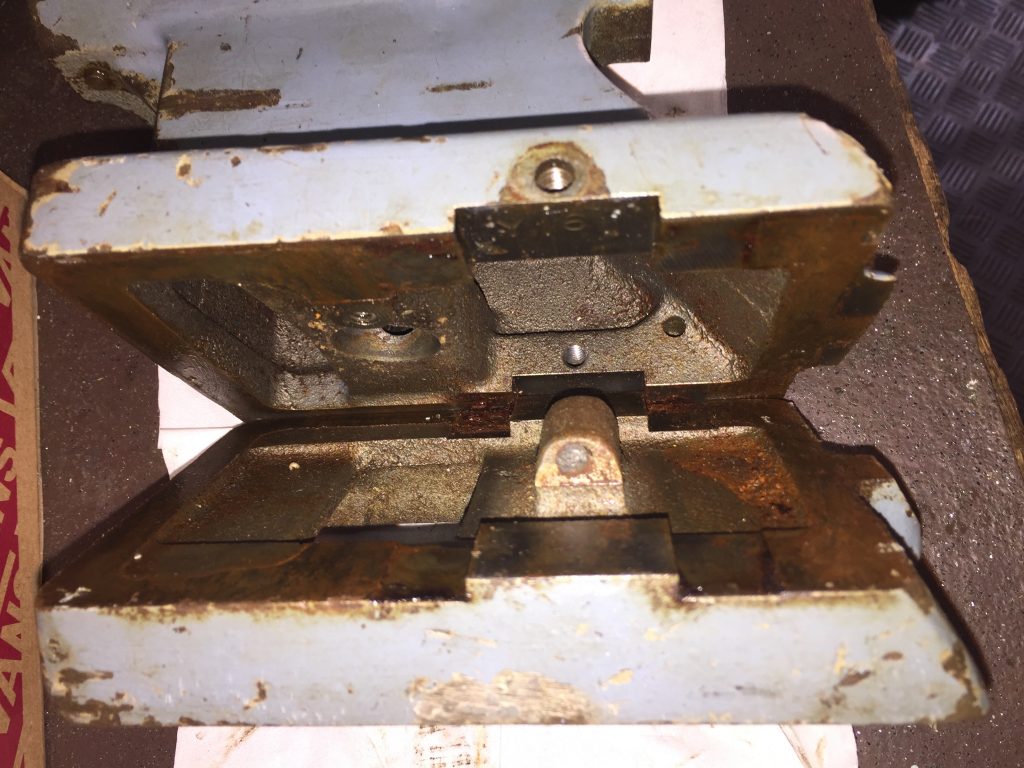
We have separation.. 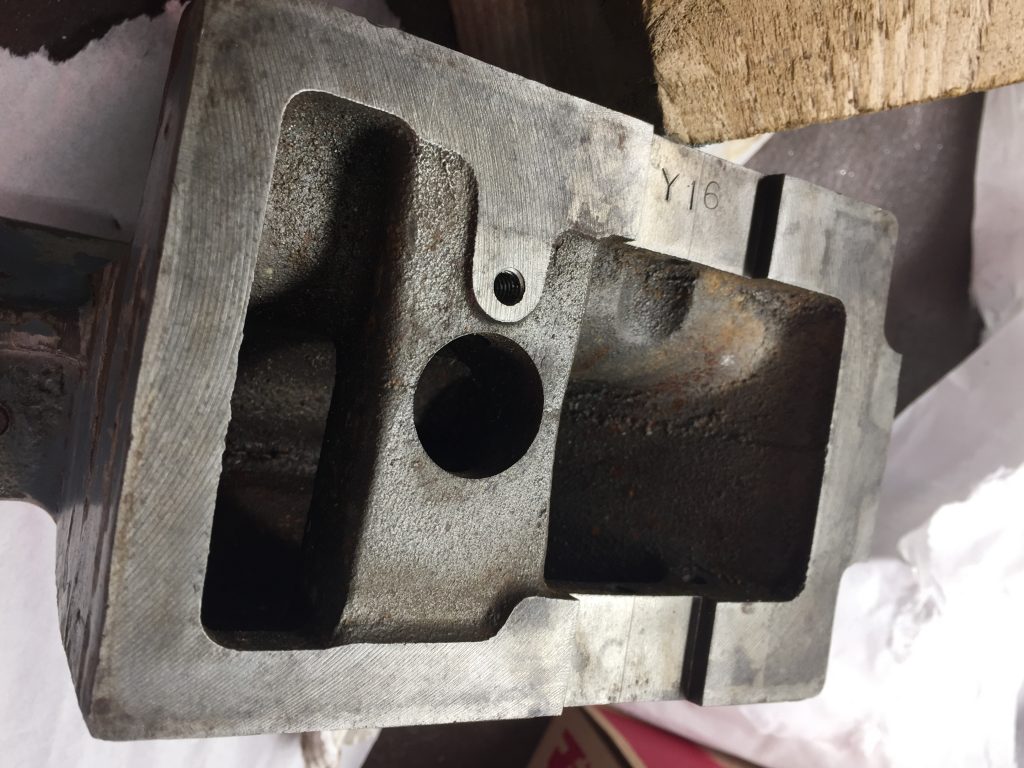
Cleaned up
Then it was a case of sanding down the painted parts and masking up.
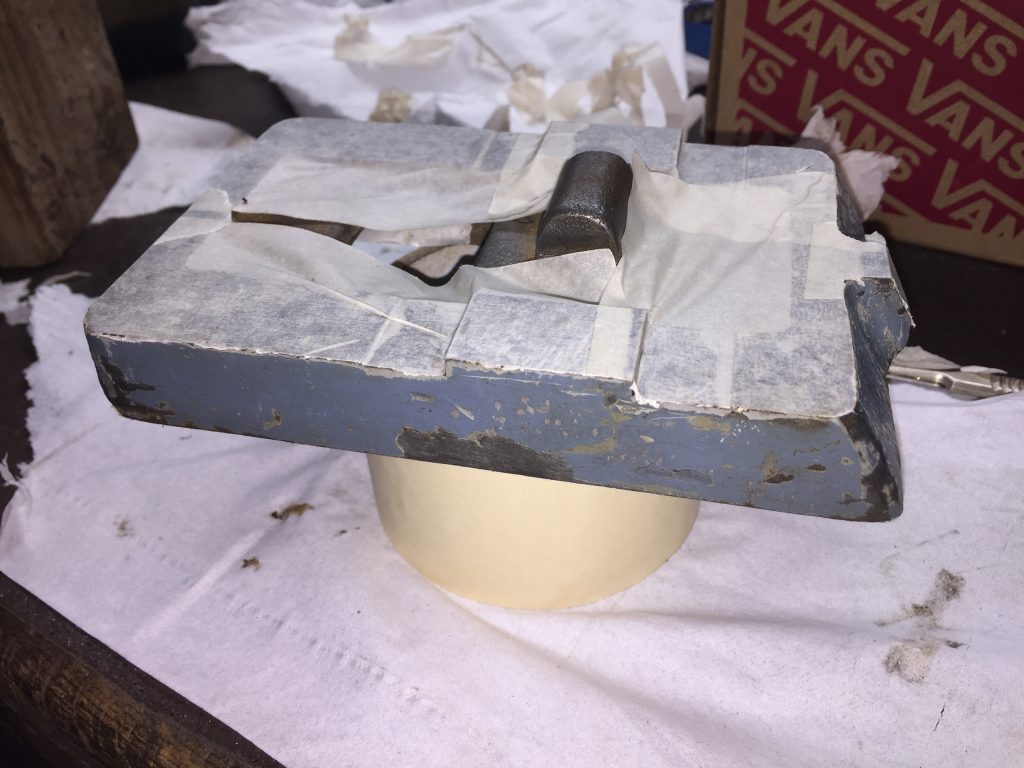
Bottom masked 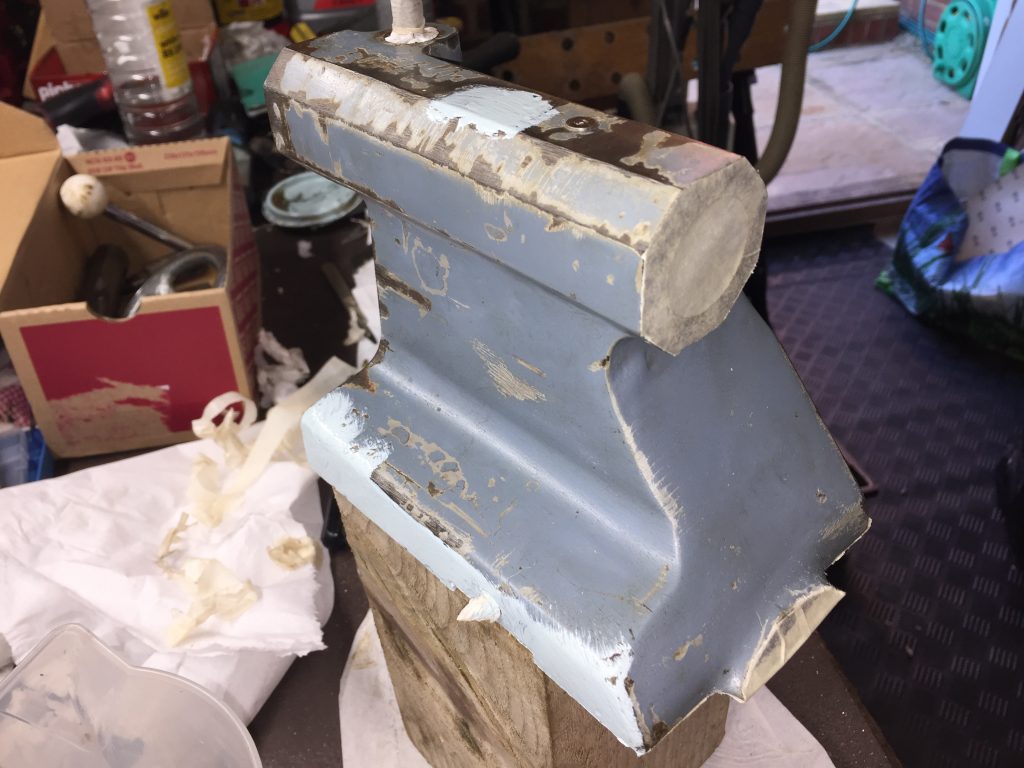
Top masked
Then two coats of paint. I didn’t mask the hand wheel and did it by hand, but it worked out ok.
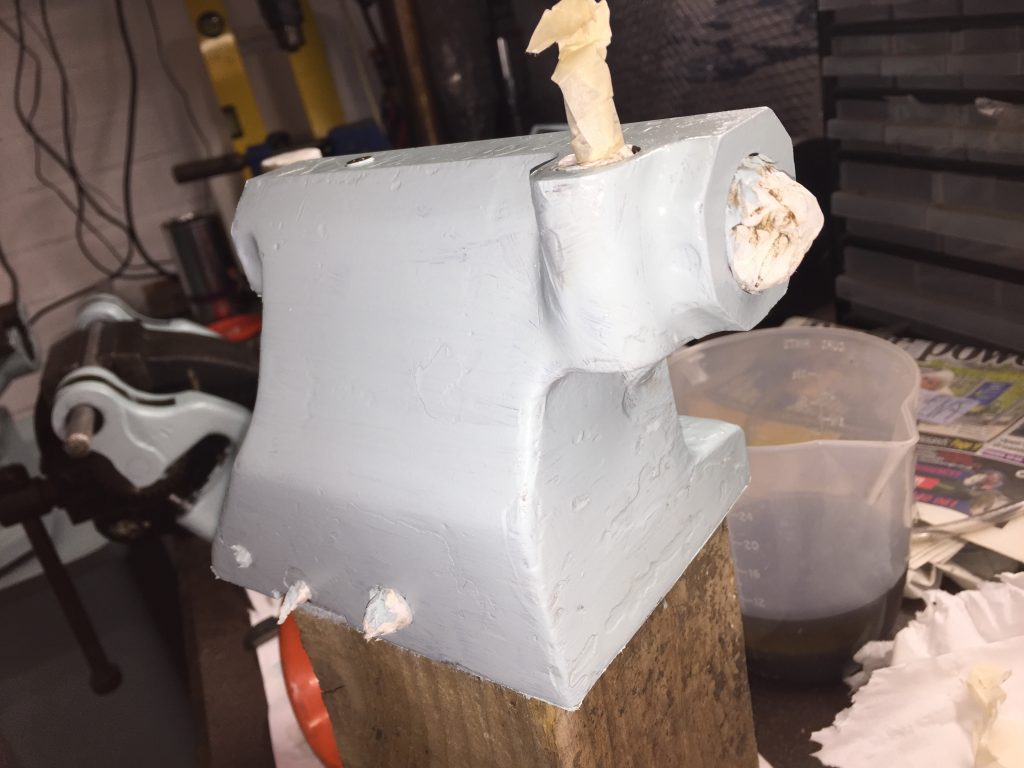
Looking better 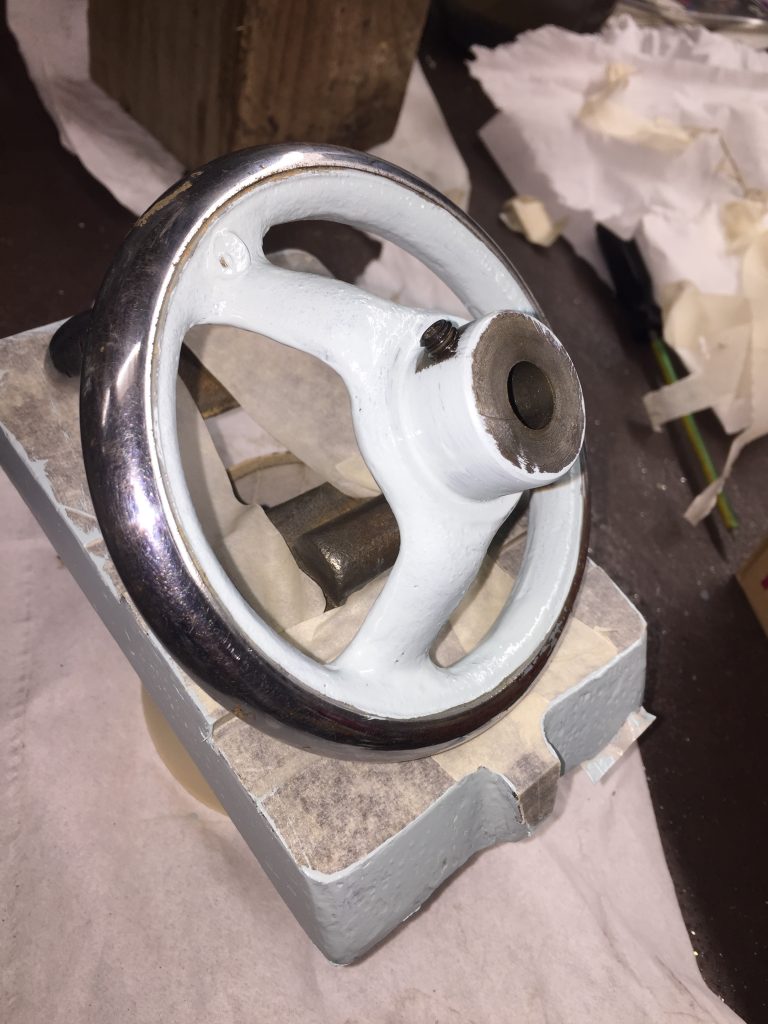
Hand wheel by hand
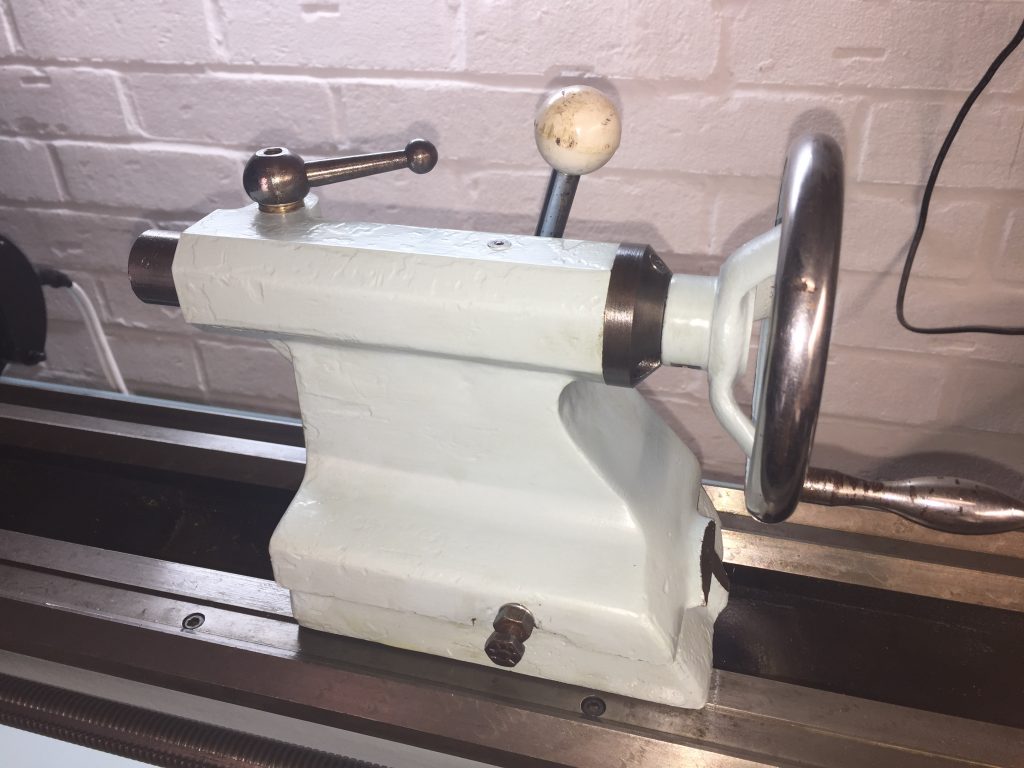
Then to re-assemble it. Getting the base on was tricky as it was so tight, so I didn’t do the final tightening right away, left that until it came to clamping it to the bed, let that force pull the bits together (after getting it roughly in line via the end alignment marks). The clamping eccentric is the next part to assemble, getting that locked in place to the base clamping bolt. Used a lot of high pressure (molybdenum enhanced) grease as there is considerable sliding pressure on the eccentric. Obviously, you mustn’t tighten up the adjustment side bolts yet, just put them in place. The sliding hollow shaft is located by a long peg (a key I suppose), so that has to be lined up to get it in. The slider clamping wedge is brass, so worth giving that a little rub-down for the bling!
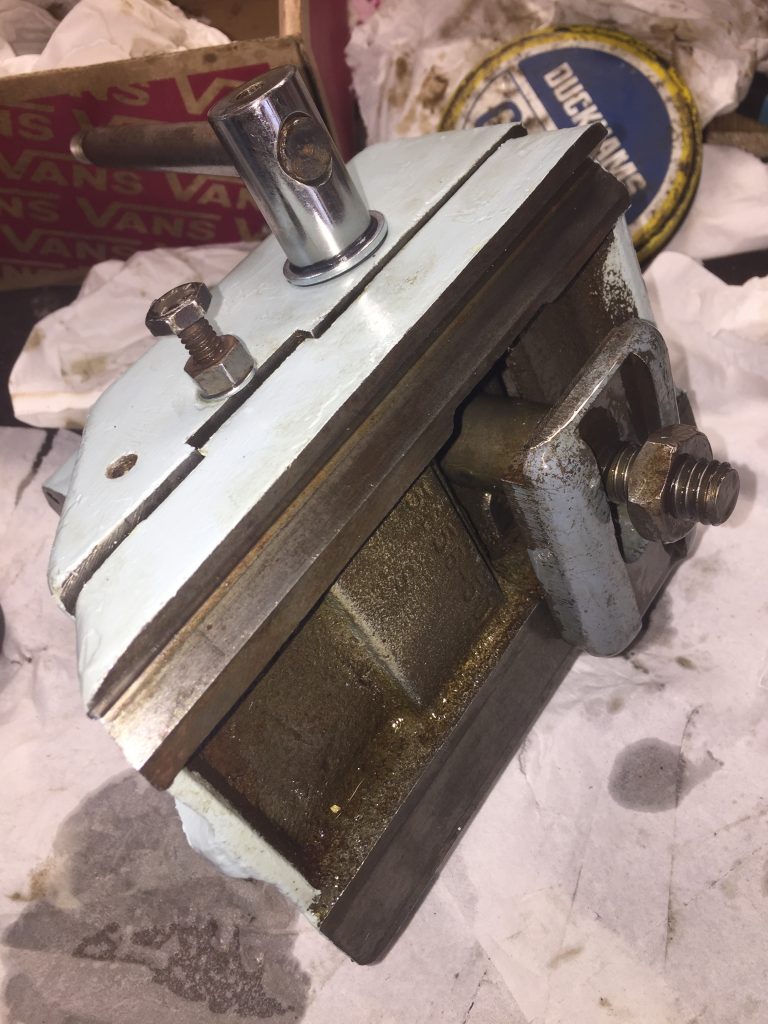
Loose base 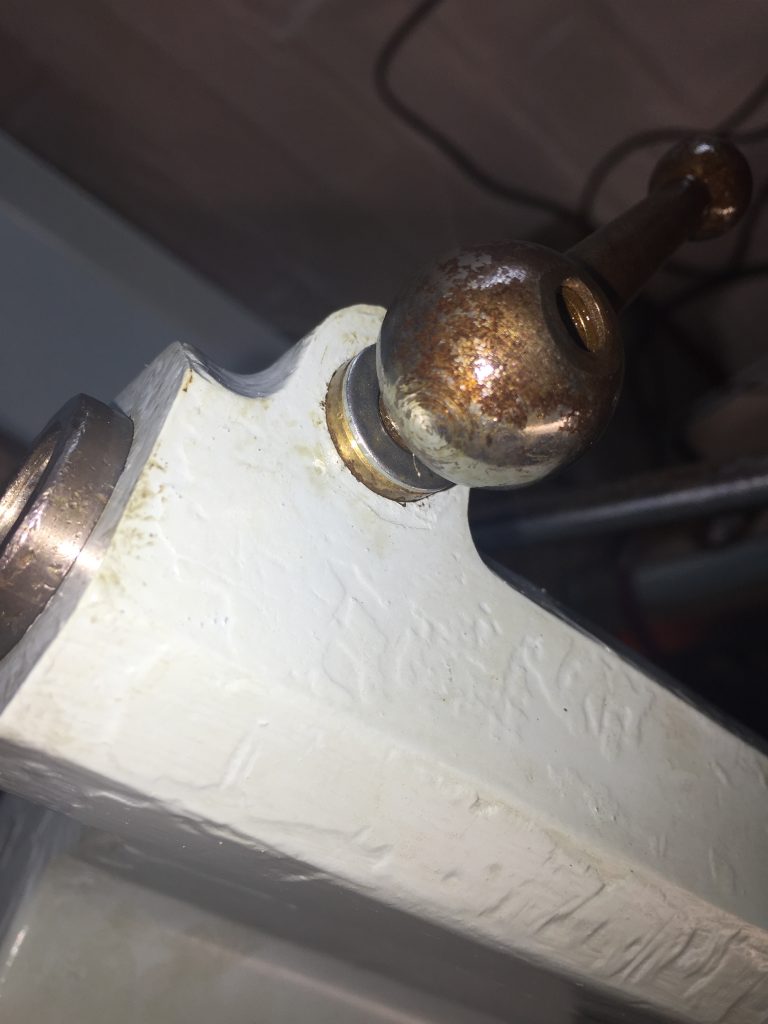
Shiny clamp
The lead screw bearings seemed a bit loose, but I managed to get a washer in there to take up the slack. Whether it was missing or just a sign of excessive wear I don’t know, but ok now.
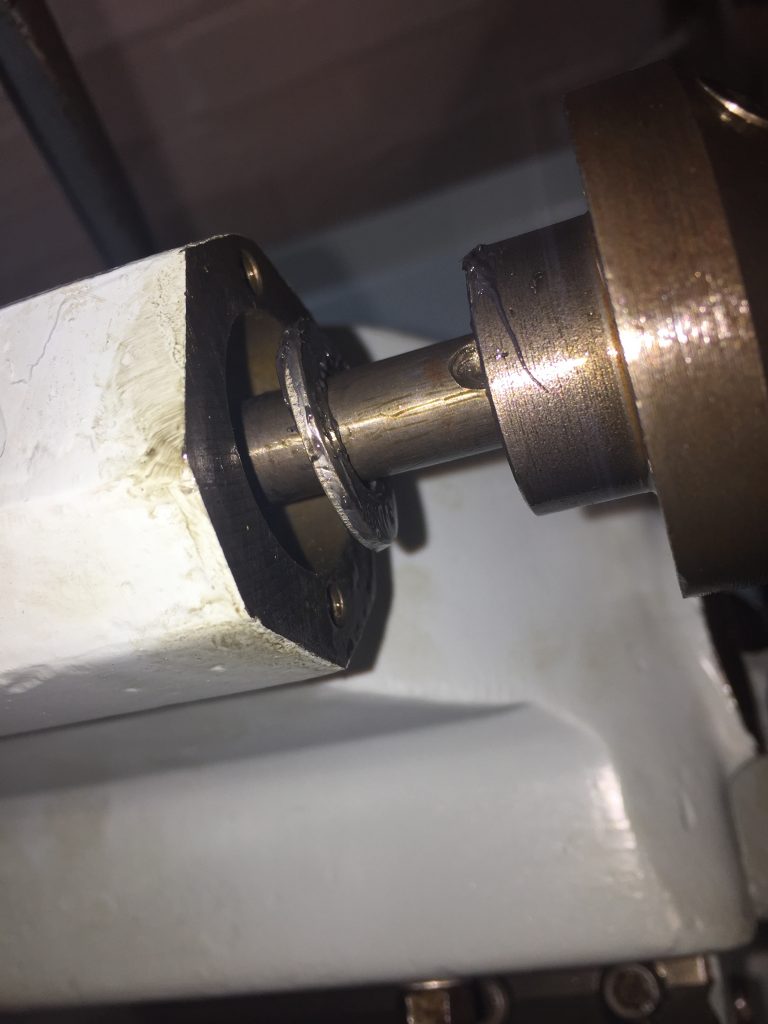
Then on with the hand wheel. Lots of oil on the lead screw and bearings. Then to get it mounted. The issue here is that the clamp adjusting nut is captive in the clamp, so to get it correct you have to take the tailstock off the bed, adjust the nut, put it back and test the clamping, then do that over and over until it’s right. And then the bottom and top halves bed-in as you clamp it up, so you have to take it off and adjust again… but in the end it was all adjusted ok.
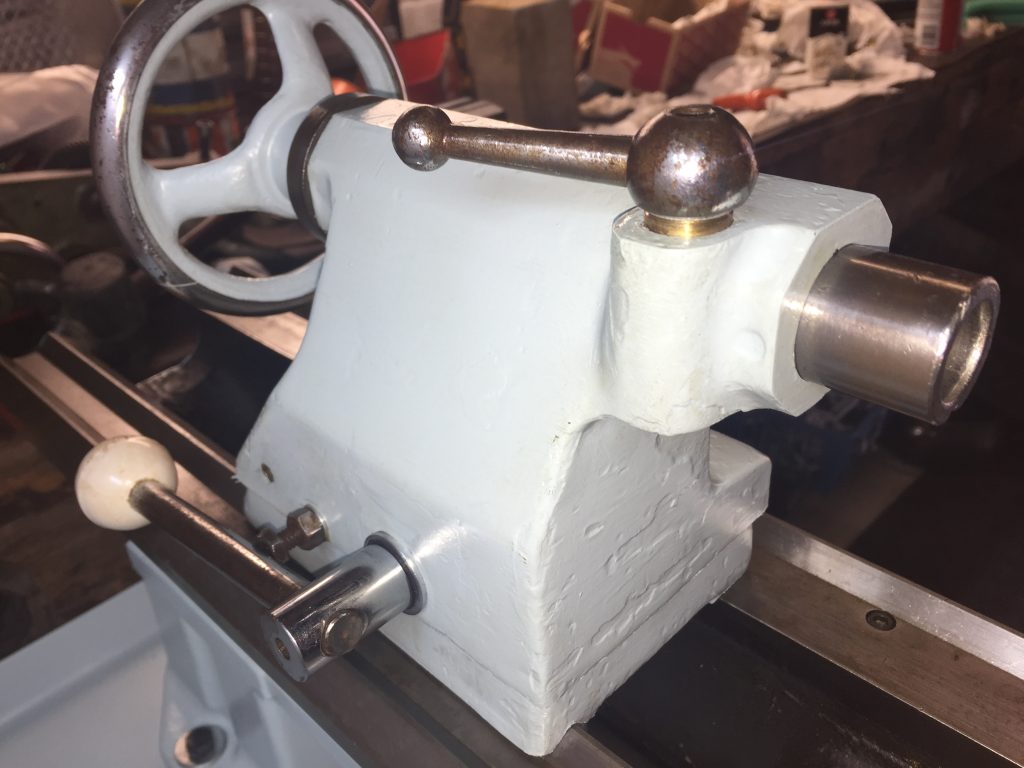
Off 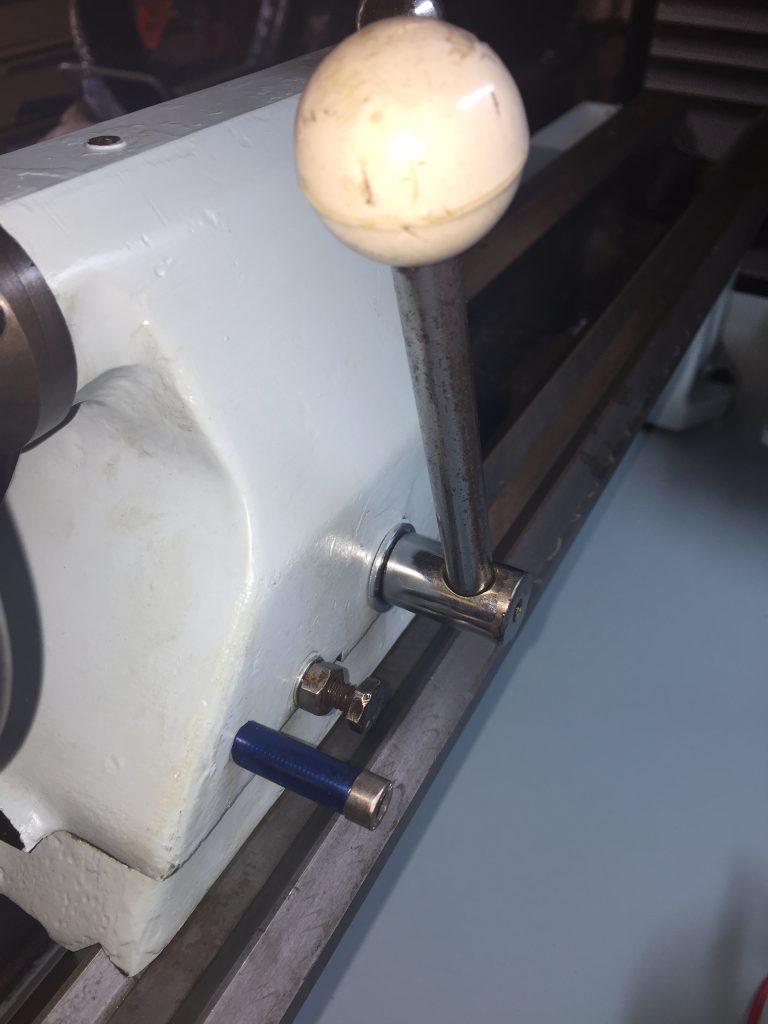
On 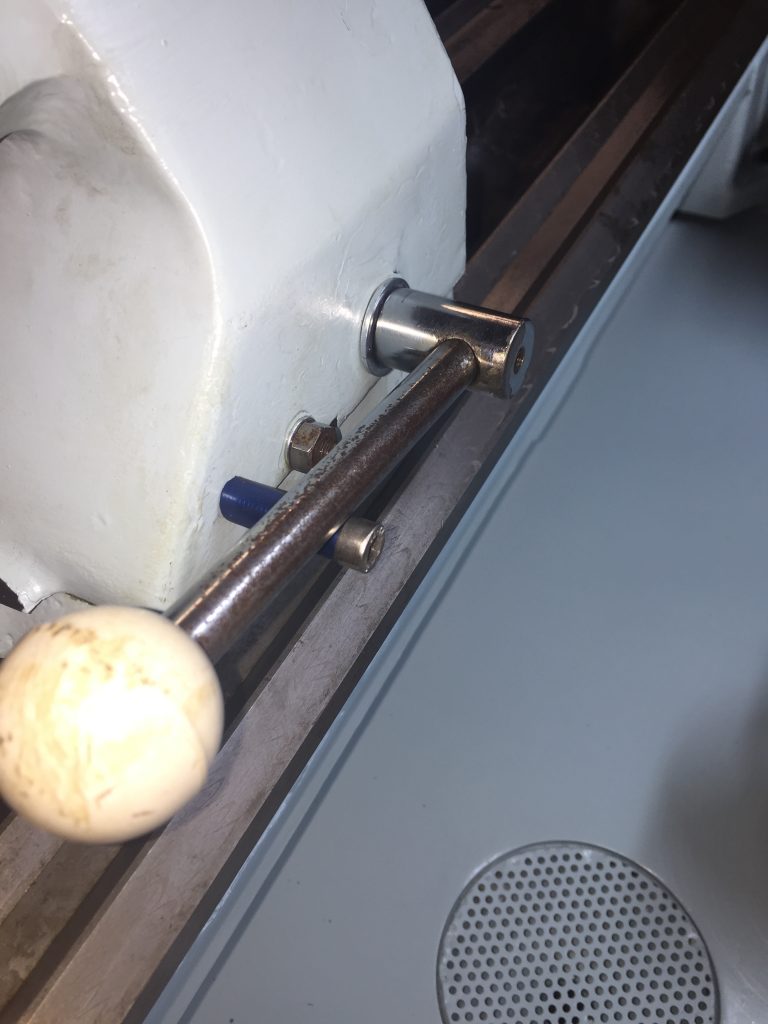
Stopped
There was a spare hole in the casting with no obvious use, so I put a long bolt in it, sleeved with plastic tubing and used it as a lever drop stop. And afterwards it seems that’s what it was for in the first place!
Right, so tailstock now in place and adjusted to zero with the adjustments screws. The fit between top and bottom is so good that, despite oil and grease on their surfaces, it was hard to adjust with the adjustment bolts, but it is do-able. The inside ends of those adjustment bolts were also lubricated with moly grease to give them half a chance of adjusting rather than just tearing themselves apart – the pressures must be high on those end points.
Click here for next page – the apron and cross-slide..
