The Gearbox
September 2021
The gear box is an interesting part of the lathe. It’s called a Norton type, but whether that’s associated with Norton motorcycles or not I don’t know. The awkward part of working on the gearbox was the gear selector levers as they have spring loaded buttons that added tension when it wasn’t needed. I didn’t fully disassemble the gear box, but I did give it a good wash out with white spirit. It was fully functional so no repairs were necessary.
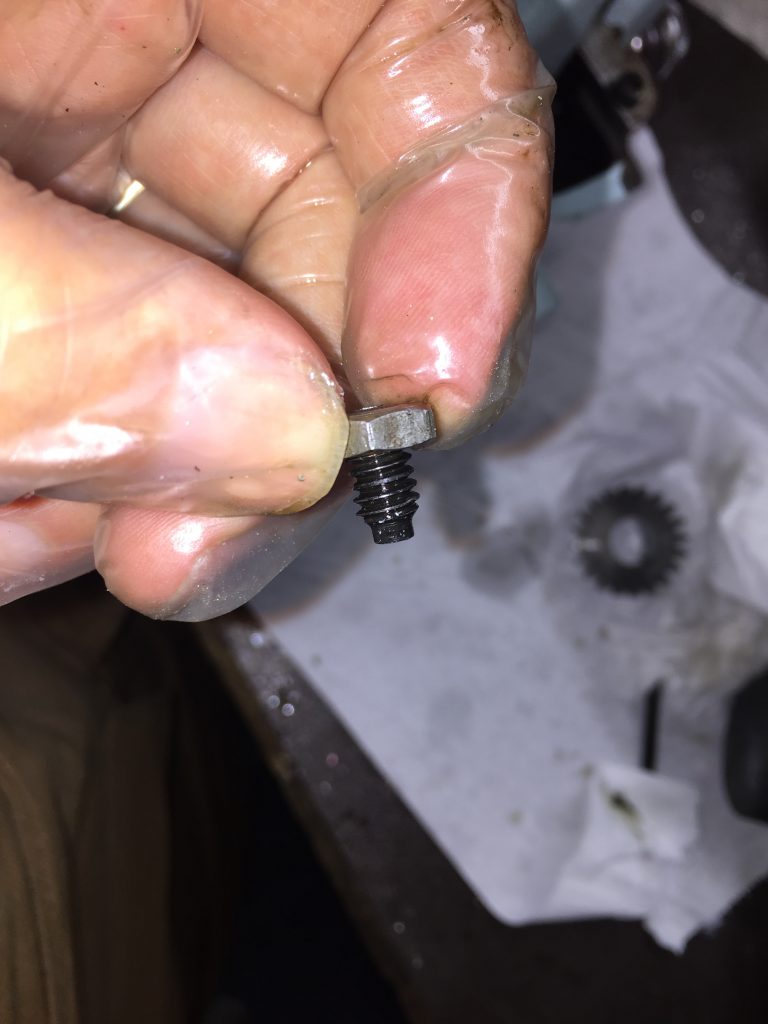
One interesting bit that caught me out (and it was obvious really) was that the shaft the gear selectors turn on is not fixed, but rotates. There was a grub screw holding it in, which I released and then tried punching the shaft out, but it wouldn’t budge. On further investigation I realised that the grub screw had to come right out as it was actually a detent that ran in a groove. I had to use a fine file to remove the burrs I had added to the edge of the groove… Also interesting to note that the output shaft has a nut and locknut to hold it in place, so best to use two spanners for that, not jam the gear teeth to lock the shaft – play safe with those hard to get gears in there!
The reassembly is tricky as the gear selector axle needs aligning with the gear grooves as it slides in, and those gears are loose at this point. It’s best to remove the gear lever gate panel so that the gear levers can hang low while that axle is installed – otherwise, as mentioned above, the tension from the spring-loaded buttons can make this a difficult operation.
Before re-mounting the gearbox the rack that the apron uses has to be added back to the bed. It could be left until after the lead screw is in place, but it is easier to do it first.
When putting the gearbox onto the bed it is best to have another person to hold the lead screw to take the weight off the gearbox output bearing and just to keep things steady.
Here are some photos of the work.
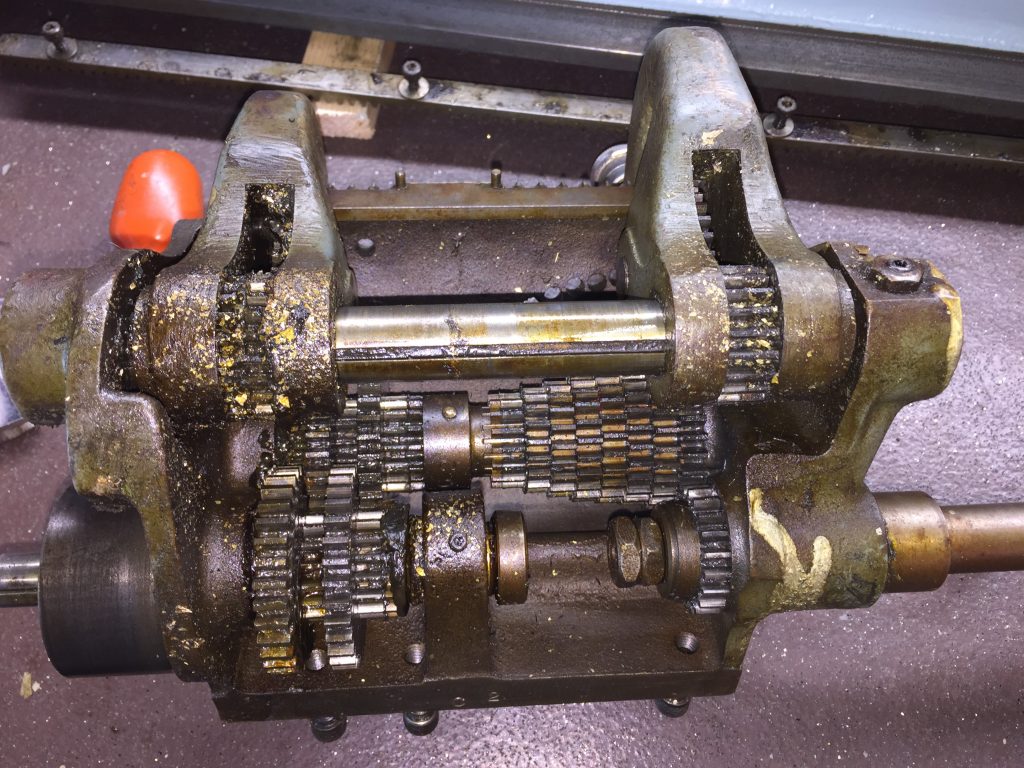
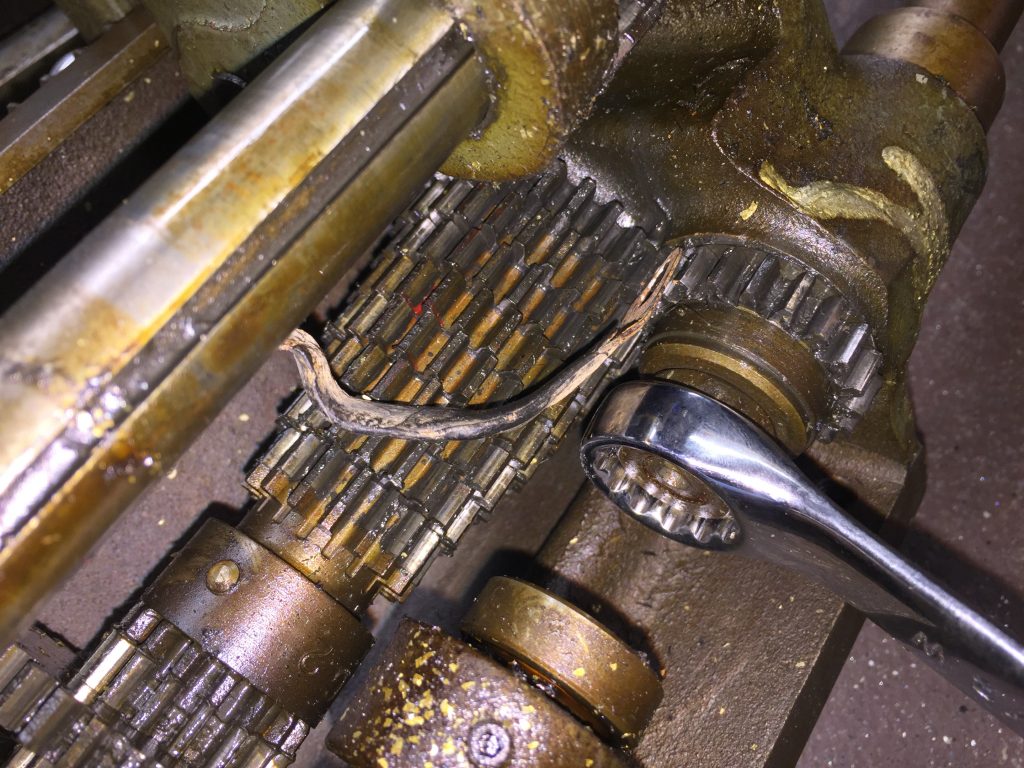
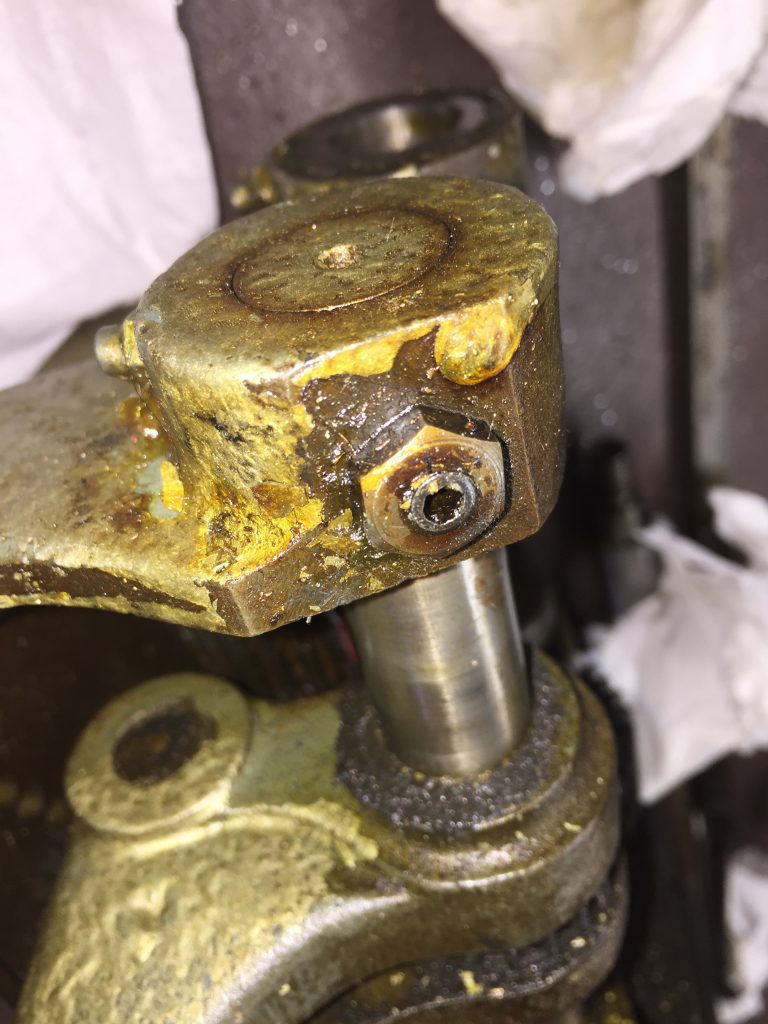
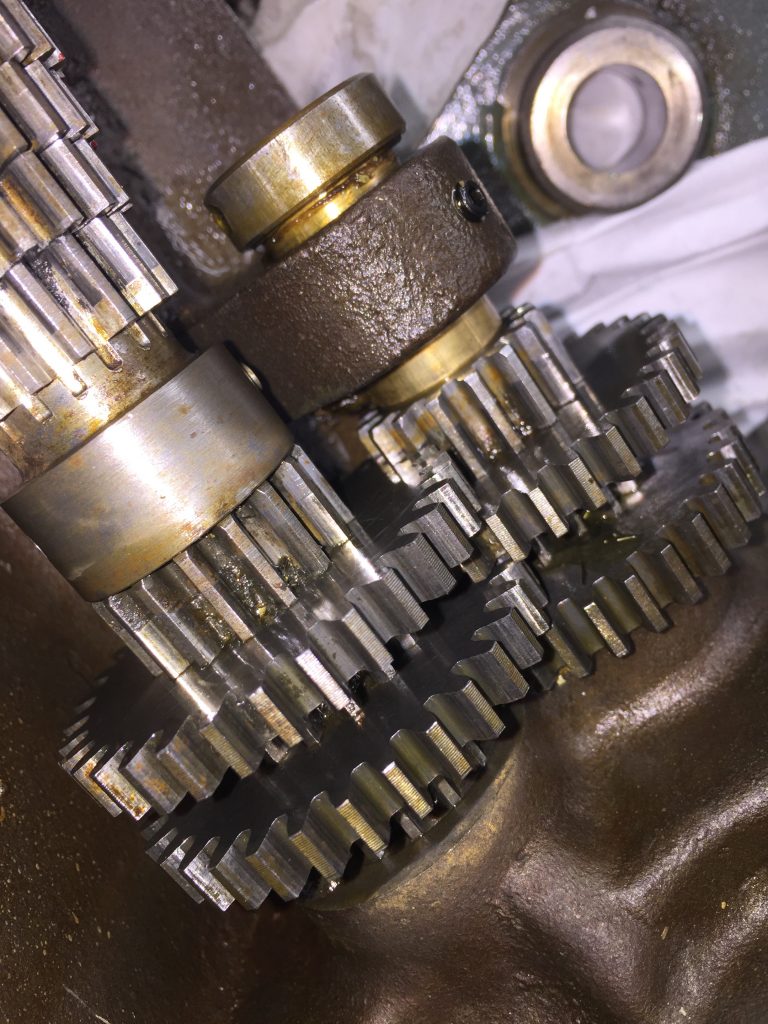
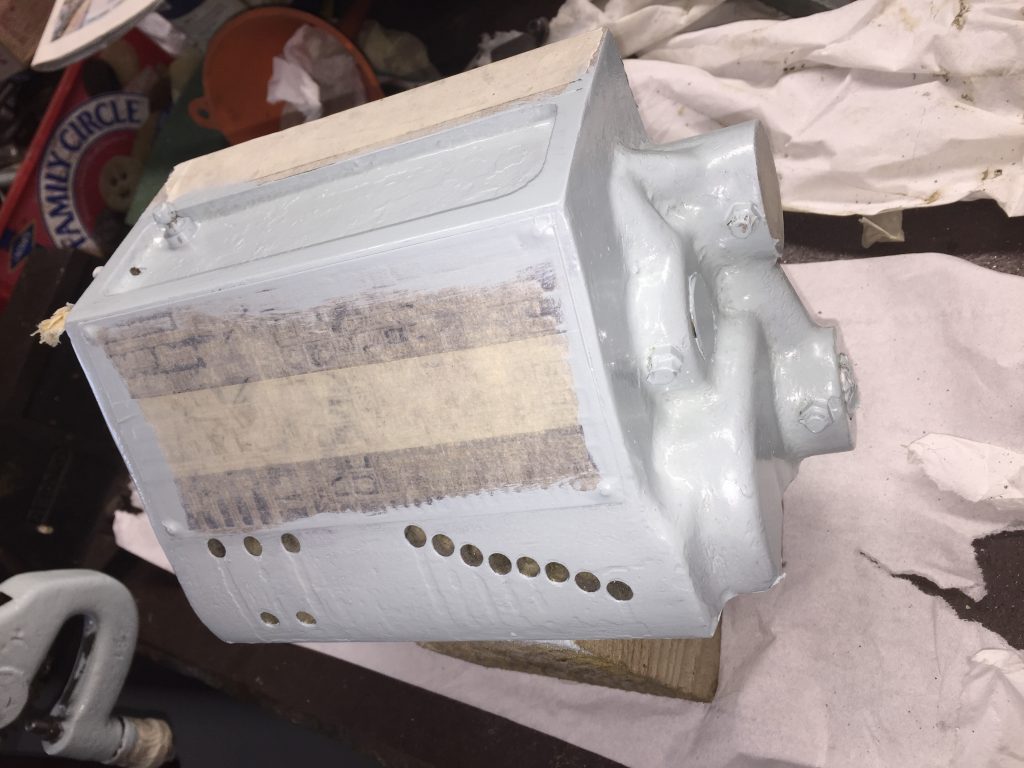
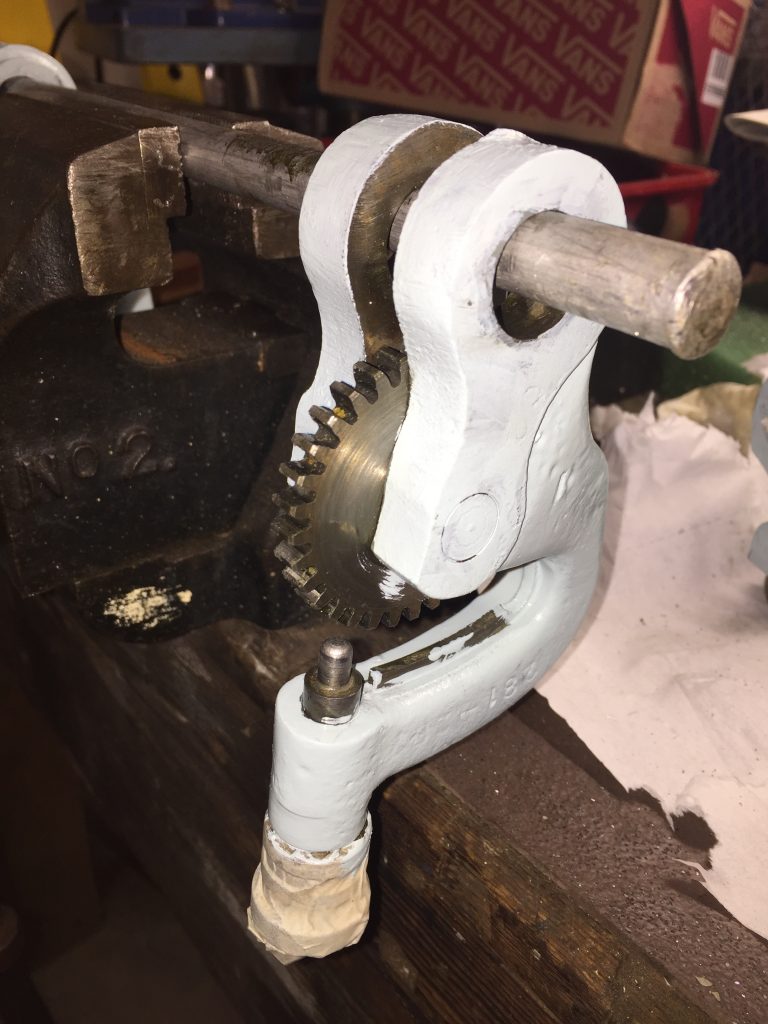
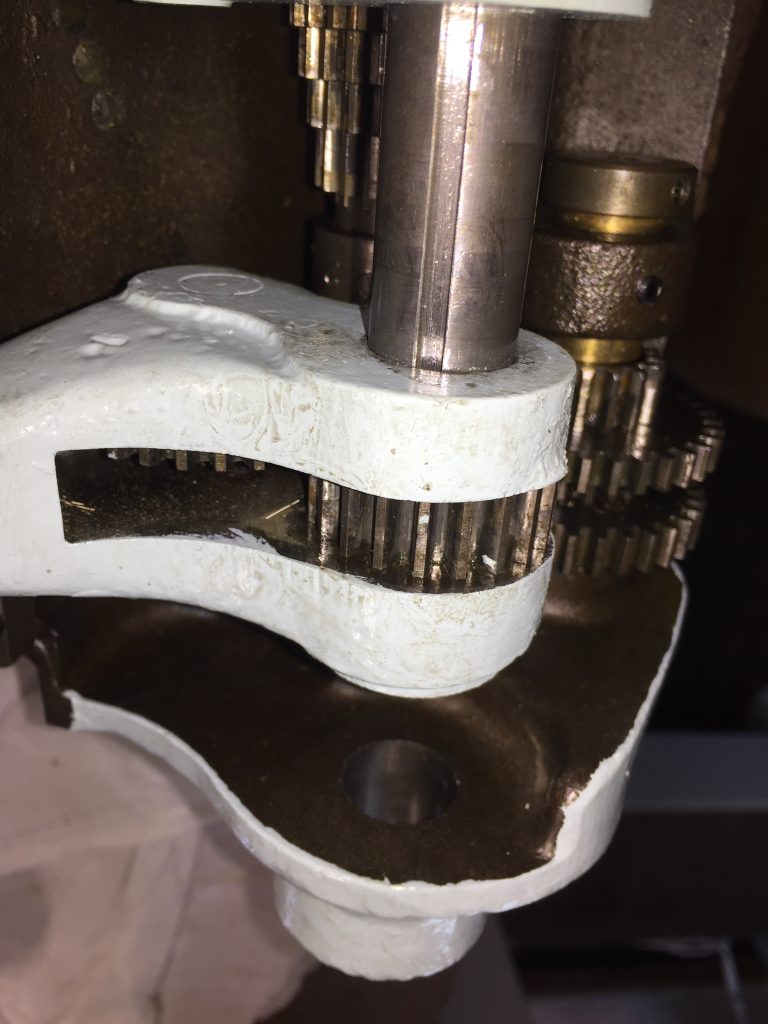
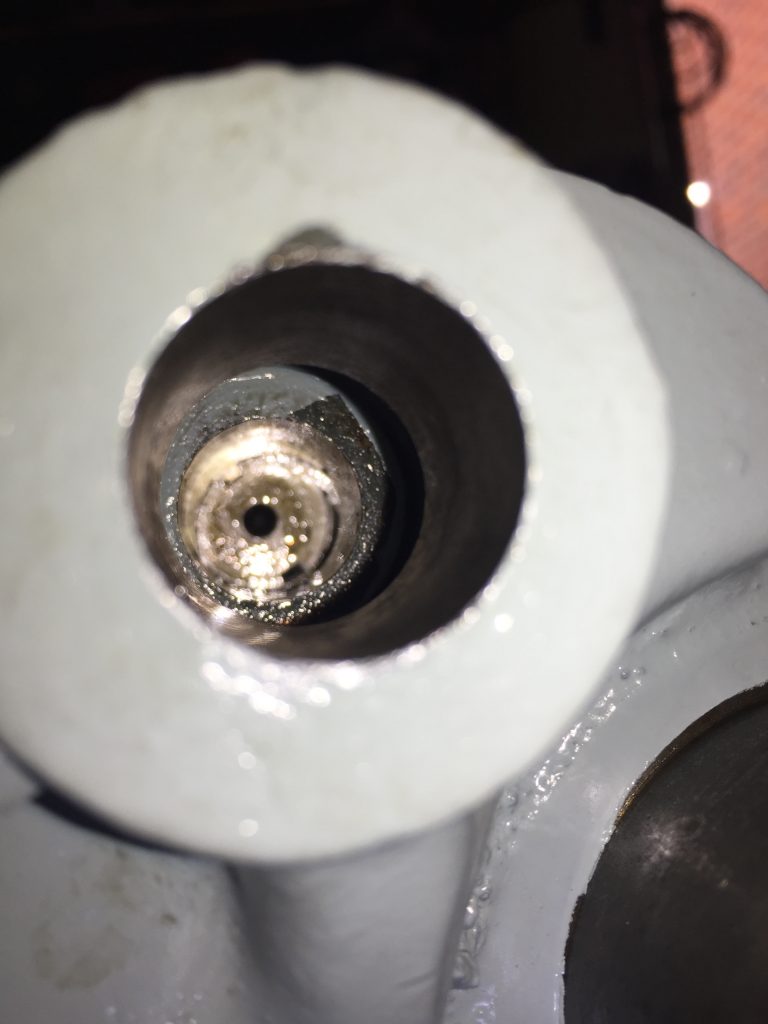
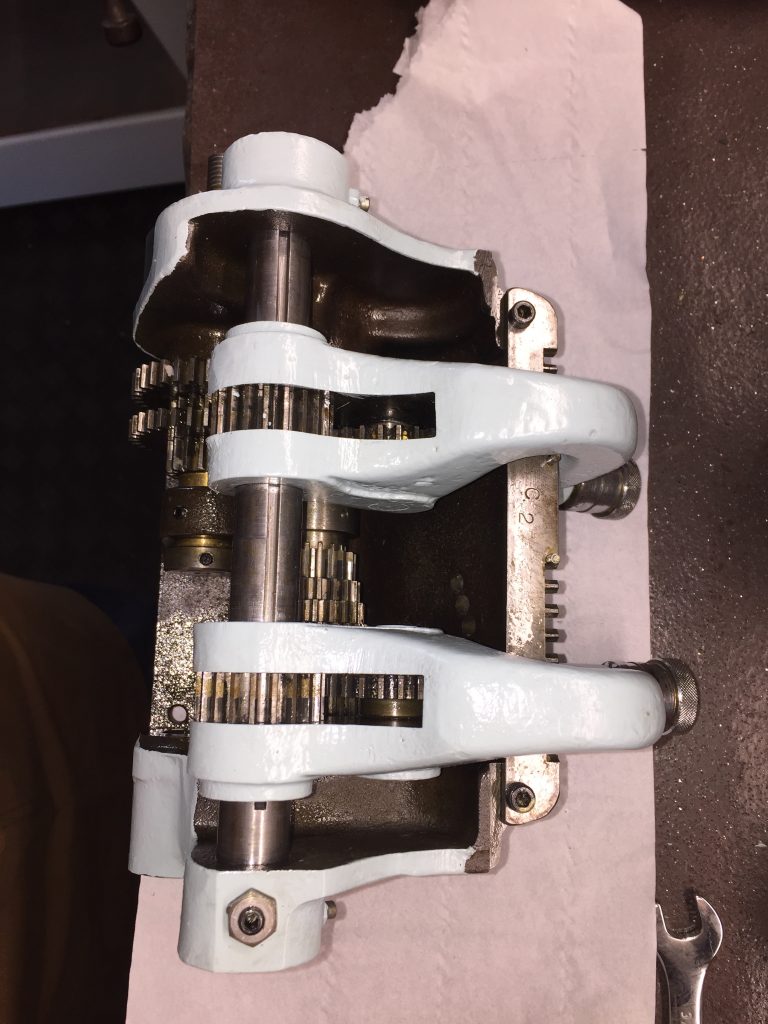
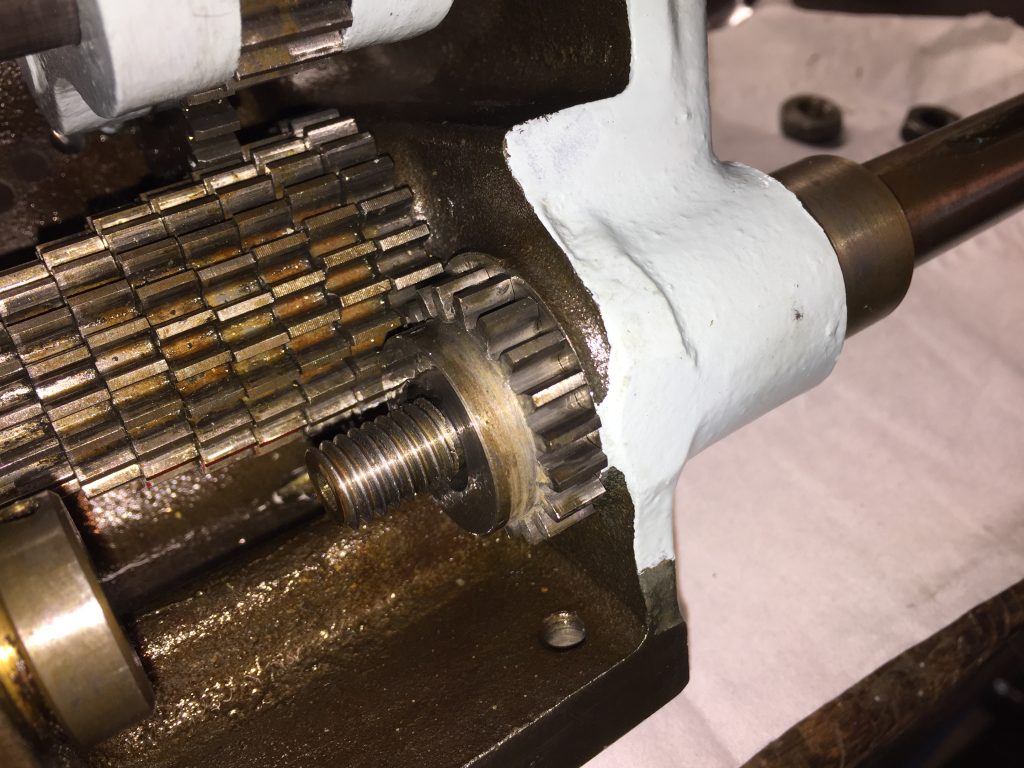
Now’s a good time to put the rack back on…
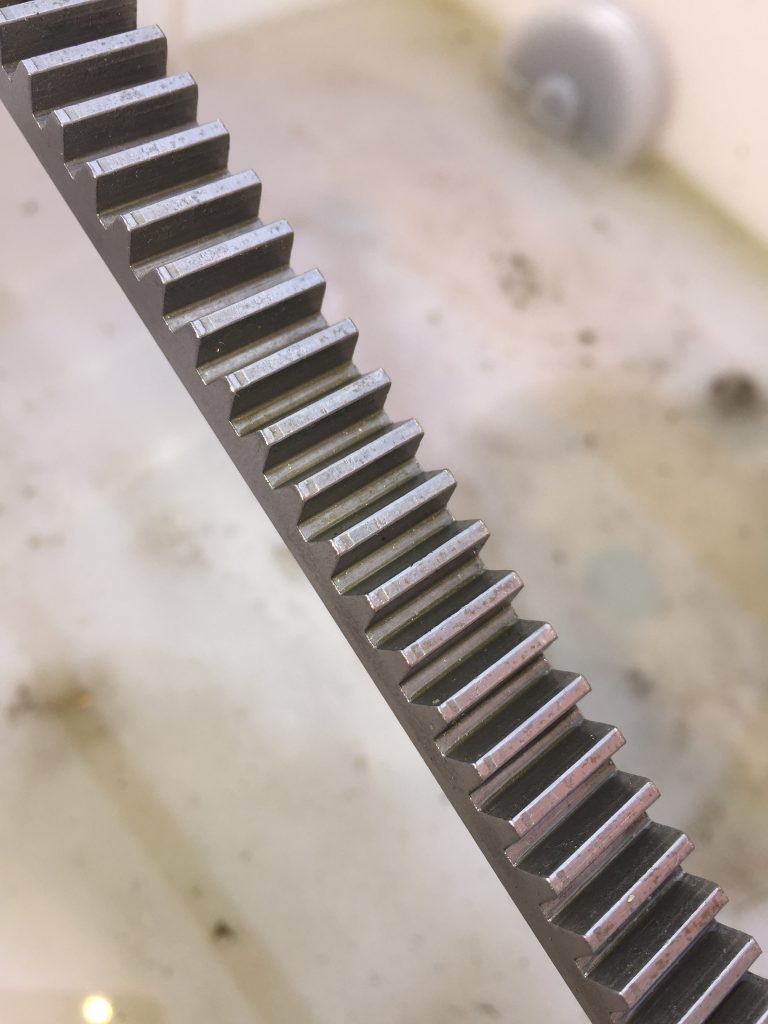
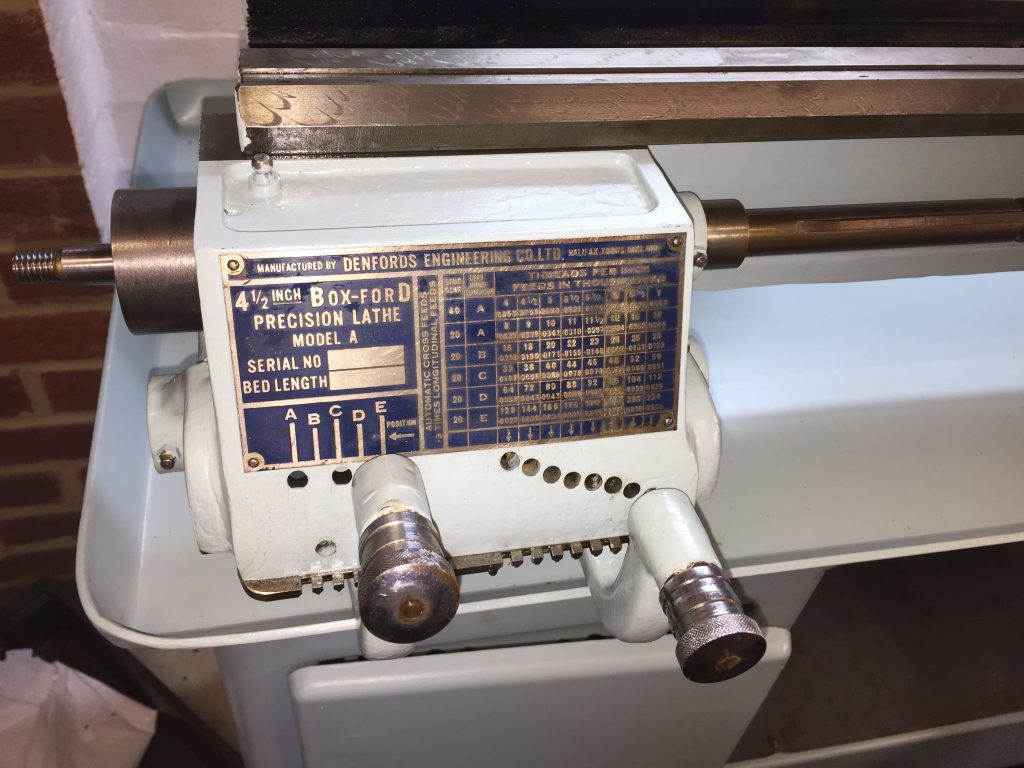
Now followed a little weirdness. When the lead screw end support was tightened up the lead screw became very hard to turn, but leaving it in place, just not tightened, it turned just fine. I left it like that, but it does seem that I have a bent lead screw. I will attend to this later and hope in the mean time it causes no issues.
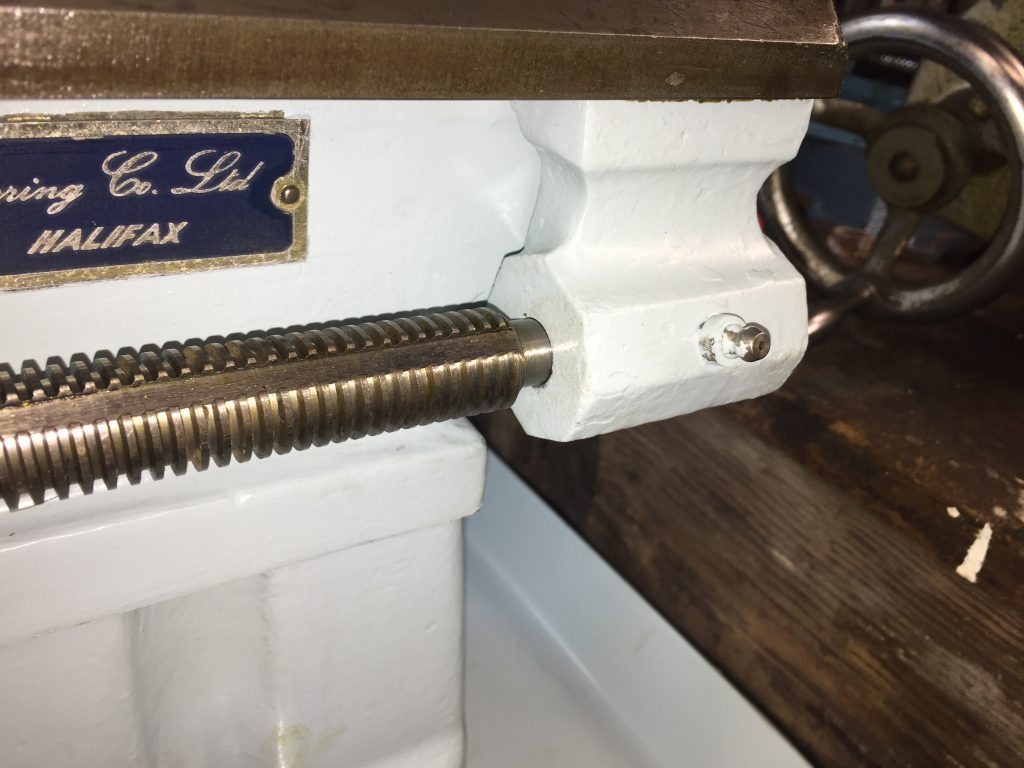
At this stage I was lubricating everything with copious quantities of 3-in-1 oil. Seems ok, but may not be the best.
Click here for the next page – the tailstock.
