January 2022
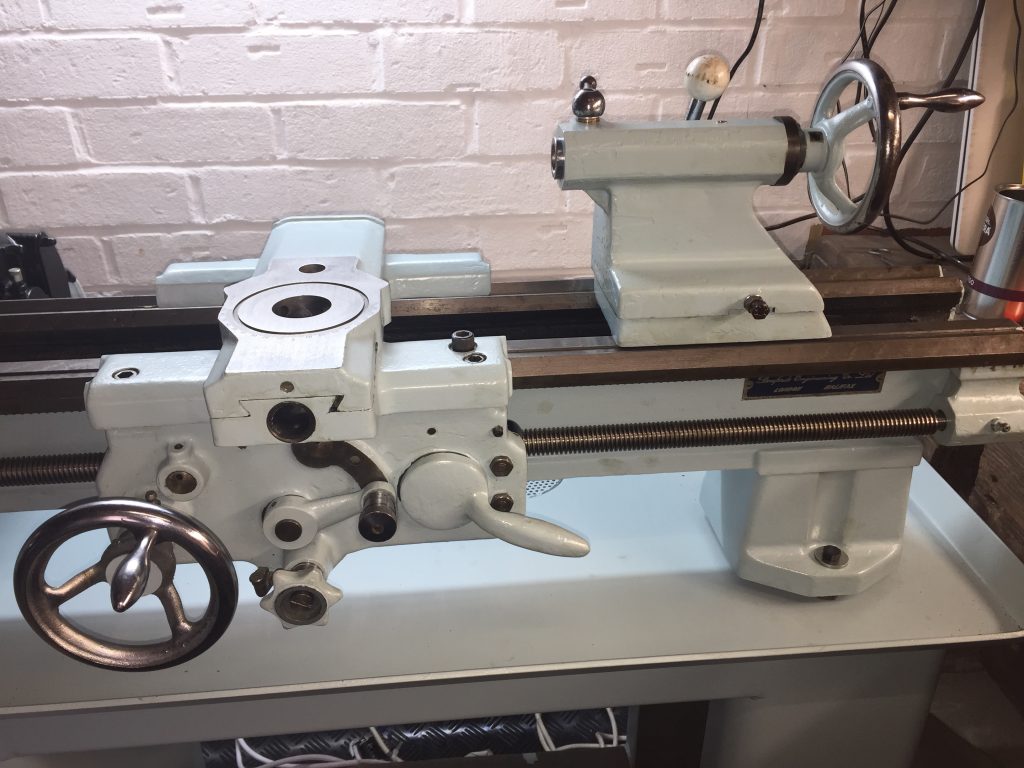
The Apron, Saddle and Cross slide.
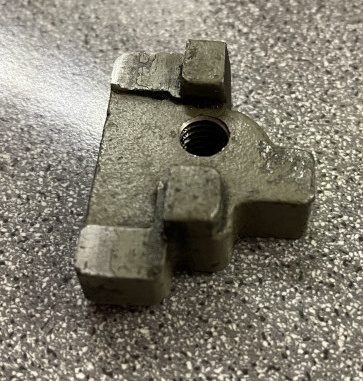
This is one (well, two) of the original parts in basically good condition, although originally missing the locking mechanism and the tool post slide clamping slugs. The former I obtained from a Boxford user group member, the latter I made myself. But first, the disassemble, clean up and re-painting…
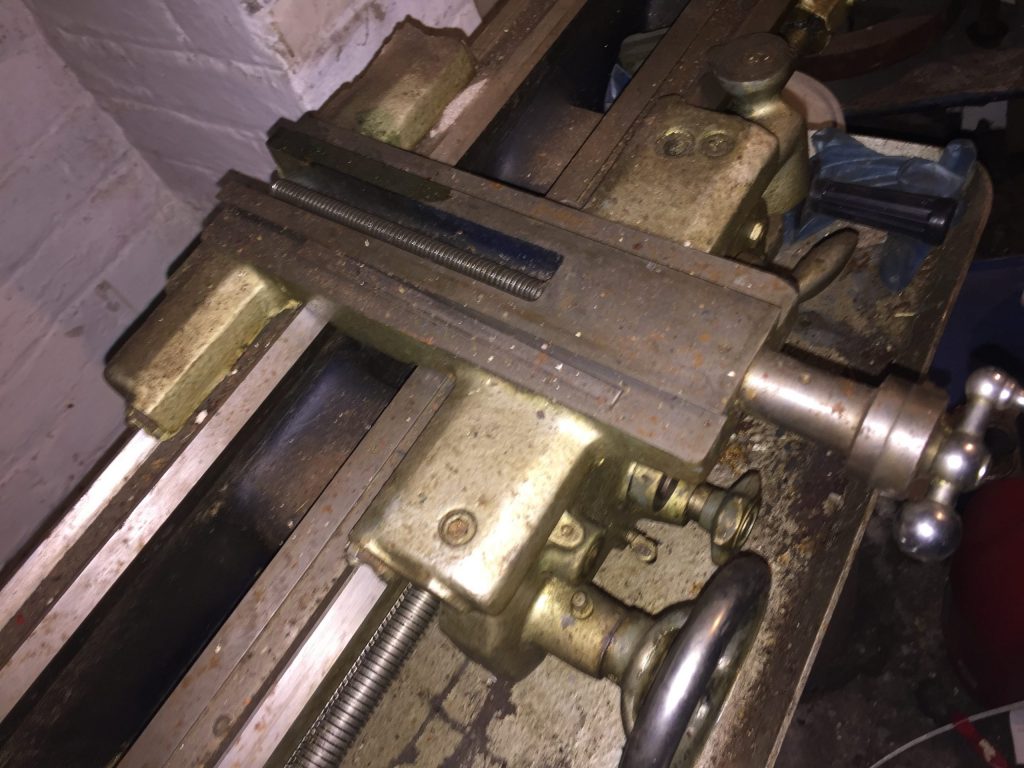
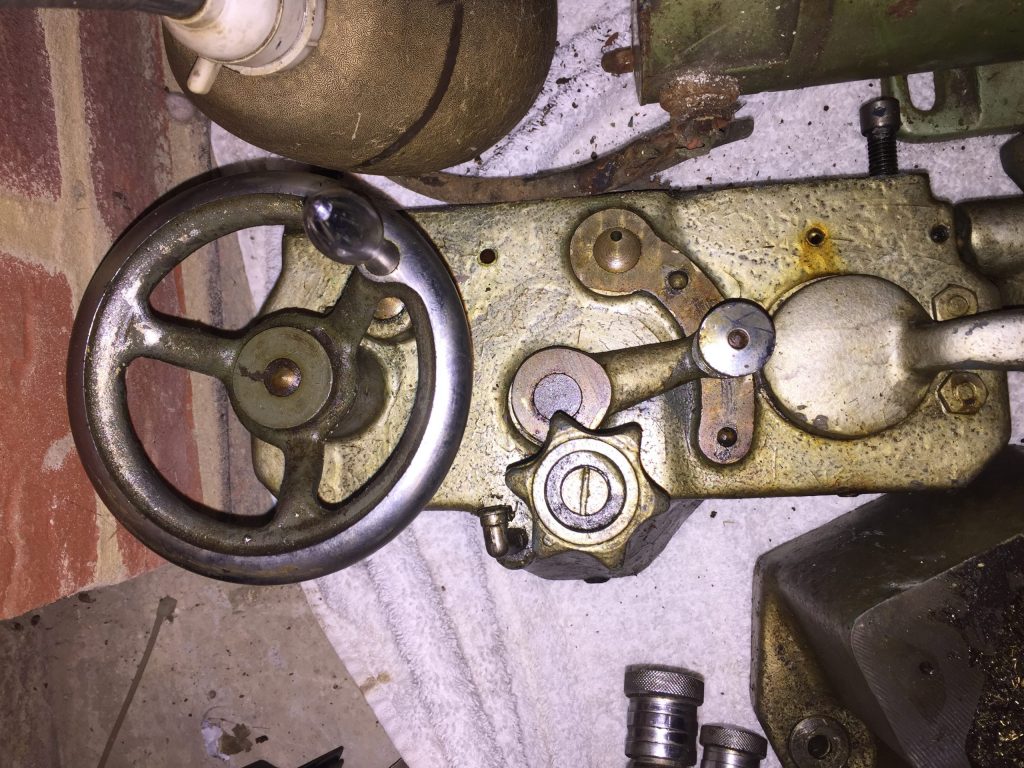
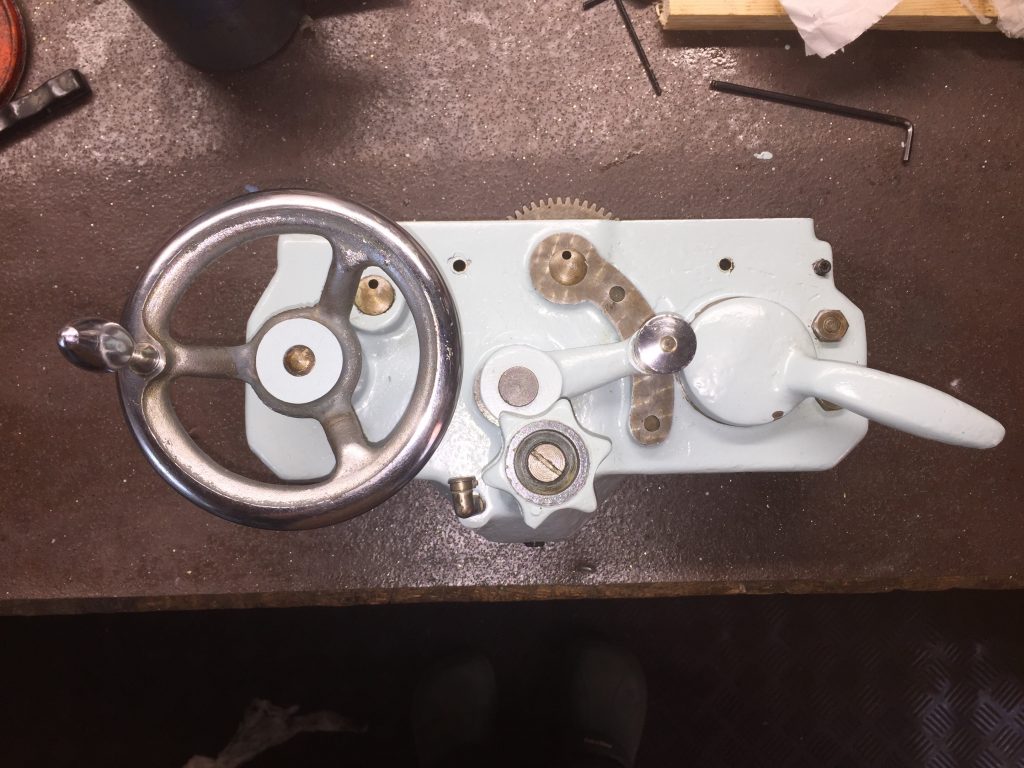
The apron has several operating modes:
* Manual saddle traversing by the hand wheel on the rack
* Powered saddle traversing by engaging the clutch
* Powered saddle thread sync traversing using the half nuts
* Powered cross slide traversing using the clutch
..all controlled by the knobs and levers on the front.
The thread dial indicator is engaged into the lead screw when screw-cutting, using the numbers on top to ensure that the half-nuts are engaged at the right time so that all cuts required are synchronised with the existing cuts.
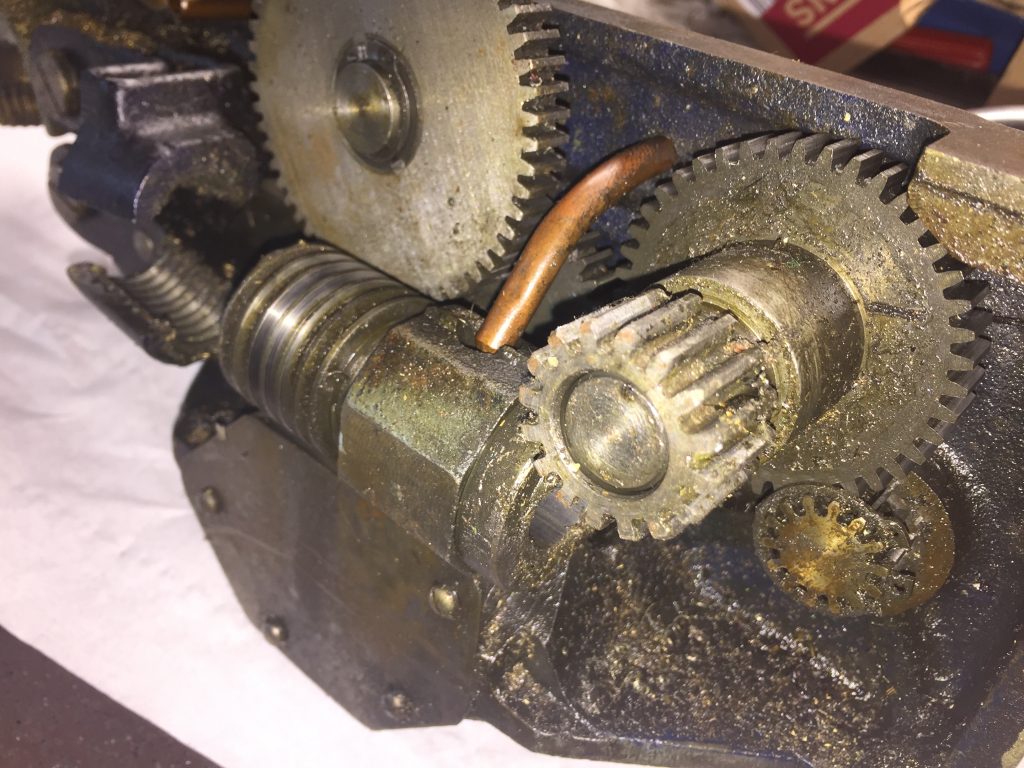
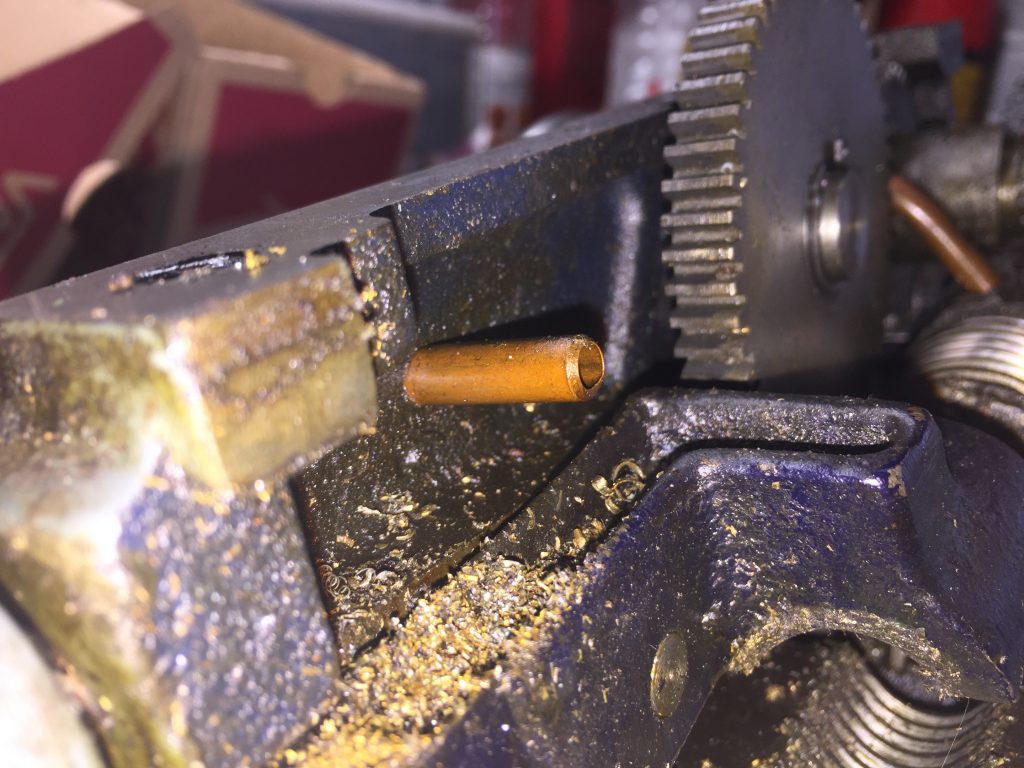
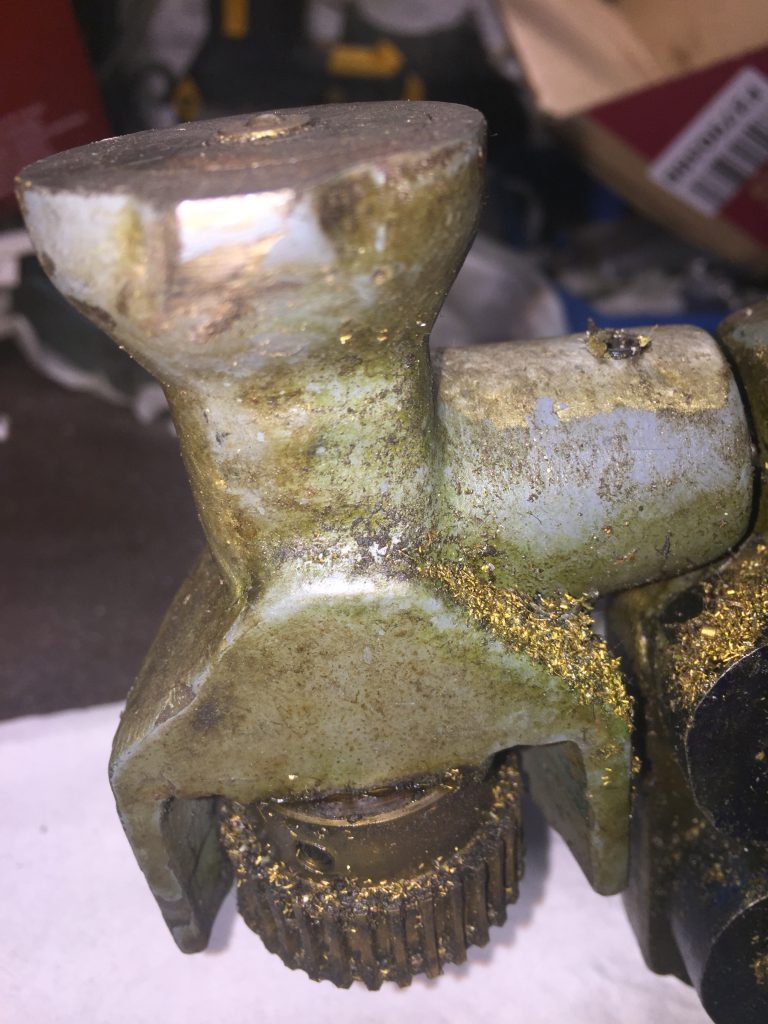
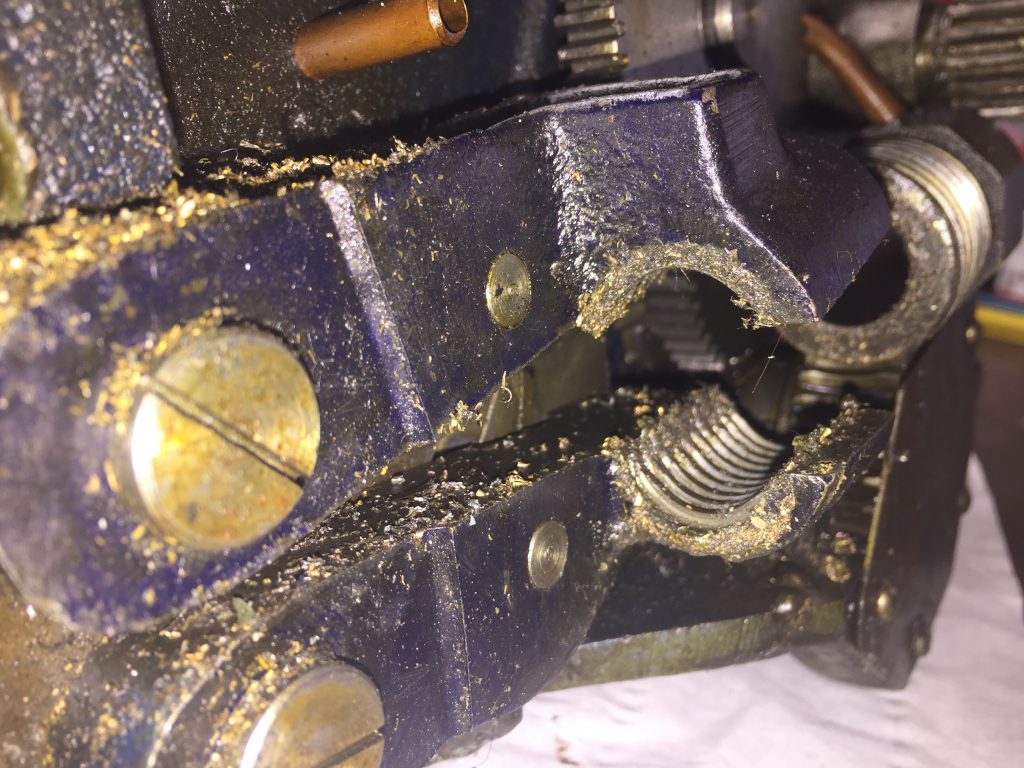
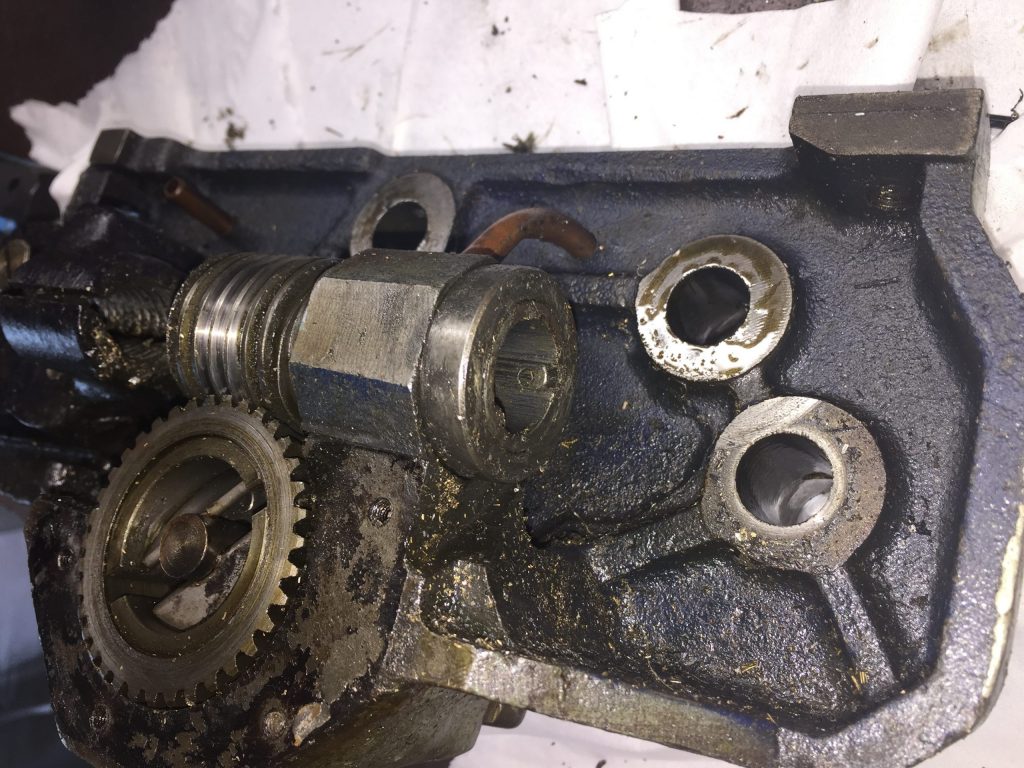
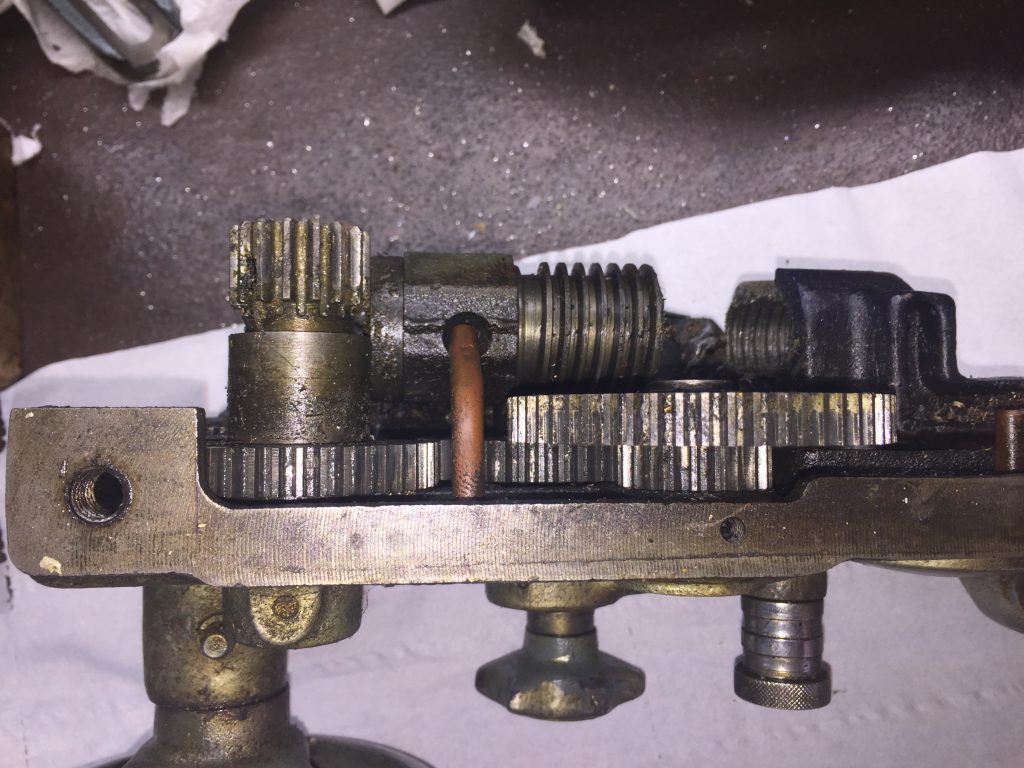
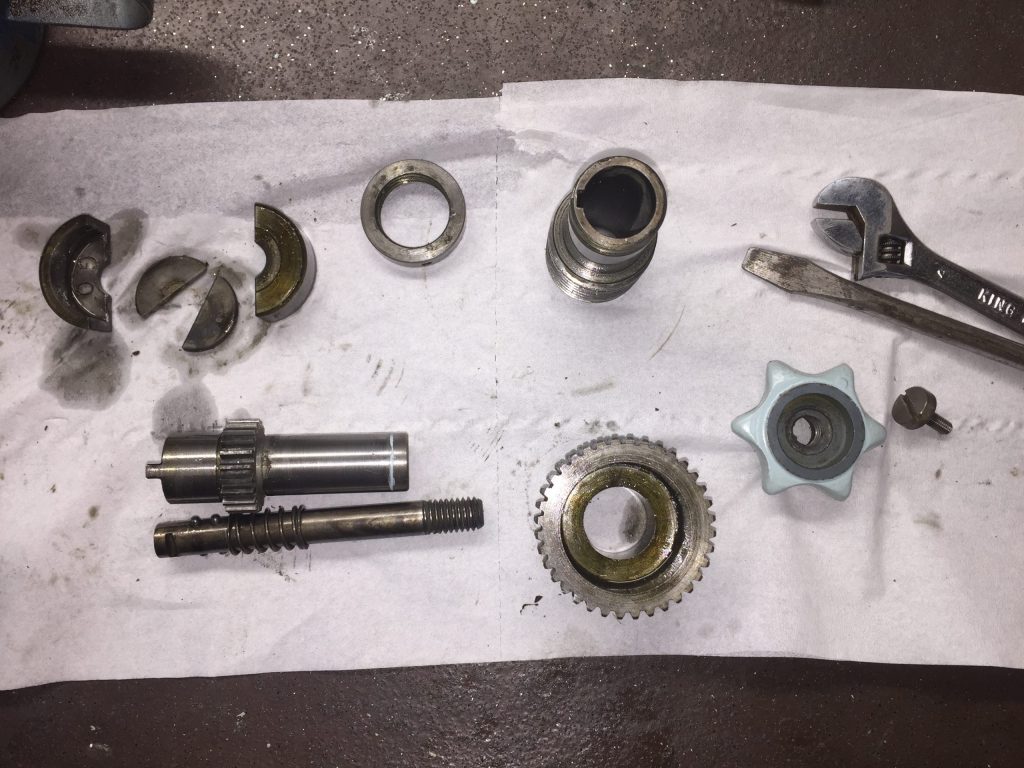
Then came dis-assembly and part checking. All came apart ok, but note these things:
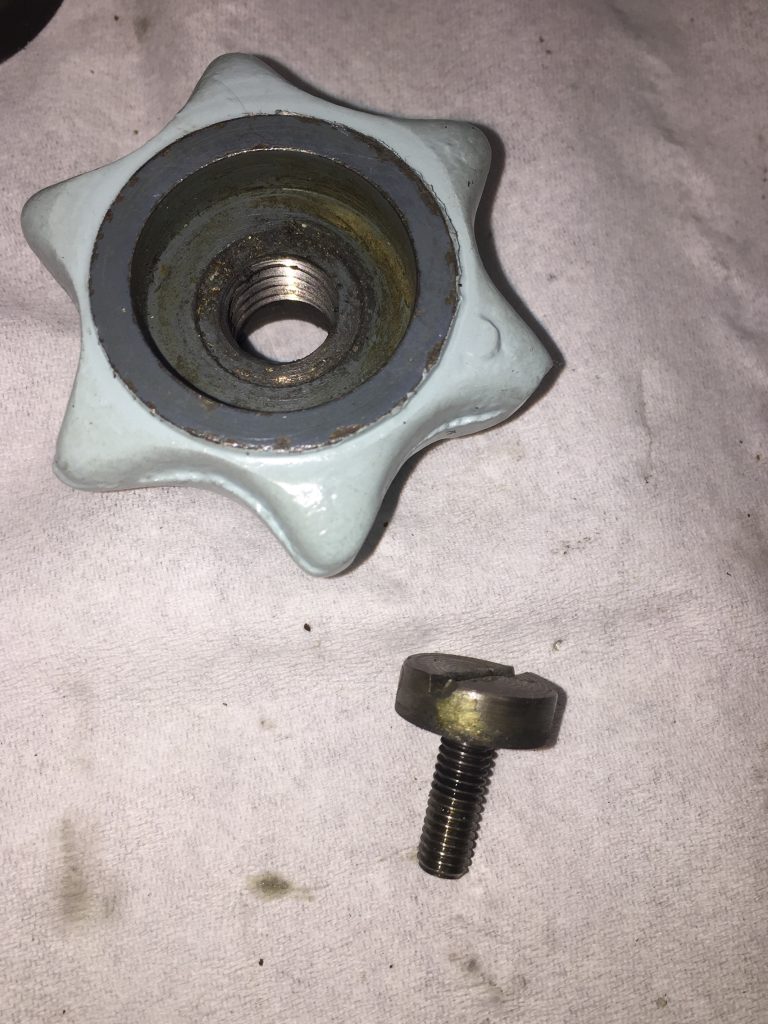
Clutch knob screw is left-handed
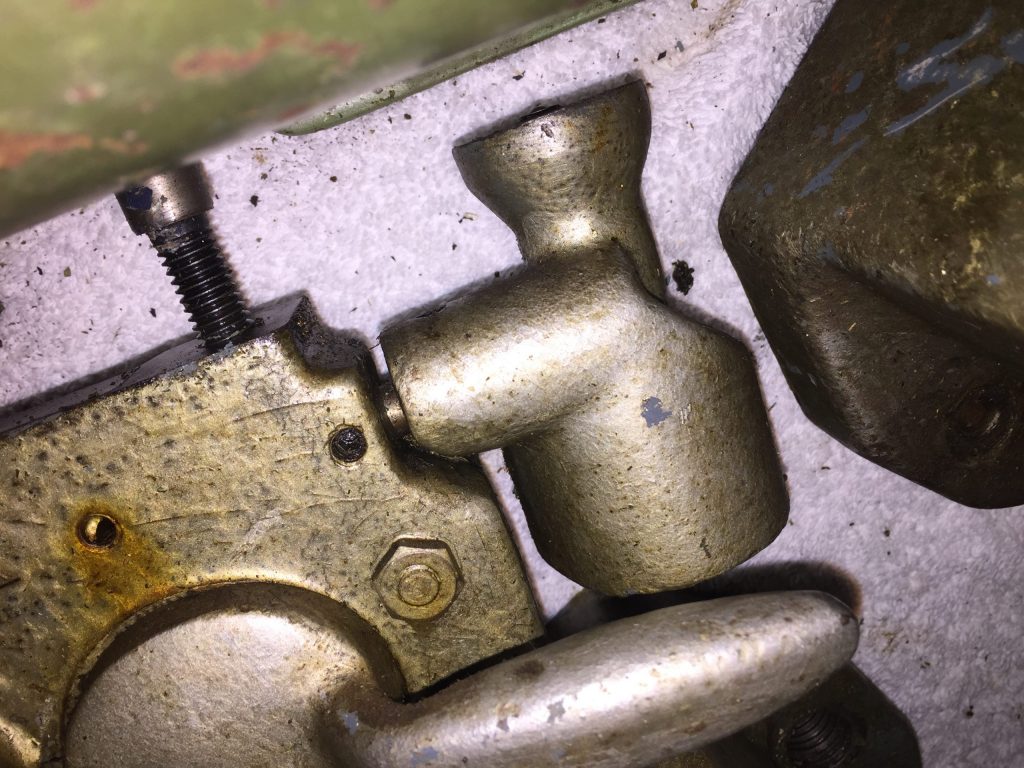
Saddle knob has another grub screw holding it underneath
Half-nut selector lever needs slide rod removed from right side first
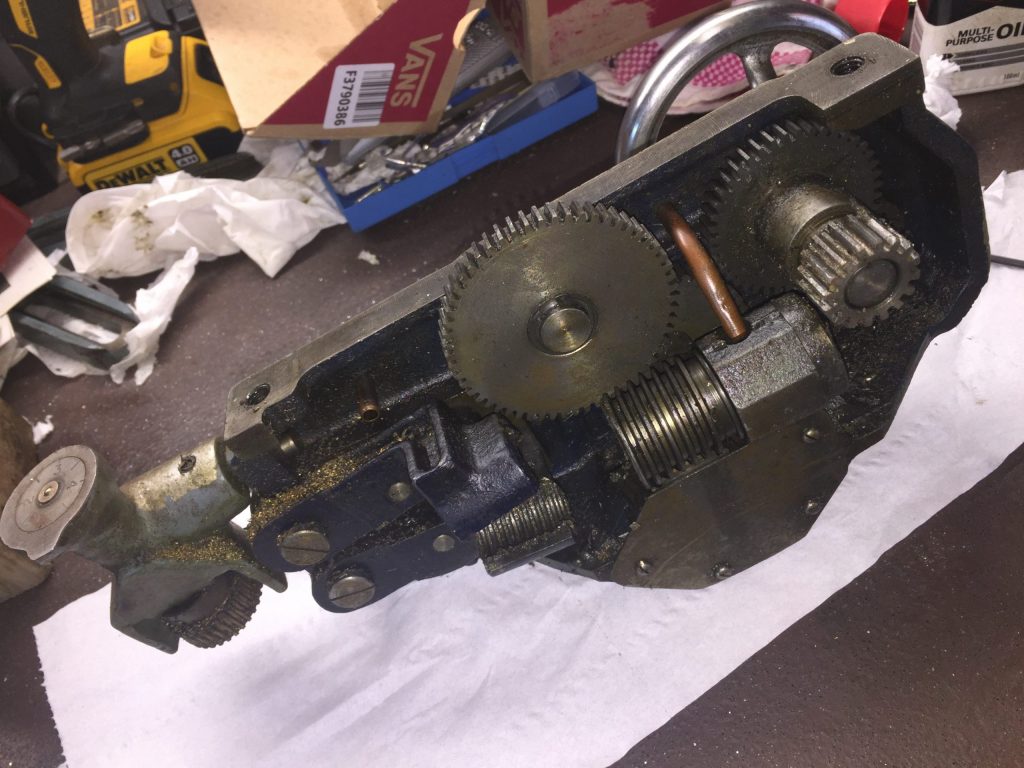
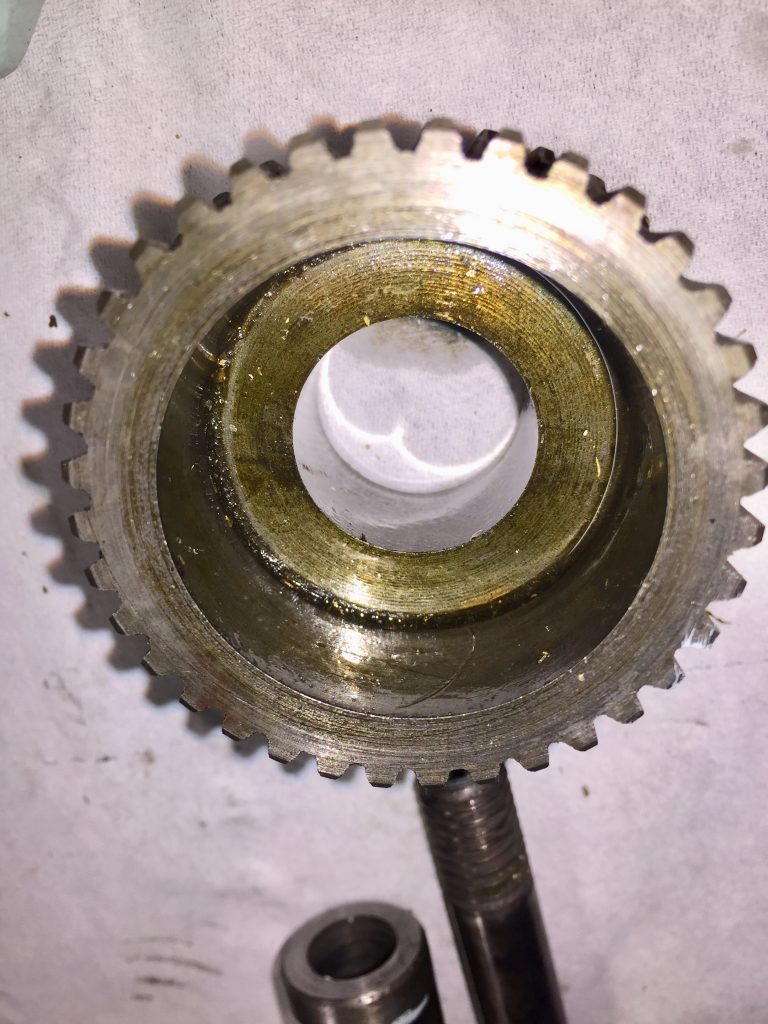
The worm gear can only be removed once the gear it hits is removed
The half-nut pivot bolts are a tight fit and need a tap to remove
The selector lever has a grub screw and pin holding it in
One safety note: the worm gear thread ends are razor sharp – I cut myself when manoeuvring it and didn’t even realise until this strange red stuff started appearing on the gears…
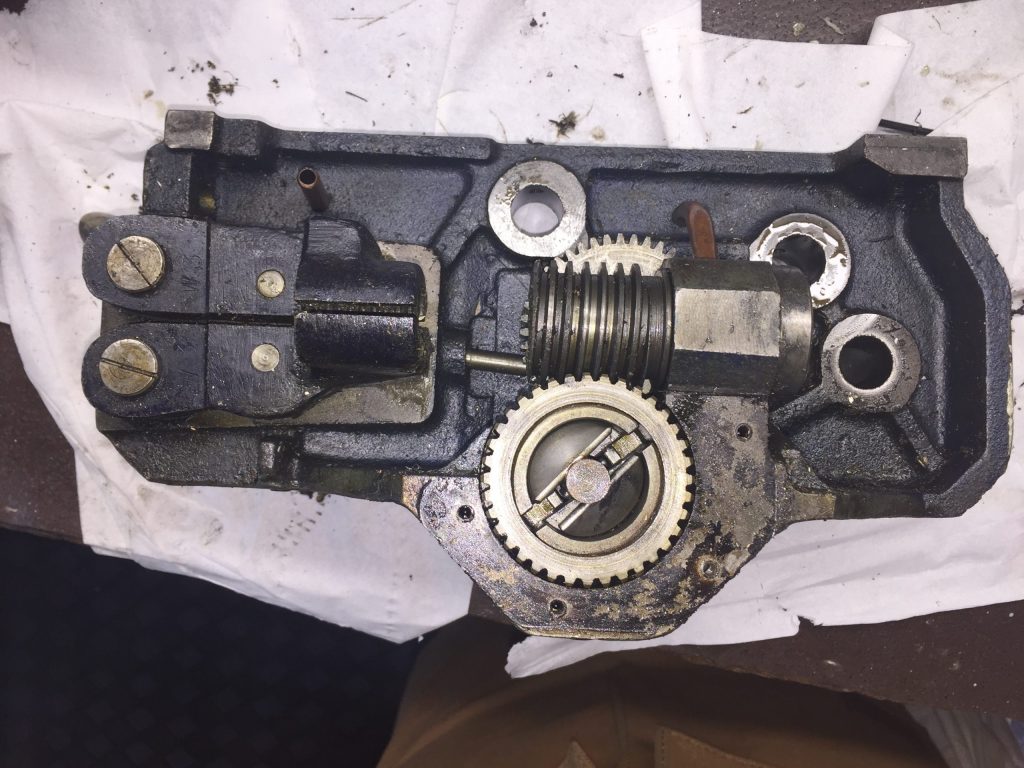
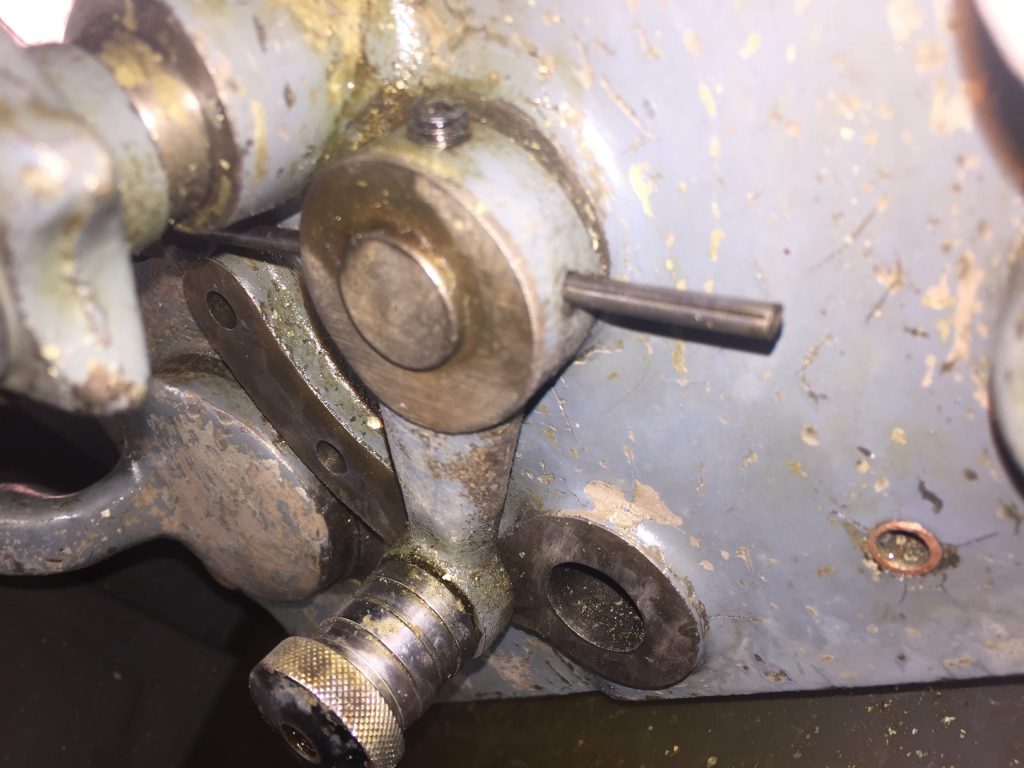
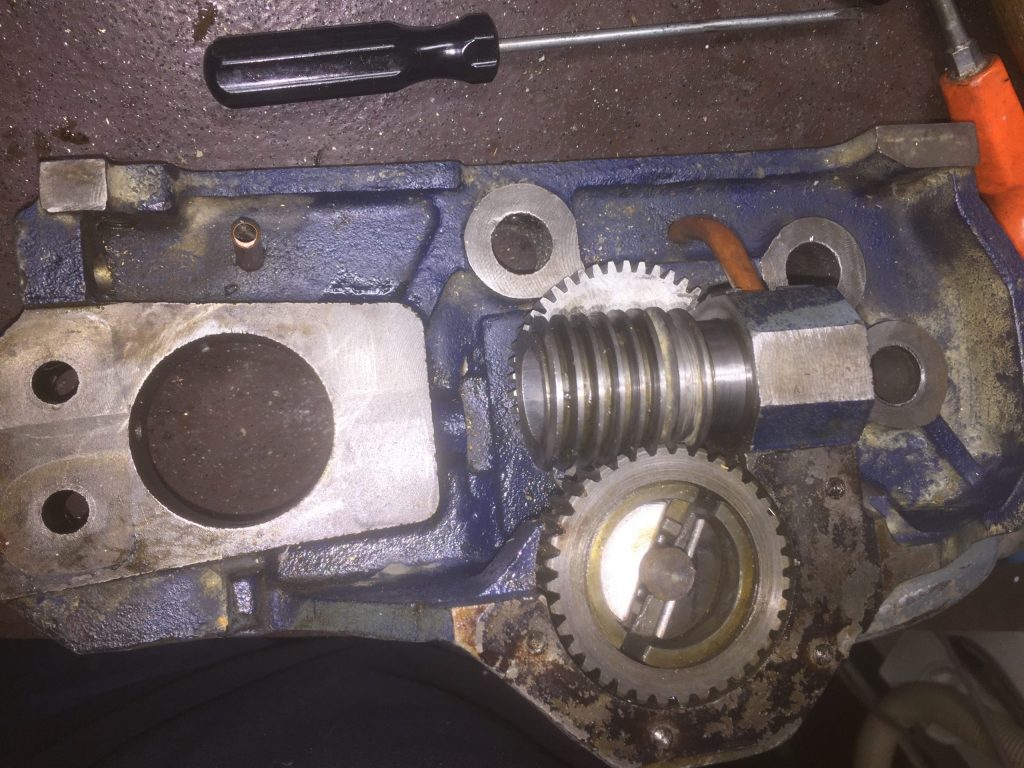
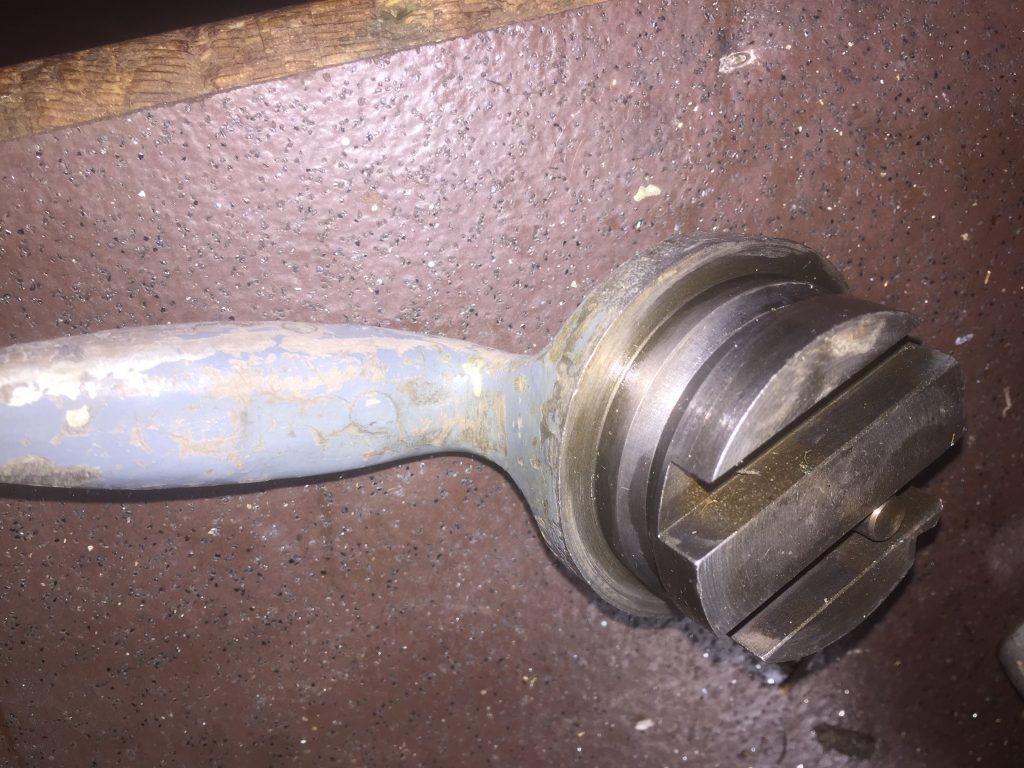
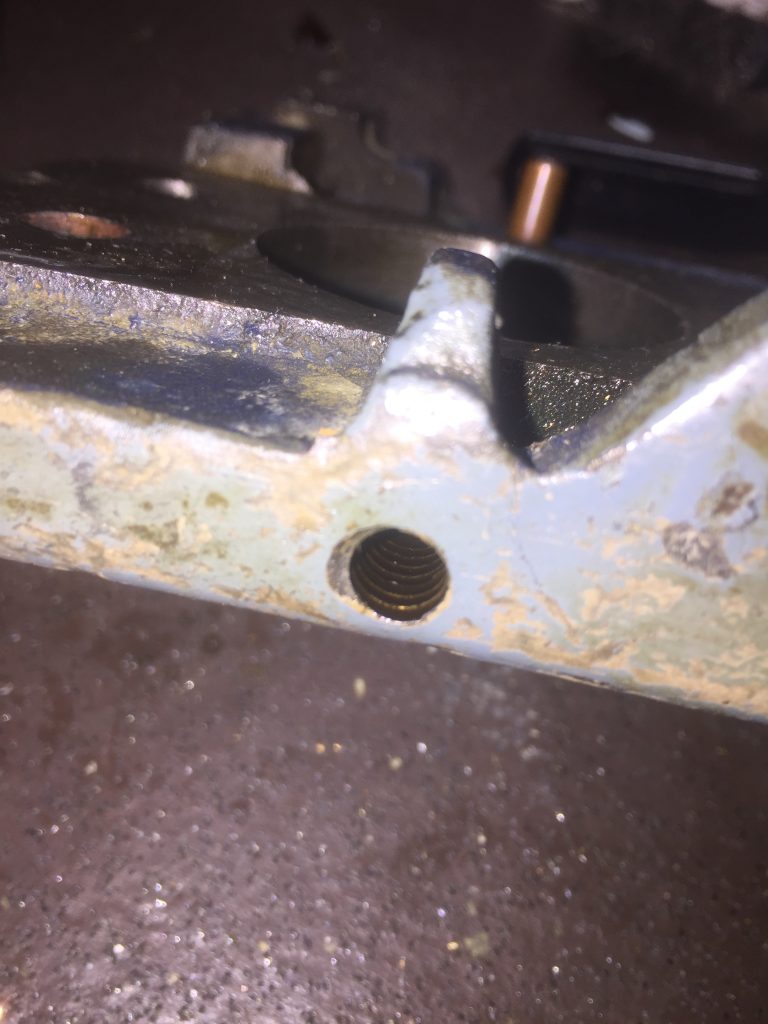
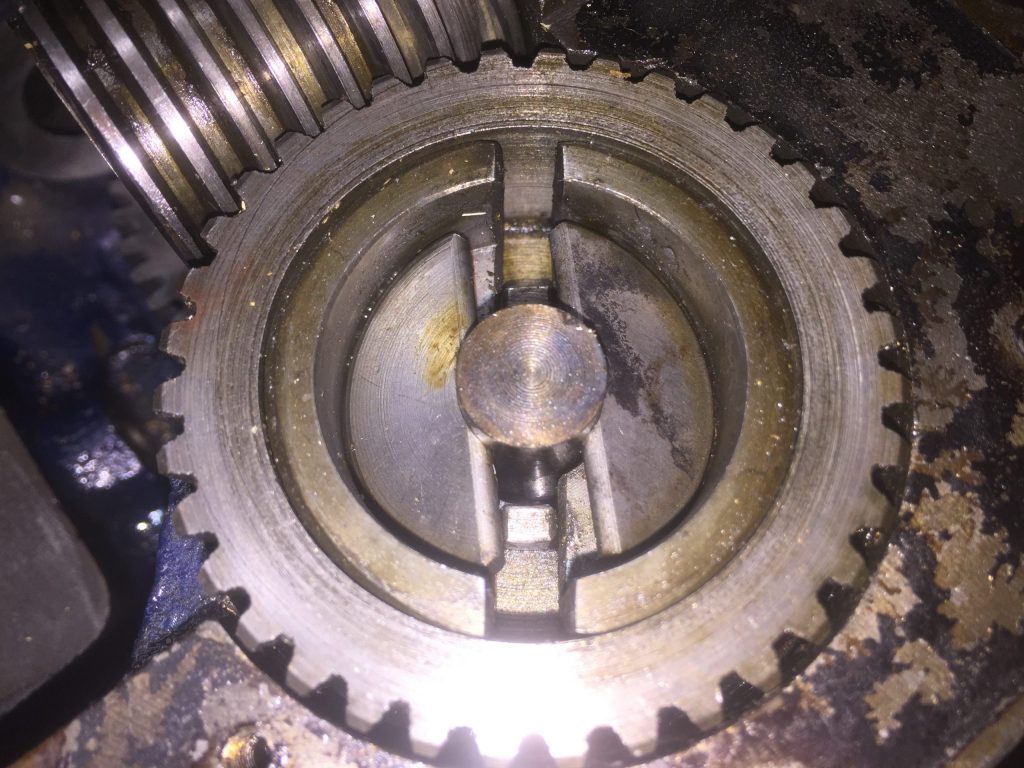
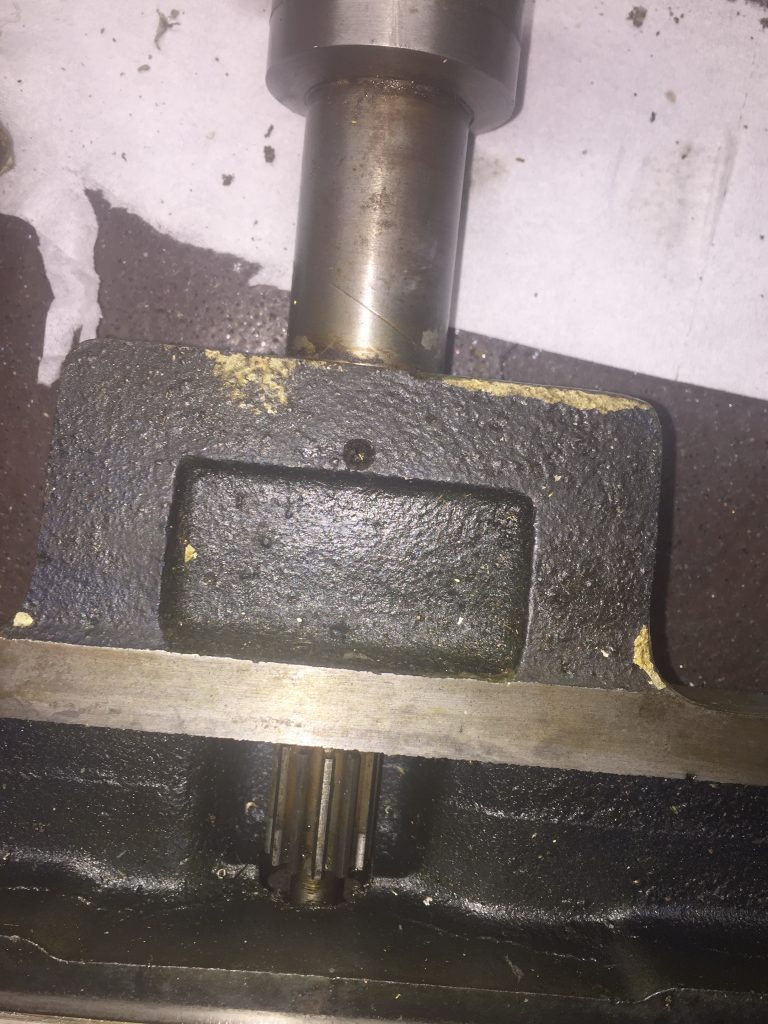
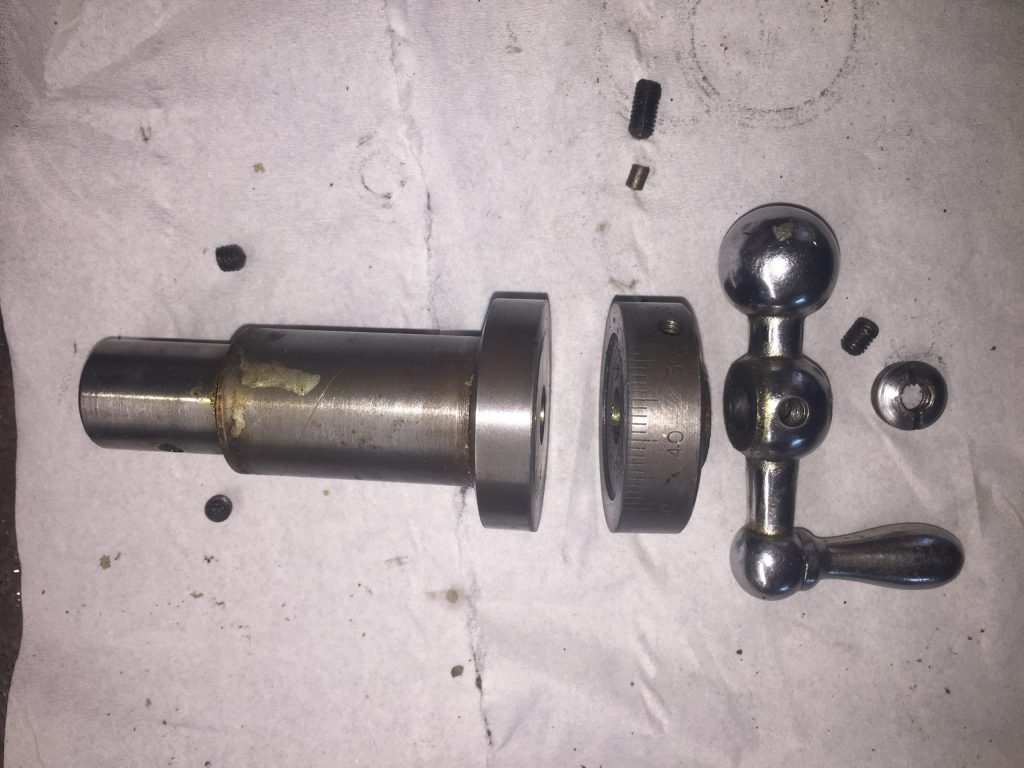
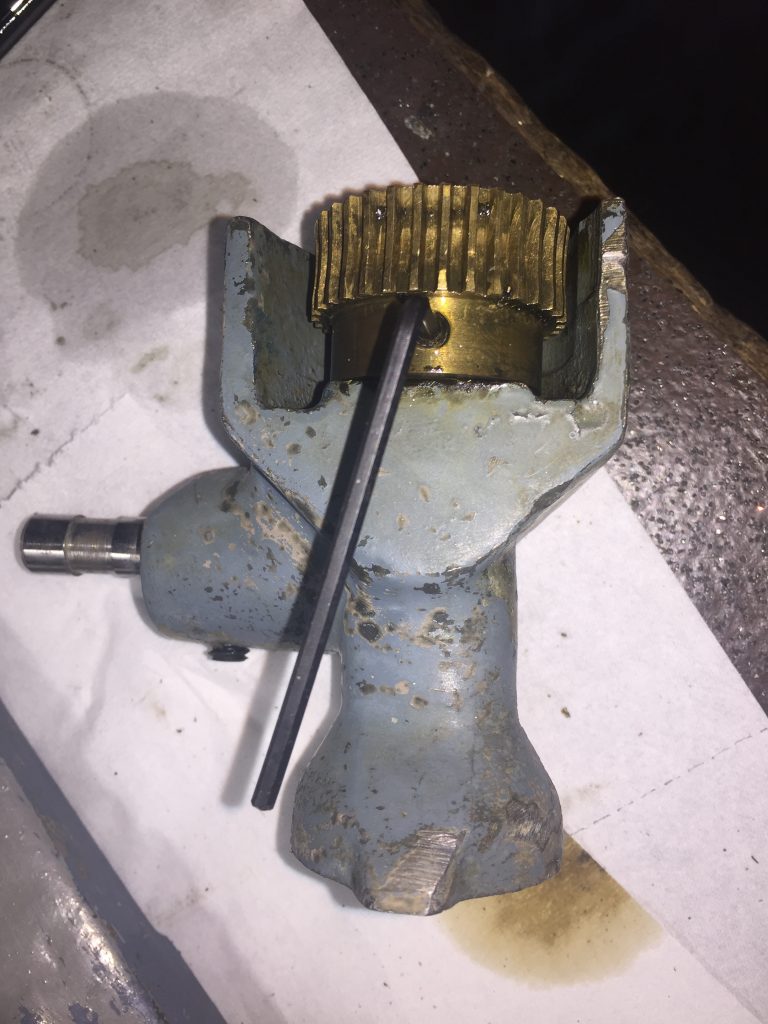
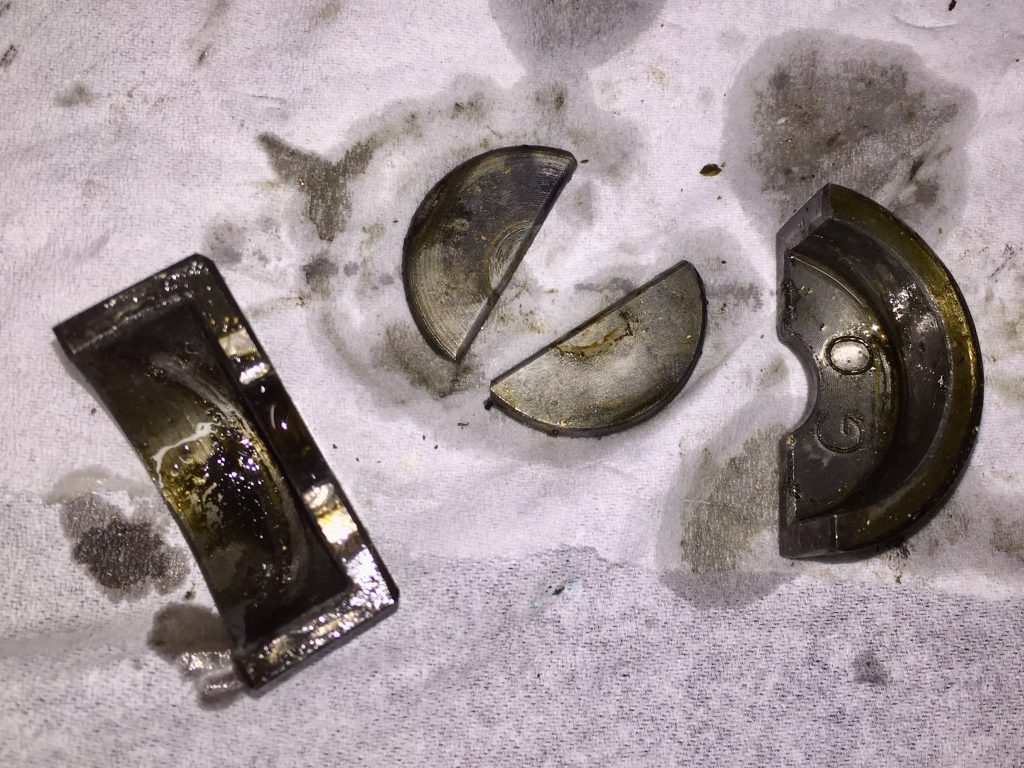
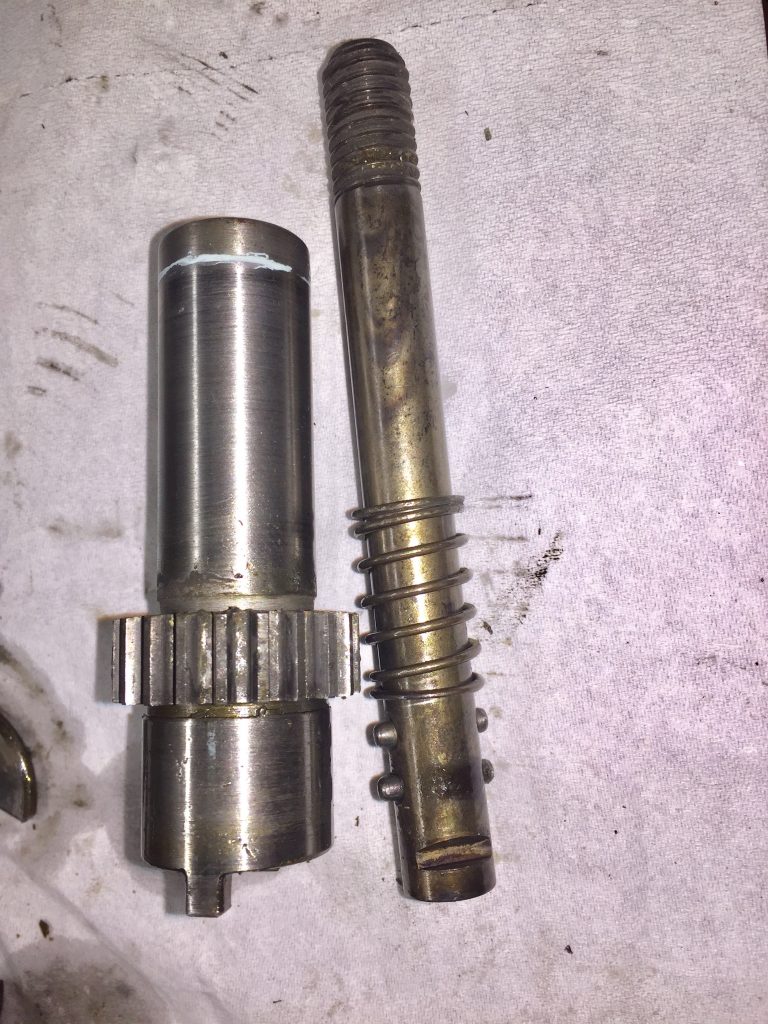
The clutch is a tricky item to both remove and reassemble. The actual clutch mechanism is a couple of half-moon shaped plates that push one slide cone inside another by use of the screw knob on the front. Straight forward-ish, but a fiddle to reassemble. Easier to see than describe, but I forgot to take photos of the assembly process…

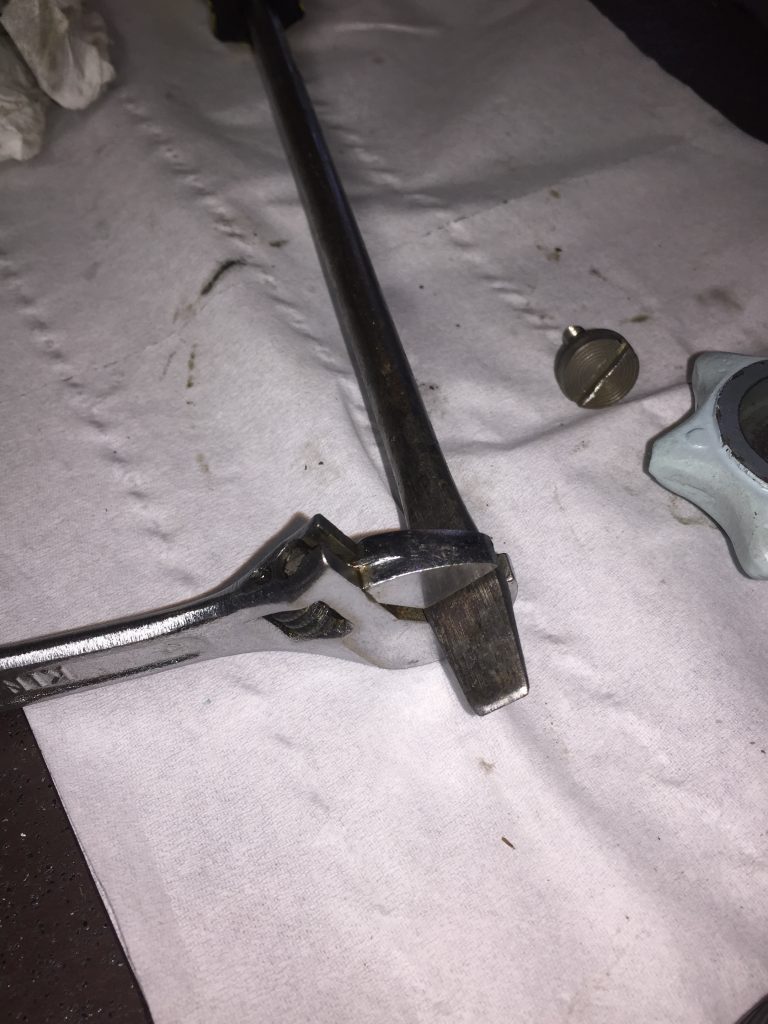
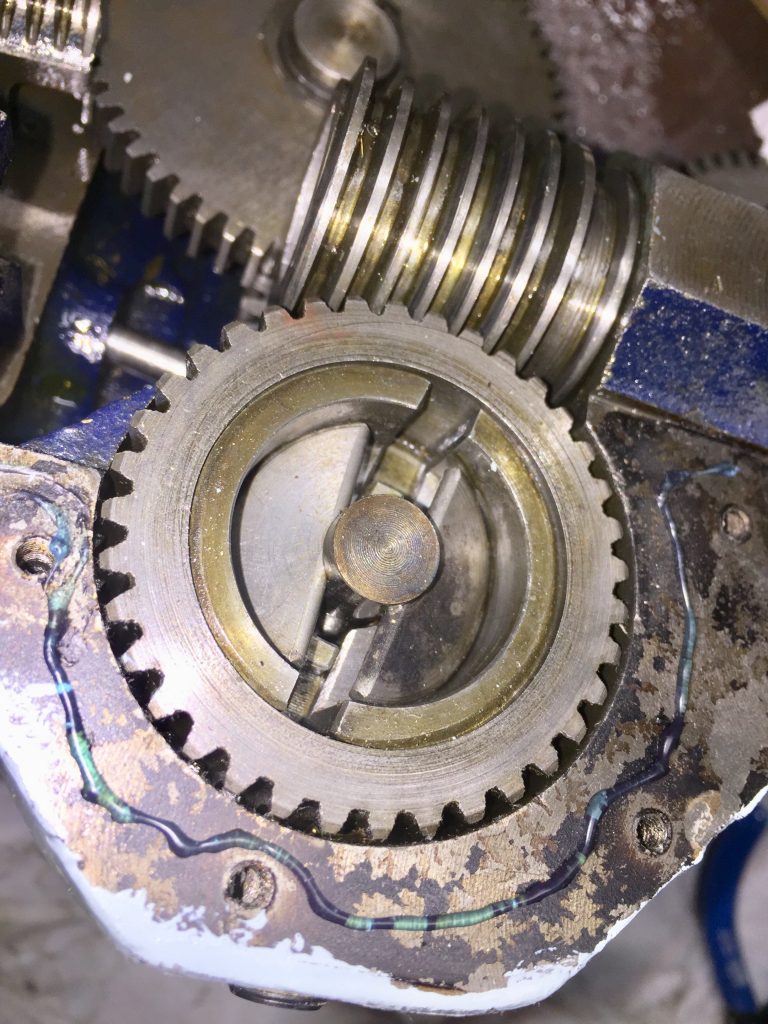
The Hammerite on the apron, as the rest of the lathe, needed to be removed. Used a wire brush mostly, with a screw driver for the intricate bits.
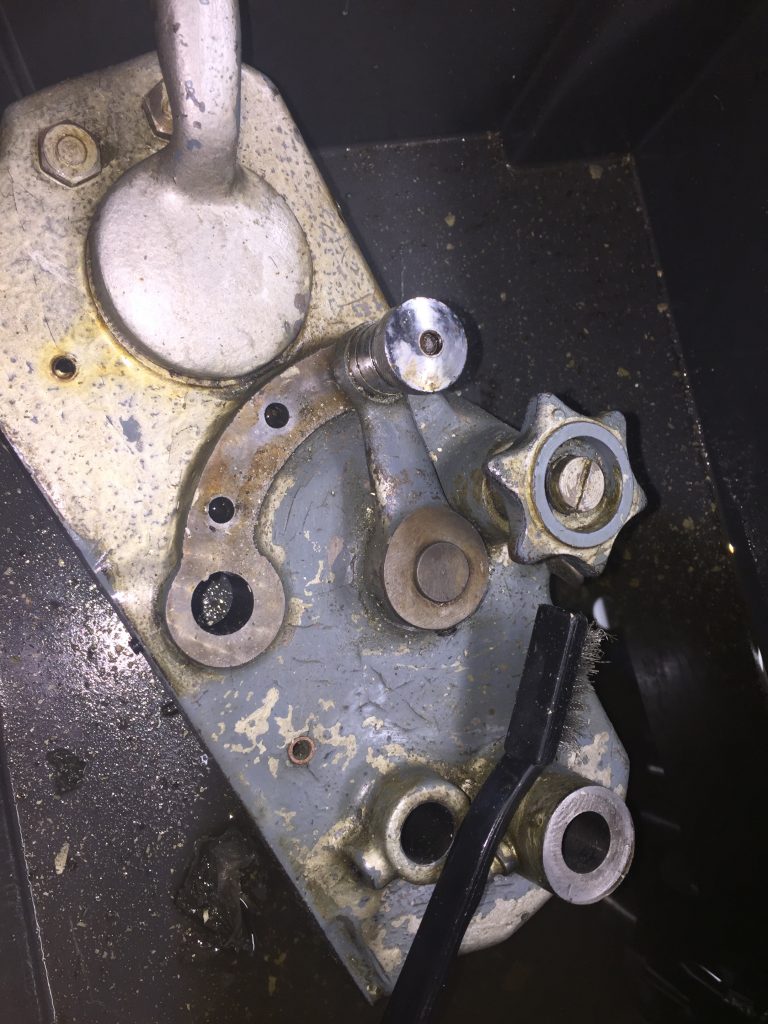

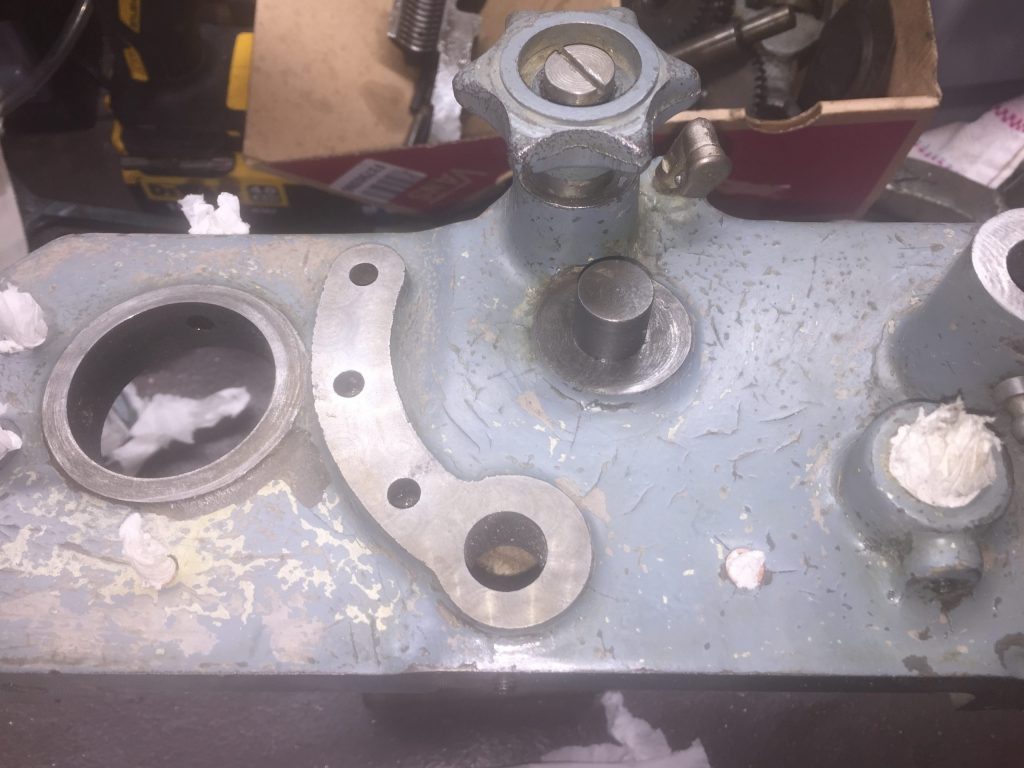
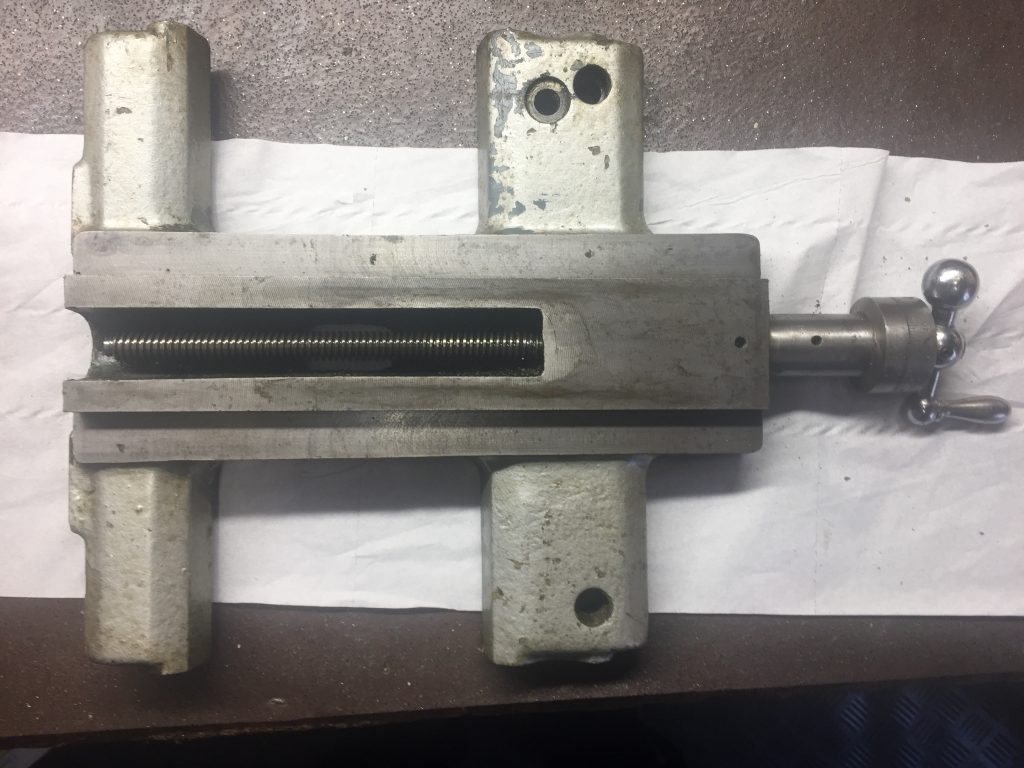
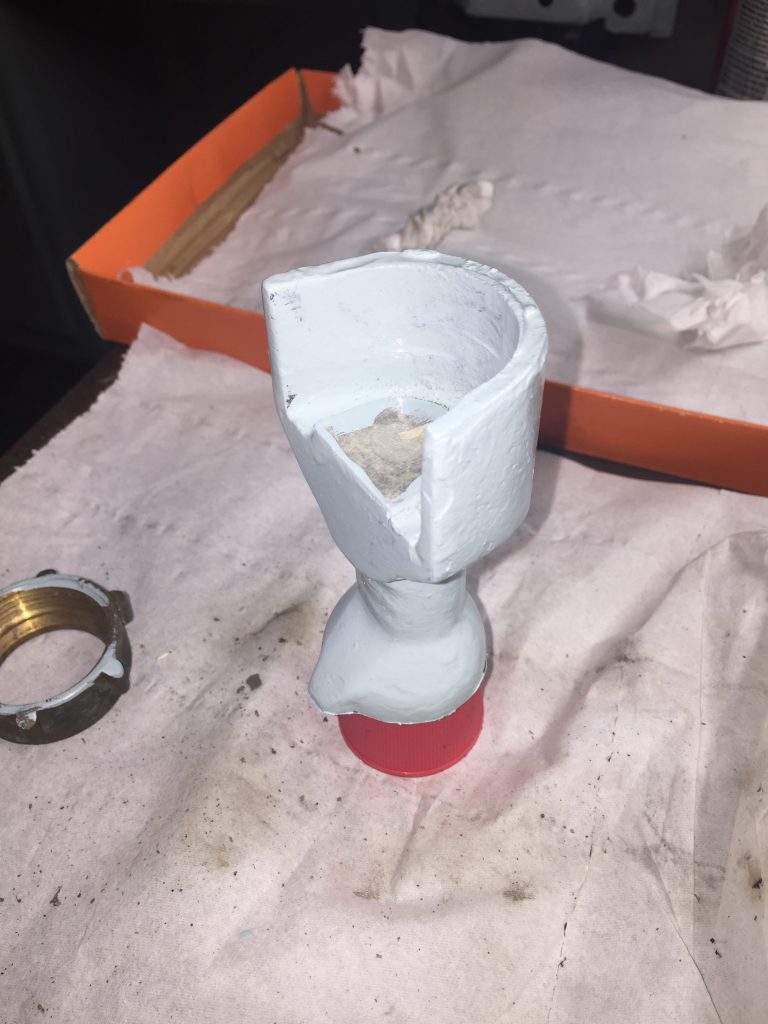
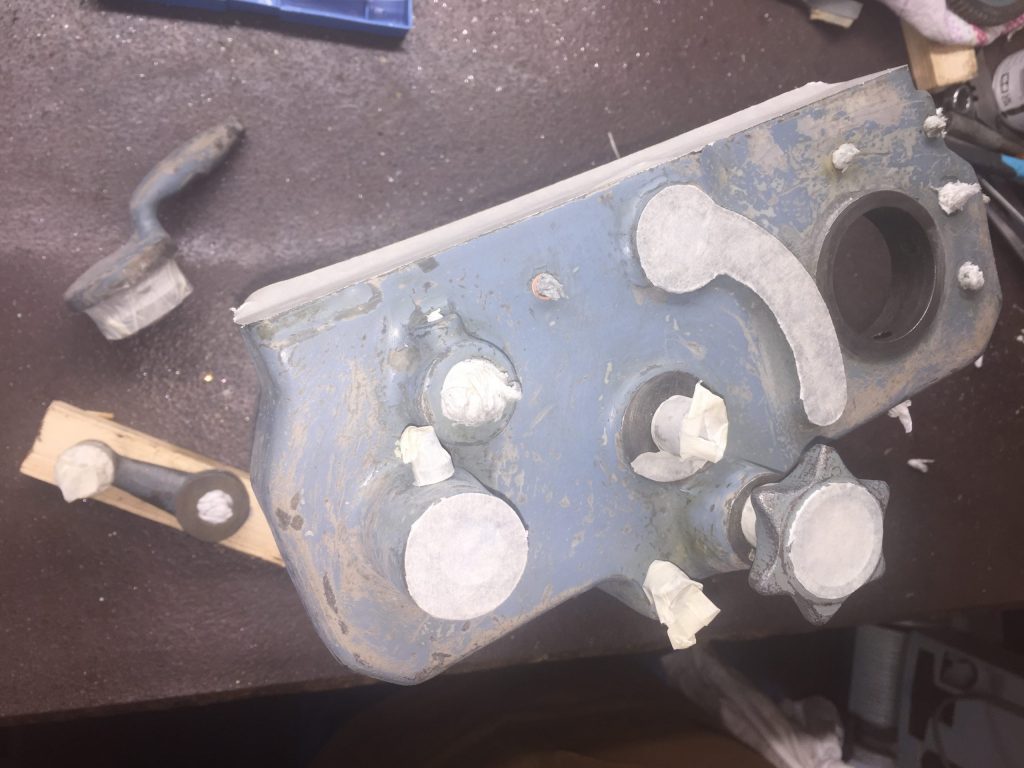
Then it was a case of masking up and painting…
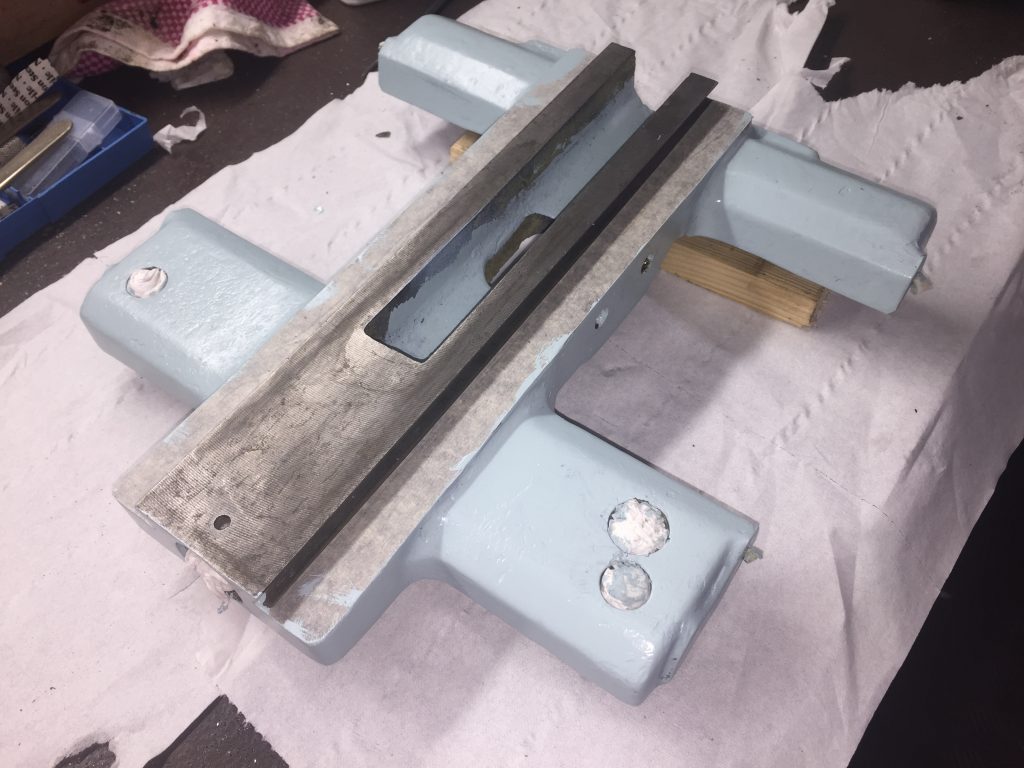
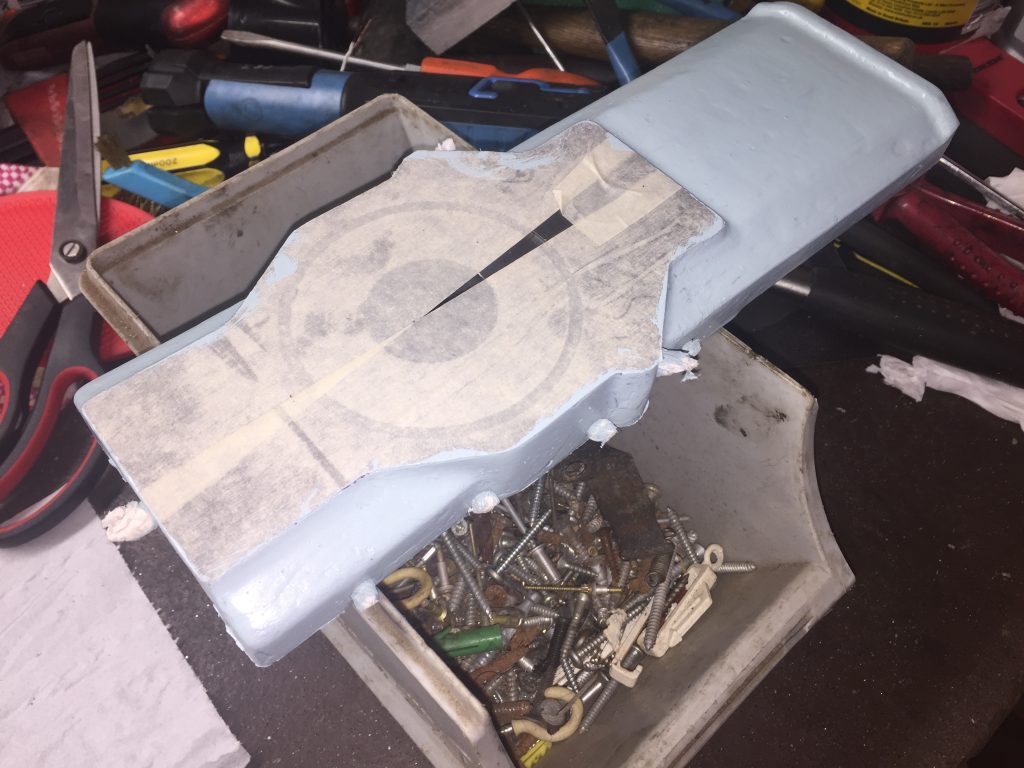
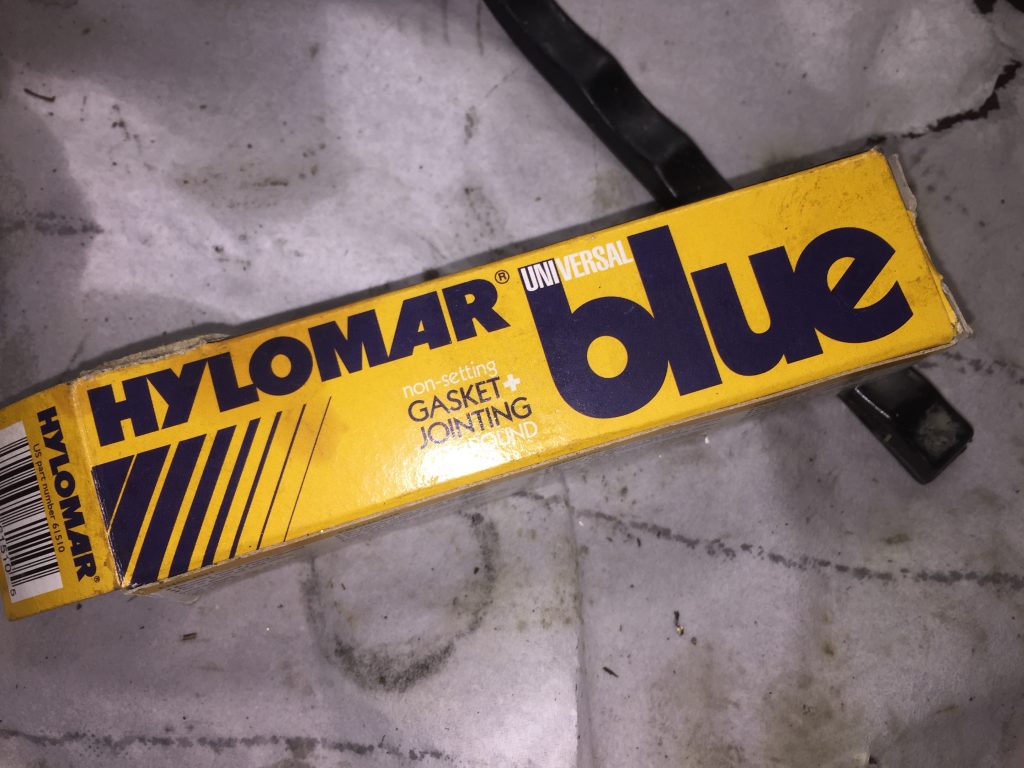
Final assembly. Note that the worm gear and clutch sit in an oil bath closed by a steel plate, so I sealed that with a bead of some Hylomar sealant.
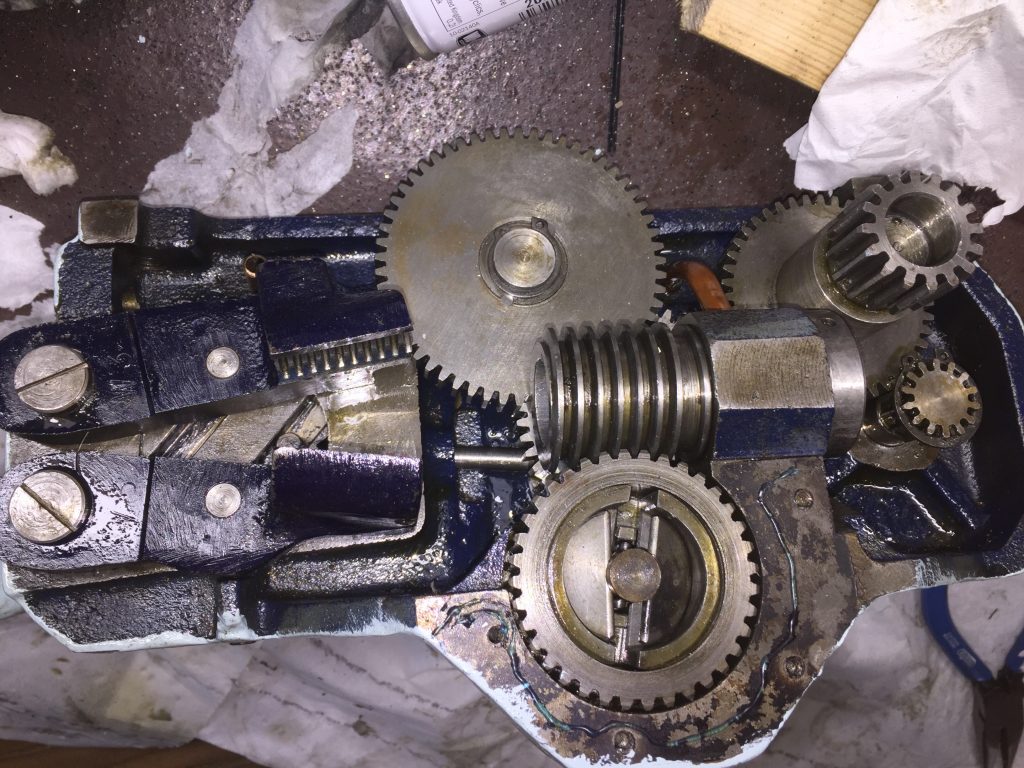

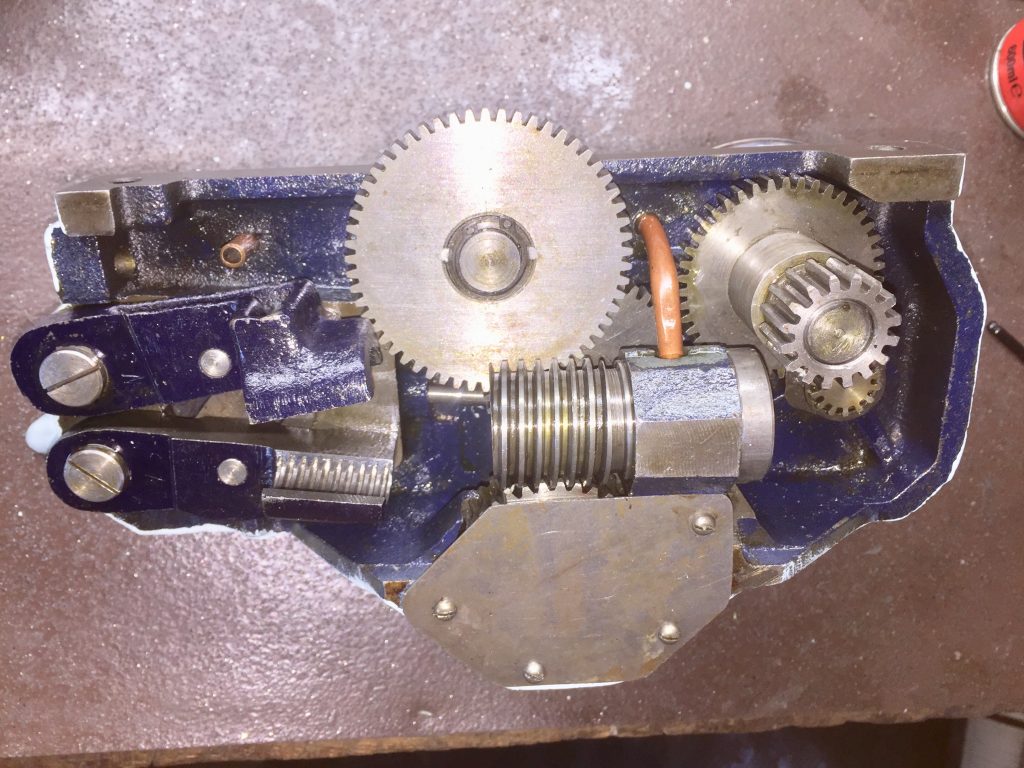

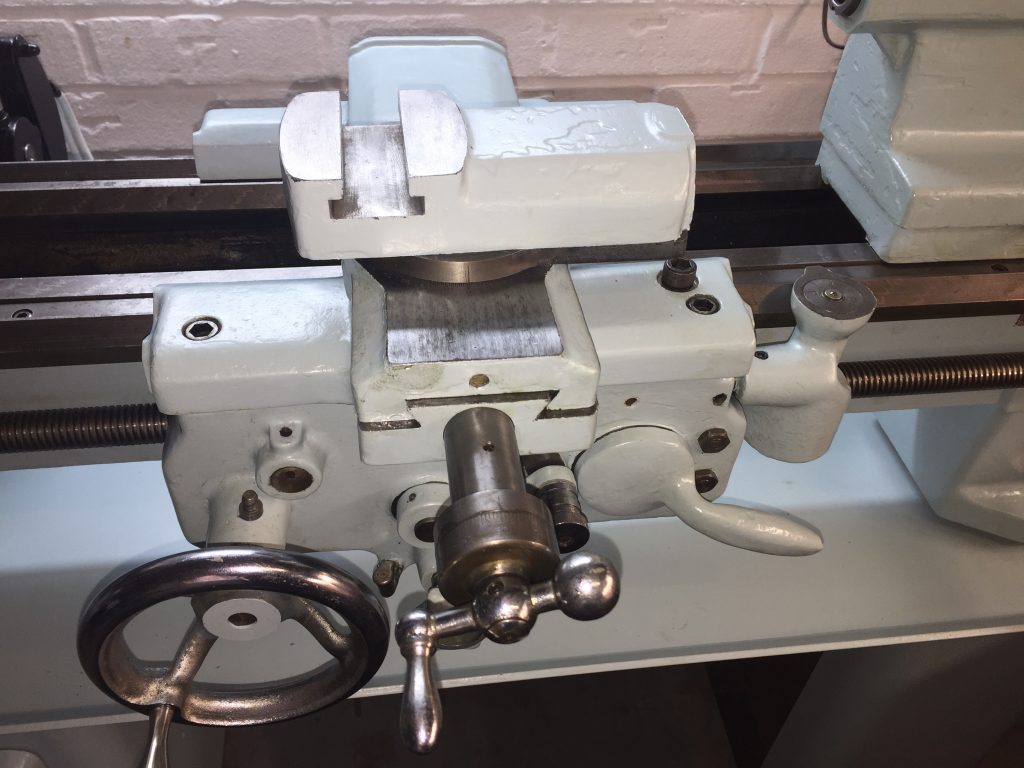
One thing (of many) to remember is that some of the gear shafts are also oil ways. These have holes in the end of the shaft. Make sure that the hole is on the top of the shaft so that oil can run downhill and into and onto the gears.
Of course, the whole assembly has to be slid over the lead screw, so best to get some help there. I think it’s best to do the whole unit (apron and saddle) as one so that the weight can be taken on the ways quickly, less chance of accidentally loading (and bending) the lead screw. The saddle clamp went in ok, but I had to shorten an allen key to fit under the saddle.
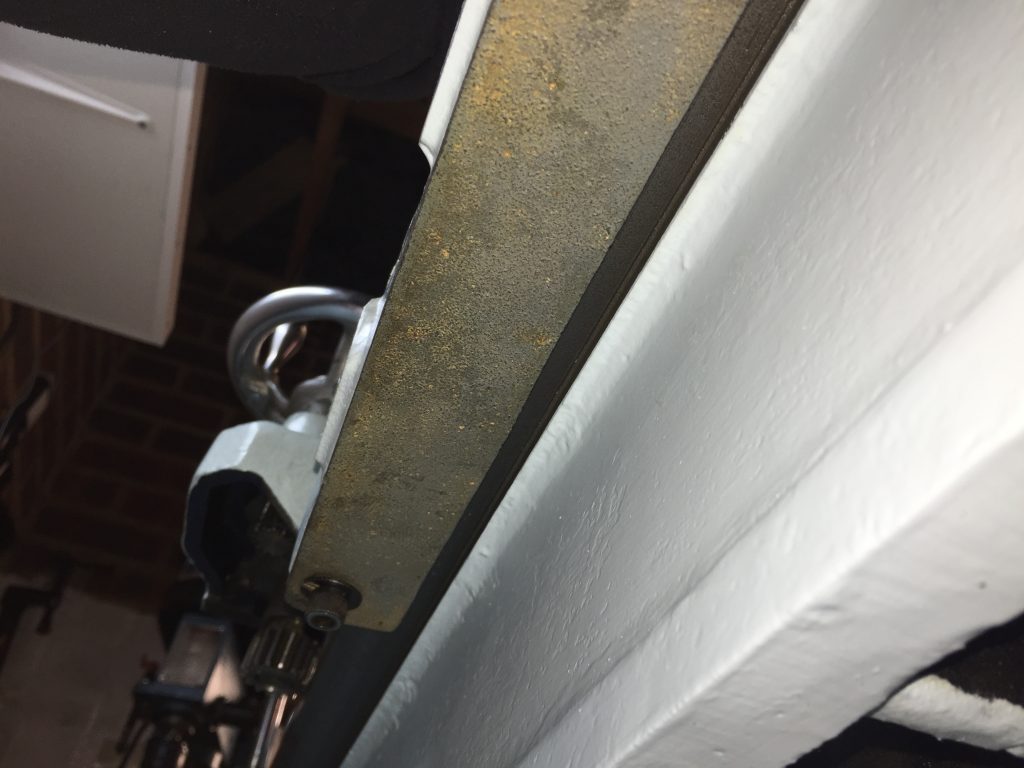
The back piece that holds the back of the saddle down, a sort of gib strip, can’t be tightened right down as that would clamp the whole saddle up, so the tension has to be fiddled to be ‘just right’. Maybe one is meant to use shims??
It’s a fiddle, but the cross slide lead screw and nut can be fiddled into position ok when the saddle is assembled and on the bed.
Click here for next page.
