August 2021
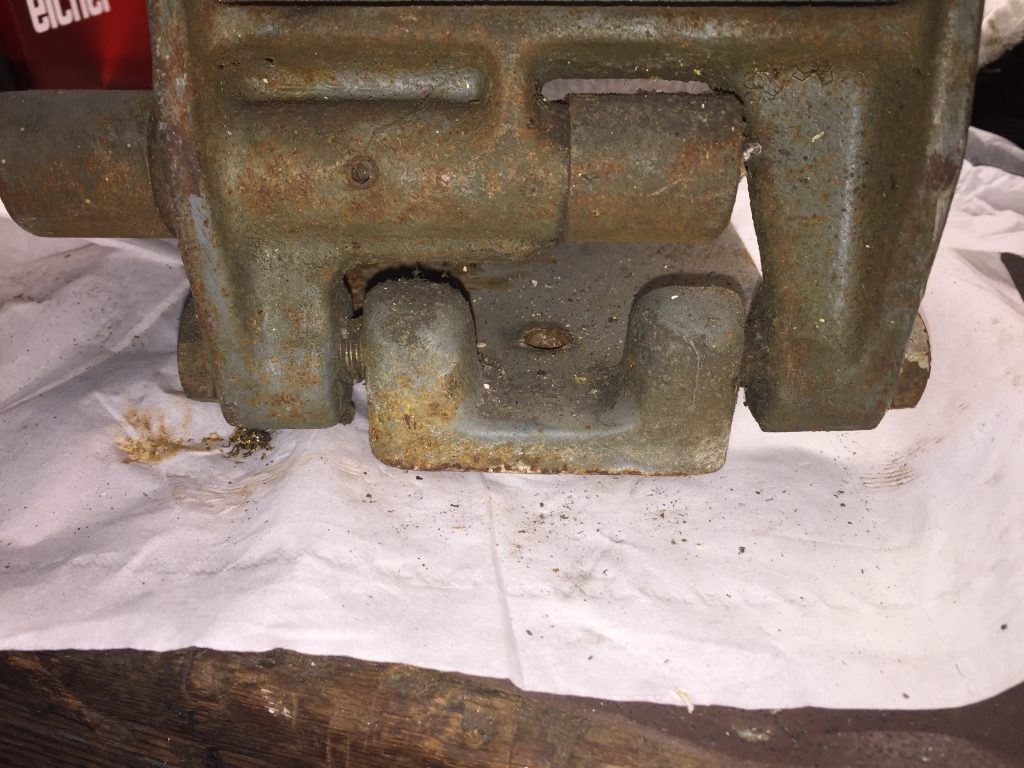
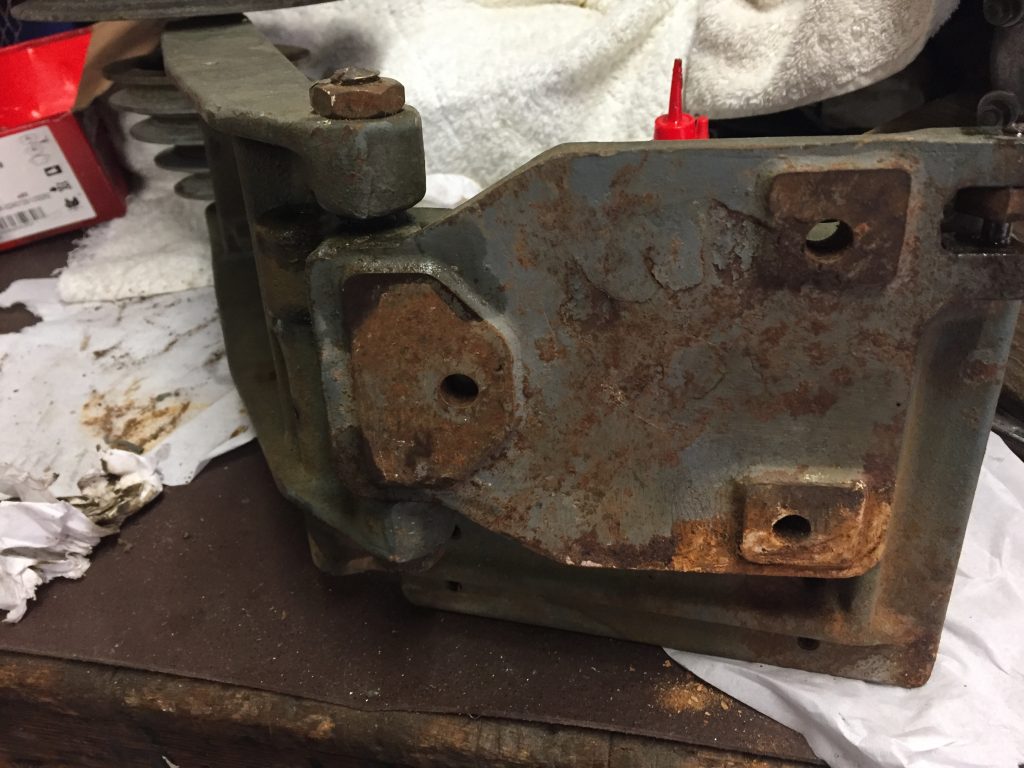
Now to sort out the feet. Firstly a degrease with brake cleaning fluid, then on to using the wire wheel. This works well, but did reveal some very crude casting and shaping marks below the paint, but I’m not going to bother filling and smoothing them down, it’s just not worth the bother.
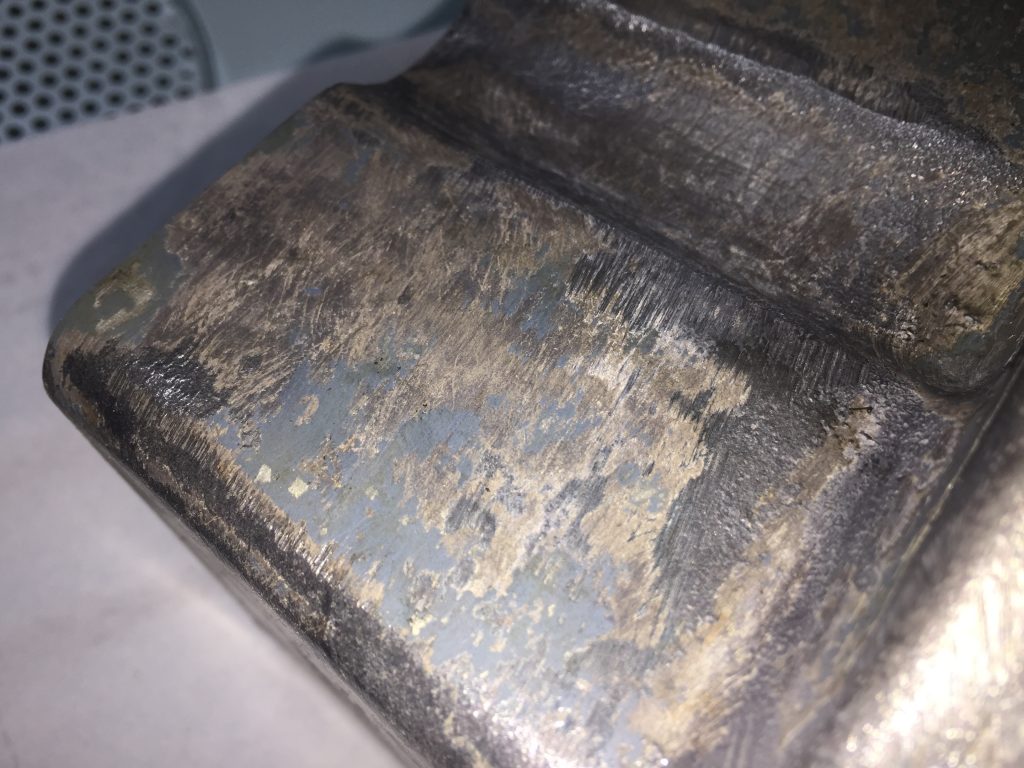
Then it occurred to me that the feet may not be exactly the same and that they may not be swappable (although unlikely these things can catch you out), so I identified which was which from the early photos I took before disassembly, then marked them with punch dots and photos to get them back in the same place later.
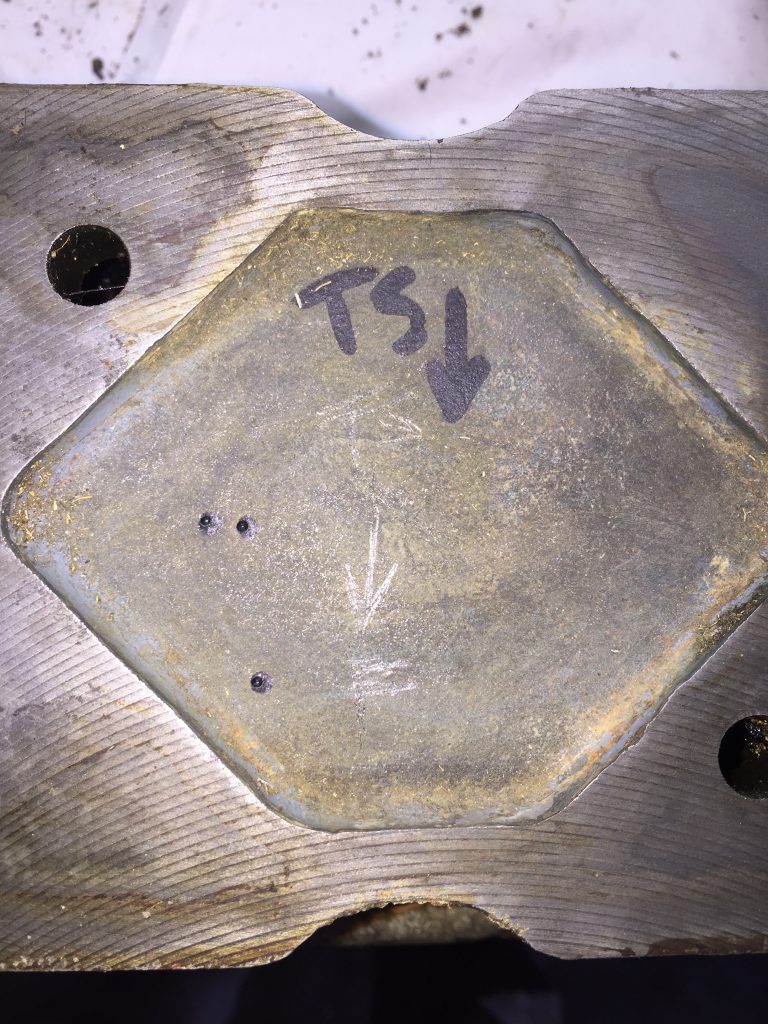
So, ready to paint…
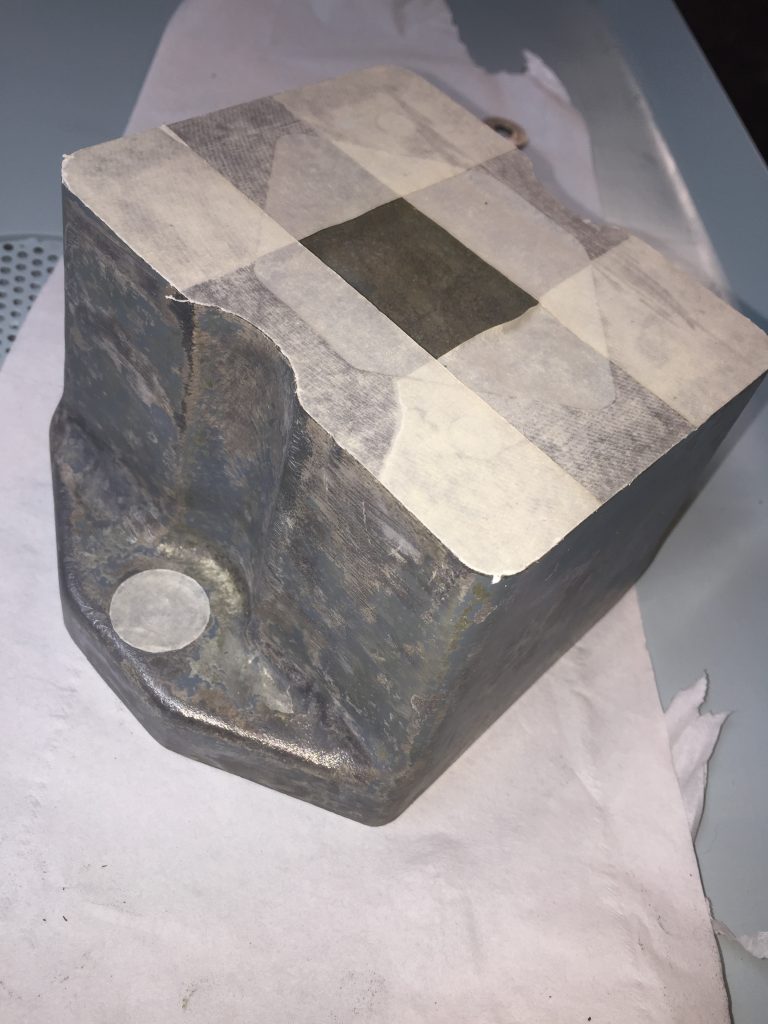
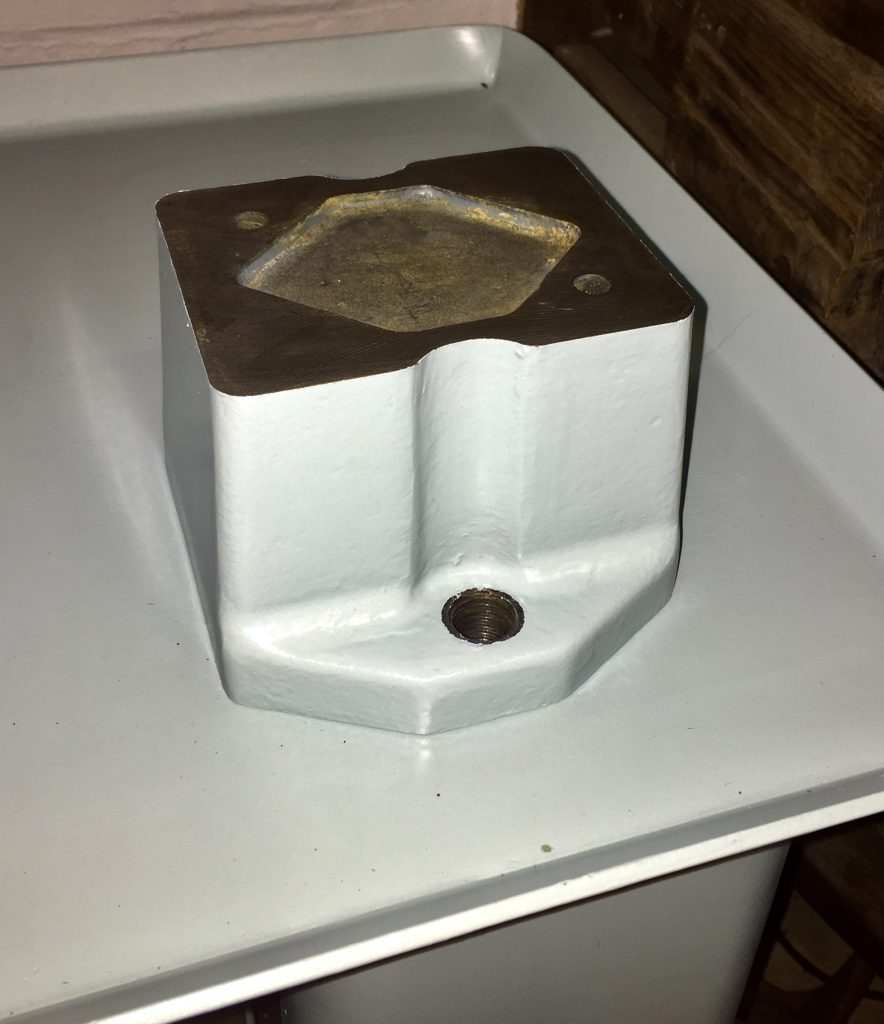
The round patch over the bolt hole was made by using a knife to cut around a piece of tape stuck to the washer designed to cover that hole. A couple of coats of the Paragon paint got them to look like this:
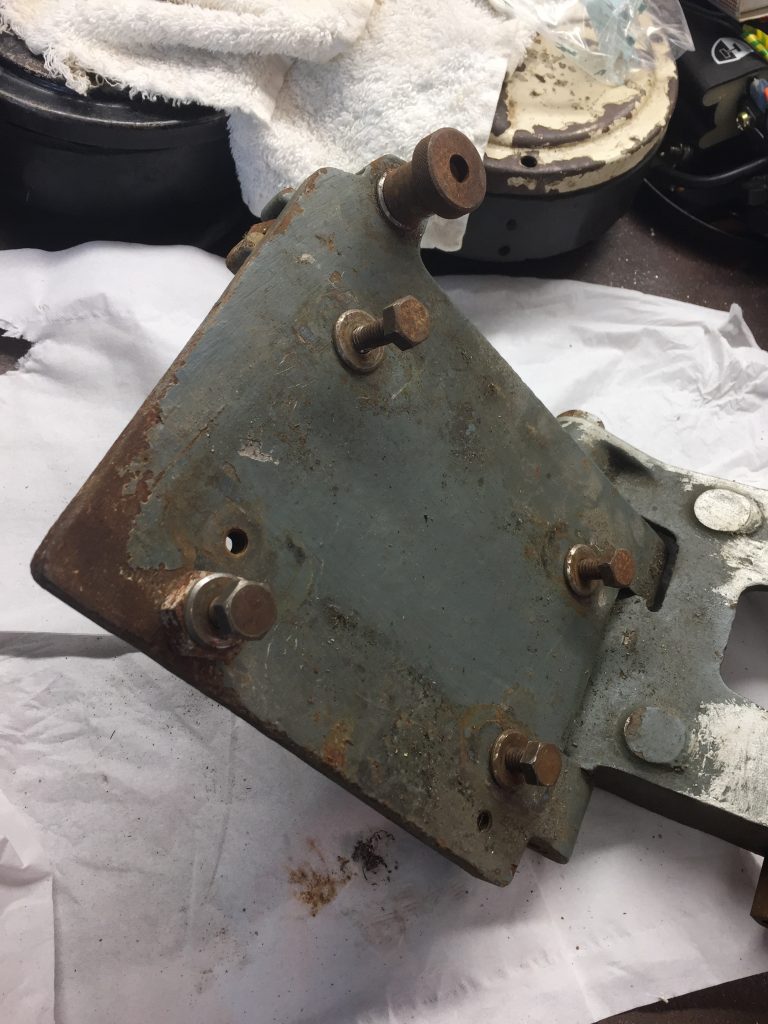
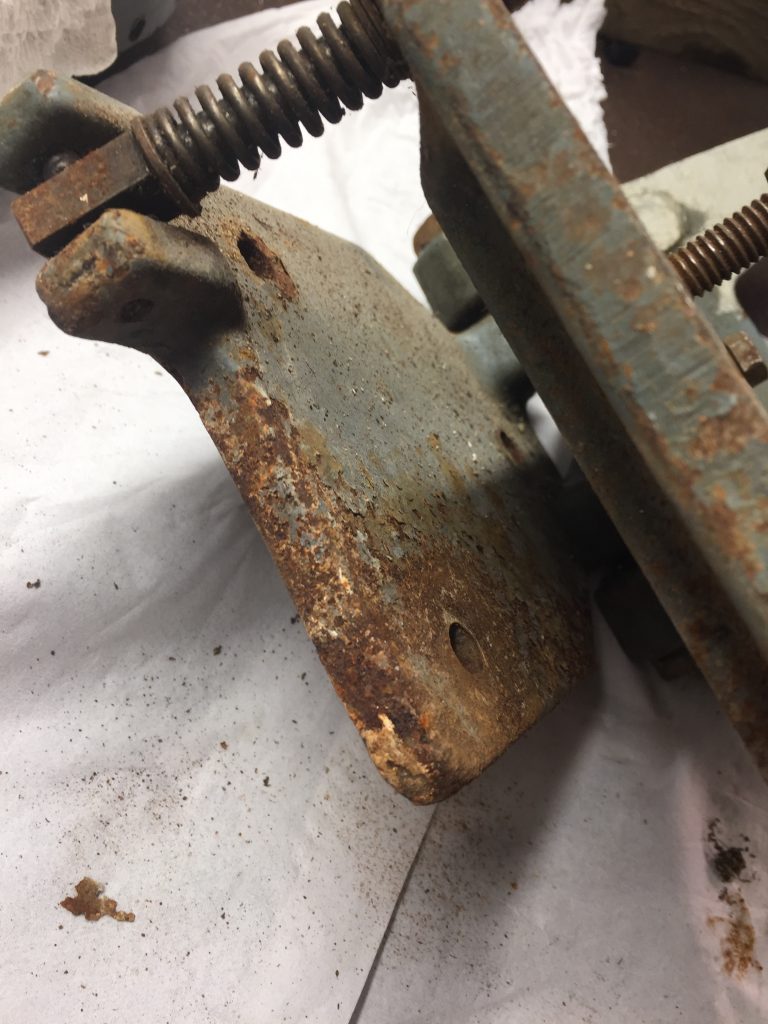
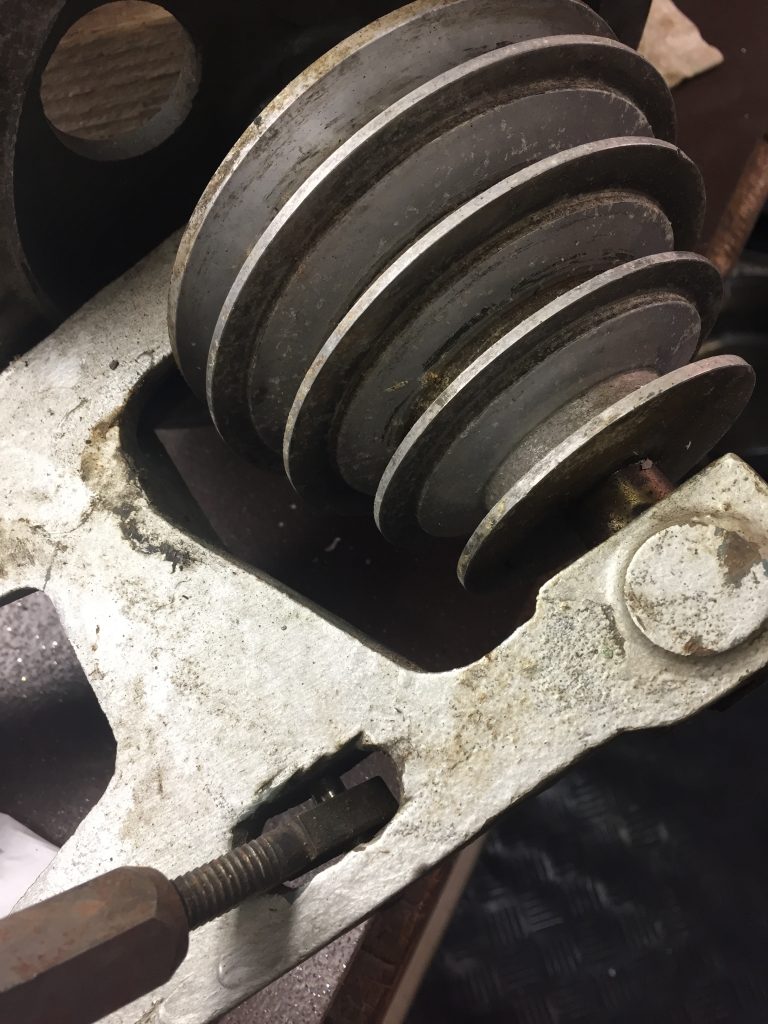
And now on to the motor and pulley mount. This unit looks a bit rough, but is fully functional. Lets see if I can take it apart to check it and make painting easier.
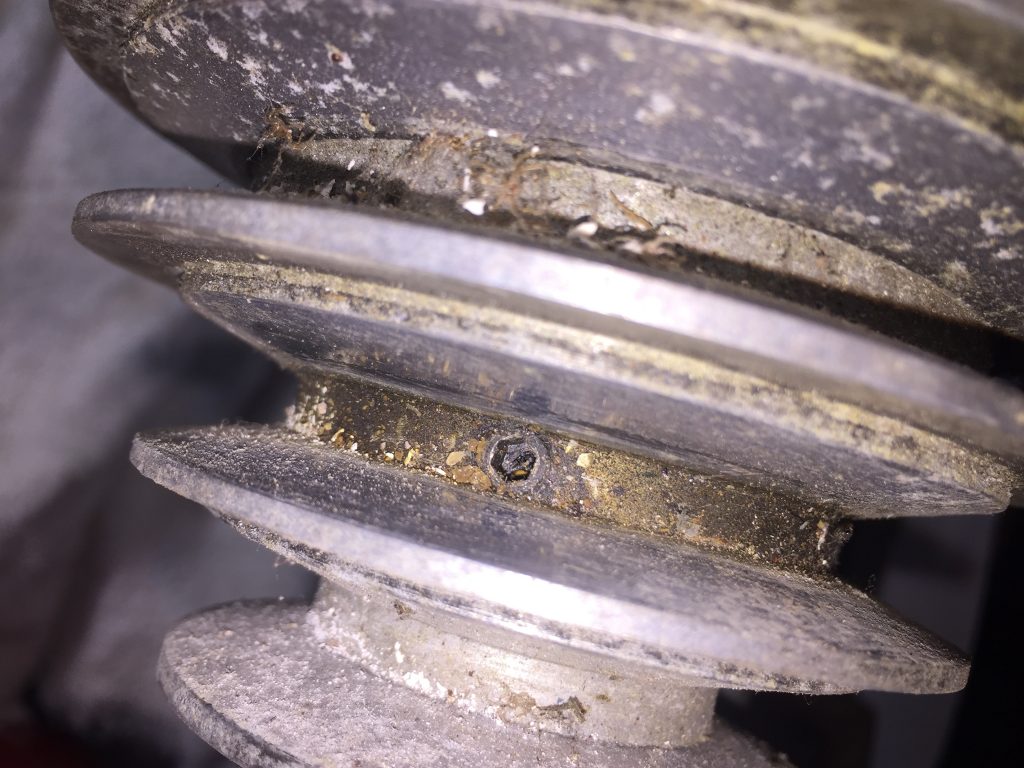
I found it impossible to remove the pulleys (yes, I know that each grub screw is really two stacked grub screws!), so, not wishing to damage them (they’re only an aluminium alloy of some sort) I’ll be leaving them in situ and painting round them. They do spin nicely with no slackness or graunching, so are not worth inadvertently breaking. As to the rest, a period of head scratching is in order to decide what to tackle and not, but I would like to separate the motor mount to make painting easier. That’ll be in the next episode.

